Grinding your own gluten-free flour at home works best when you choose high-quality, ancient grains like millet, quinoa, or amaranth, and store them in airtight containers in cool, dark places. Use a quality grinder, like a high-speed blender or grain mill, and grind in small batches to avoid overheating. Sift or adjust the texture as needed, and keep your flour fresh with proper storage. If you keep experimenting, you’ll discover tips that make your flour perfect every time.
Key Takeaways
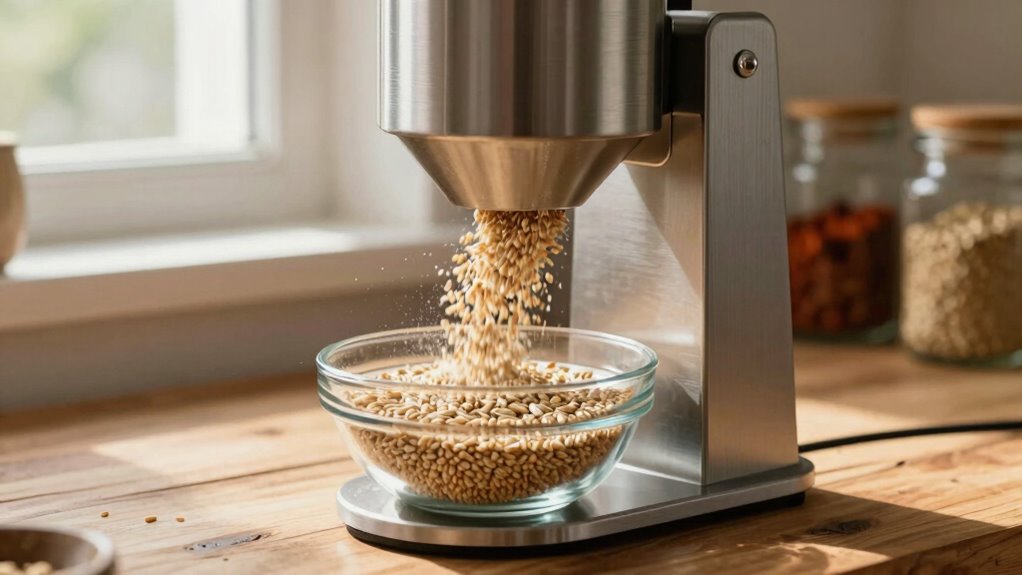
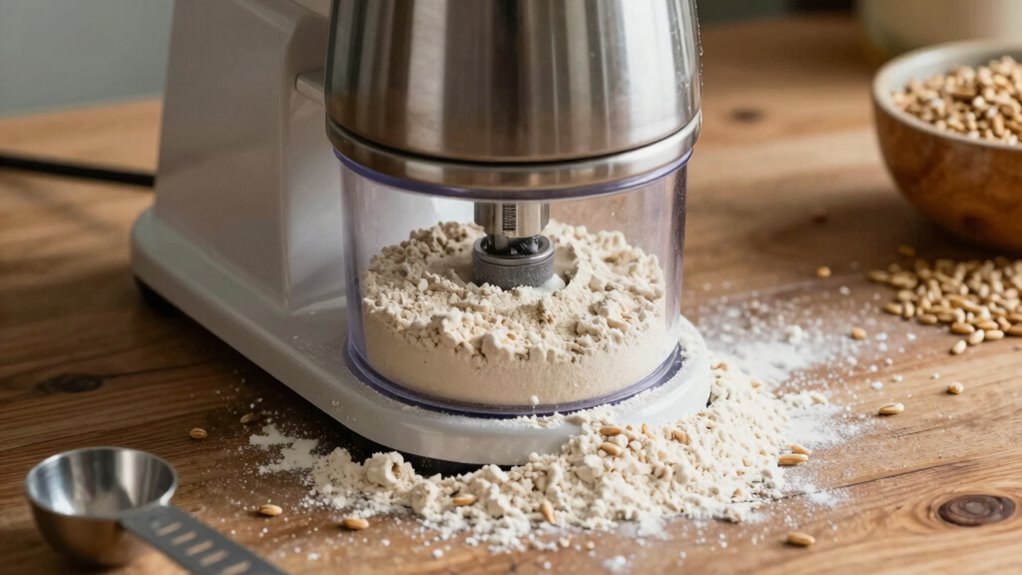
- High-powered blenders or grain mills effectively produce fresh, fine gluten-free flour at home.
- Store grains properly in airtight containers in cool, dark places to maintain freshness and prevent spoilage.
- Grind small batches to ensure consistent texture and prevent overheating of the equipment.
- Sift or adjust grind settings to achieve desired flour fineness and optimal baking results.
- Regularly clean and maintain equipment to ensure flour quality and consistent performance.
Why Grinding Your Own Gluten-Free Flour Matters
Grinding your own gluten-free flour allows you to control the freshness and texture, ensuring your baked goods turn out better. The gluten-free benefits become even more apparent when you choose the right grains, as fresh, whole grains retain more nutrients and flavor. When you grind grains yourself, you can select high-quality options, avoiding preservatives and additives often found in store-bought flours. This control over grain selection boosts the nutritional value and improves the taste of your baked treats. Additionally, freshly ground flour has a finer, more consistent texture, helping your baked goods rise better and have a better crumb. Proper grain processing can also reduce the loss of delicate nutrients during milling, further enhancing the health benefits. Using specialized kitchen tools designed for milling can make the process more efficient and consistent. Incorporating nutrient retention techniques during grinding can help preserve essential vitamins and minerals in your flour. Understanding grain preservation methods can significantly impact the overall quality of your homemade flour. Overall, grinding at home enhances the quality, flavor, and health benefits of your gluten-free baking, making your efforts truly worthwhile.
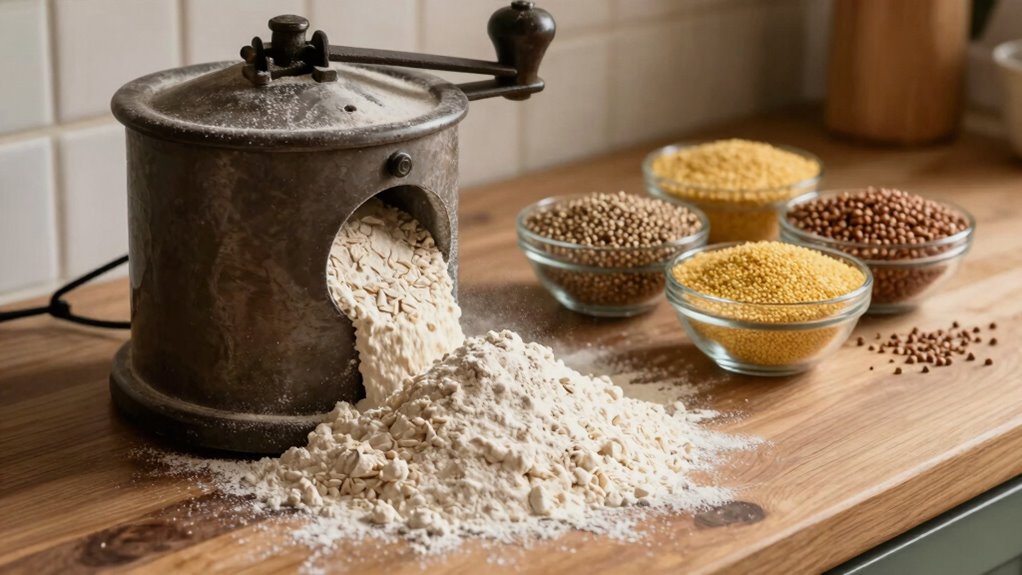
Choosing the Best Grain for Gluten-Free Flour
Choosing the right grain for your gluten-free flour can boost your diet’s nutrition and flavor. Consider the availability and storage needs of each grain to keep your pantry stocked. By selecting the best options, you’ll guarantee your homemade flour is both healthy and convenient. Incorporating traditional crossbreeding techniques can ensure the grains used are both safe and of high quality. Additionally, understanding vetted sources and quality standards can help you select grains that meet safety and nutritional benchmarks. Knowing how grain breeding methods influence nutritional content can also help you make more informed choices for your gluten-free baking. Being aware of decoding slang can sometimes help when researching unfamiliar grain varieties online, making your selection process even more straightforward. Furthermore, recognizing how E-bike charging gear and portable power stations operate can inspire innovative ways to power your kitchen gadgets sustainably.
Nutritional Benefits of Grains
When selecting the best grain for gluten-free flour, understanding their nutritional benefits can guide you to make healthier choices. Ancient grains, like millet, quinoa, and amaranth, often have a richer nutritional profile compared to more common options. They tend to be higher in fiber, vitamins, and minerals, supporting digestion and overall health. These grains also contain beneficial antioxidants and phytochemicals that boost immunity. Choosing grains with a strong nutritional profile can help you create gluten-free baked goods that are not only safe but also nourishing. Incorporating ancient grains into your flour options offers a way to enhance your diet naturally. By understanding their unique benefits, you can select the best grains that contribute to your health goals and improve your homemade gluten-free recipes. Understanding their nutritional profile can further help you make informed choices that align with your dietary needs.
Grain Availability and Storage
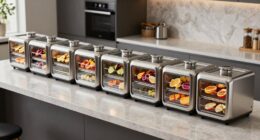
Selecting the right grains for your gluten-free flour depends not only on their nutritional value but also on their availability and how well you can store them. You want to guarantee a steady supply and avoid waste, so consider local markets or bulk options. Grain rotation and crop diversity are essential—storing a variety of grains reduces the risk of spoilage and keeps your options open. Proper storage includes airtight containers in a cool, dark place to maintain freshness. Incorporating household organization tips can also help you keep your grains accessible and well-maintained. Additionally, understanding grain preservation techniques can extend the shelf life of your supplies and ensure you always have quality ingredients on hand. Proper grain storage methods are vital for maintaining the integrity of your grains over time. Here are four tips to keep your grains fresh and accessible:
- Rotate your stock regularly to prevent spoilage.
- Use airtight containers to preserve flavor.
- Store grains in a cool, dry environment.
- Keep an eye on local harvests for seasonal availability.
Regularly monitoring grain quality can help you identify signs of spoilage early and prevent waste. Paying attention to grain moisture content is also crucial, as excess moisture can lead to mold and spoilage.
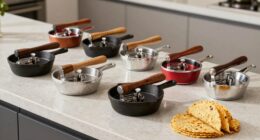
Tools Needed to Grind Gluten-Free Flour at Home
To grind gluten-free flour at home effectively, you’ll need a few essential tools that can handle the unique textures of different grains and seeds. A high-powered blender or spice grinder works well for small batches, offering consistency and ease. If you prefer larger quantities, a grain mill or burr grinder provides better control and durability. Keep in mind, the right tools can influence flavor pairing, so choose equipment that preserves natural flavors and aromas. Also, consider your kitchen aesthetics—sleek, compact appliances can blend seamlessly into your space. A fine-mesh sieve is useful for sifting and achieving a smooth flour texture. Investing in quality tools guarantees efficient grinding and enhances your overall baking experience, making your gluten-free flour both fresh and flavorful. Additionally, understanding requirements traceability can help you maintain consistency and quality control in your homemade flour preparations. Incorporating tools that support spiritual awakening and enlightenment can also inspire a mindful approach to your baking process, enriching your culinary experience. For example, choosing tools that promote precision and consistency ensures your flour remains uniform, which is crucial for successful baking outcomes. Being mindful of the natural qualities of grains can further elevate the flavor and nutritional benefits of your homemade flour.
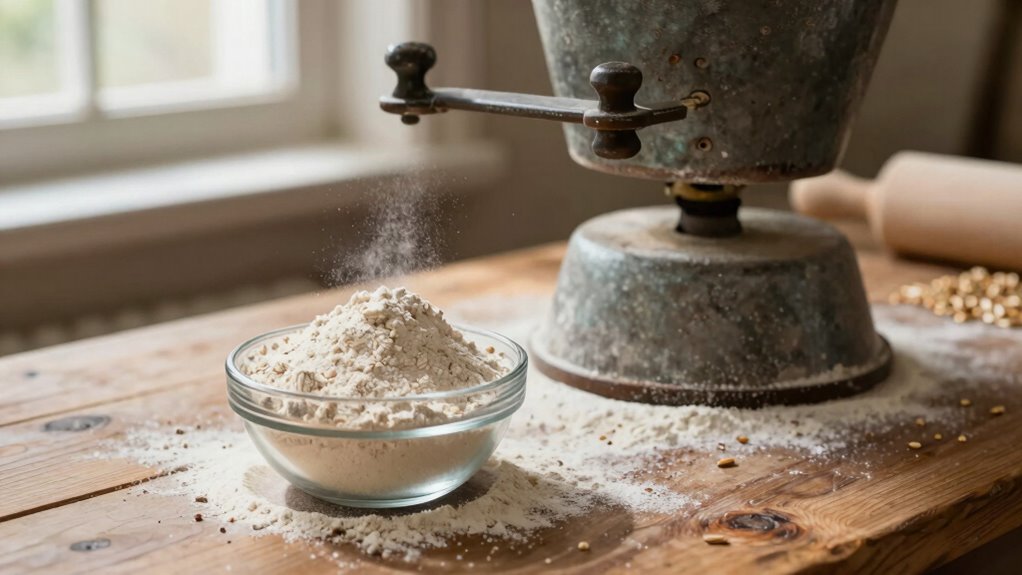
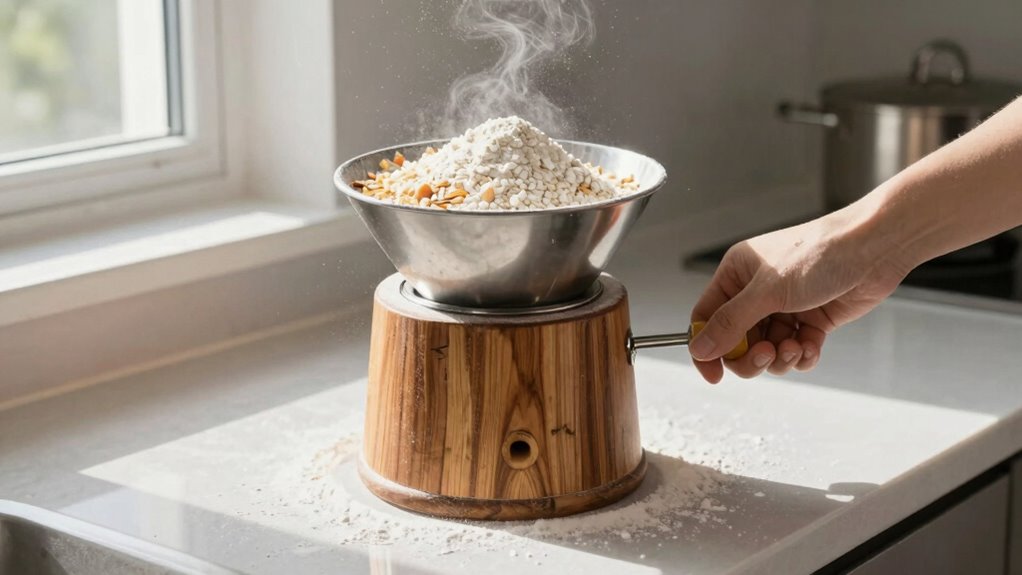
How to Grind Gluten-Free Flours at Home: Step-by-Step
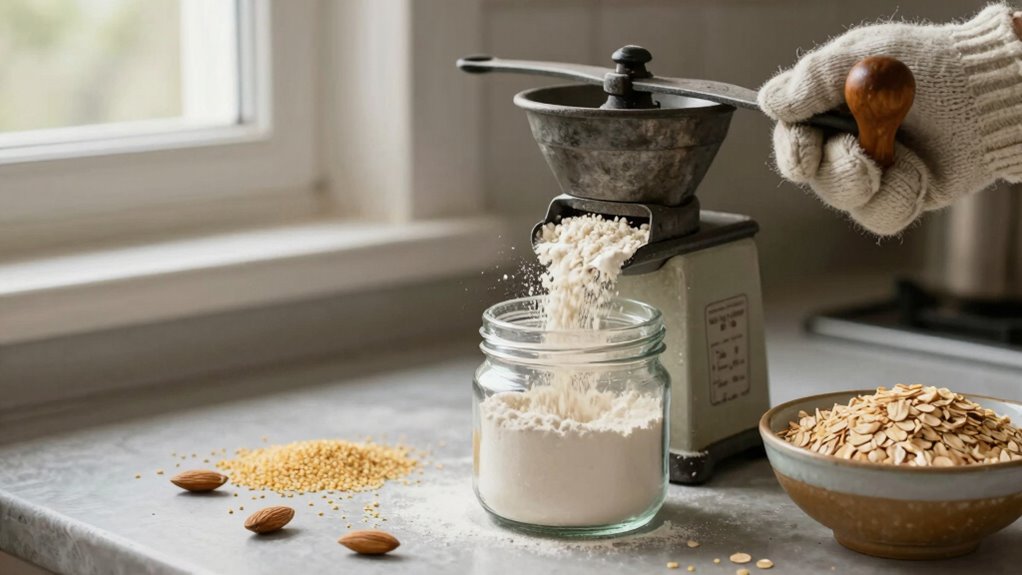
To grind gluten-free flours at home, you need to select the right grinder for your needs. Using proper techniques guarantees your flour is consistent and fresh. Incorporating body-based methods can also enhance your understanding of how to handle and process the grains effectively. Understanding digital content formats can help you explore innovative tools and techniques for optimizing your grinding process. Additionally, considering luxury lifestyle products such as high-end kitchen appliances can elevate your grinding experience and ensure optimal results. Being aware of equipment maintenance is crucial to keep your grinders functioning properly and prolong their lifespan.
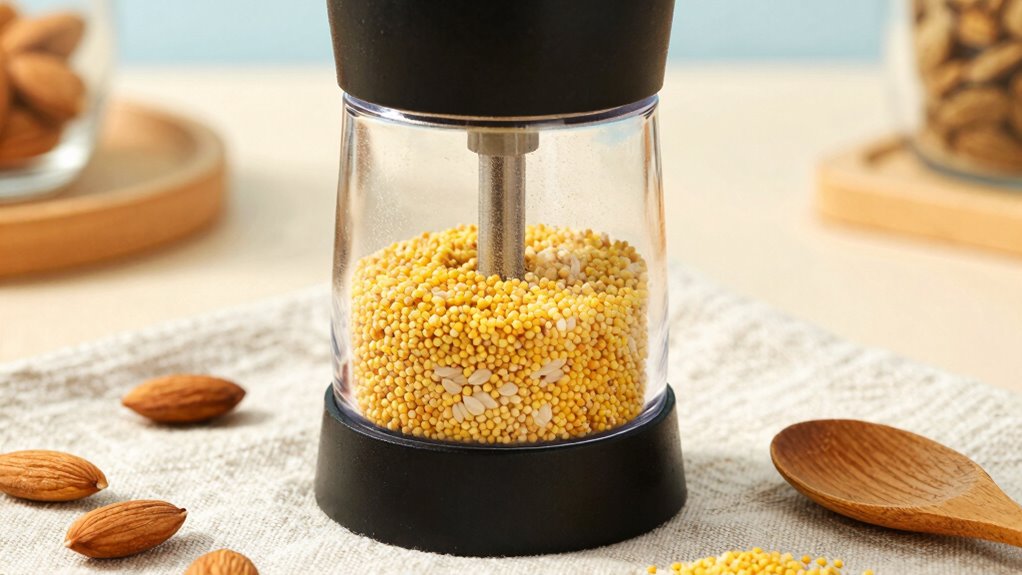
Choosing the Right Grinder
Choosing the right grinder is essential for achieving the best results when milling gluten-free flours at home. The right equipment can make all the difference in texture and flavor. When selecting a grinder, consider durability, power, and ease of cleaning. Proper grinder maintenance guarantees consistent results and prolongs your machine’s lifespan. Here are some DIY grinding tips to keep in mind:
- Invest in a high-quality, burr-style grinder for uniform flour consistency.
- Regularly clean and lubricate your grinder to prevent old flour buildup.
- Use small batches at a time to avoid overheating and preserve nutrients.
- Choose a grinder with adjustable settings for different flour textures.
Proper Grinding Techniques
Ever wondered how to get the perfect texture when grinding gluten-free flours at home? Start by ensuring your grains have the right moisture level—too dry or too wet can affect the grind quality. Before you begin, clean and maintain your grinder to prevent residue buildup, which can impact consistency. Use short, controlled pulses instead of continuous grinding to avoid overheating and preserve the flour’s freshness. Check the grain moisture periodically, adding a little water if needed, to achieve a finer, more uniform grind. Keep an eye on your grinder’s settings and don’t overload it, which can strain the motor and compromise results. Regular grinder maintenance guarantees smooth operation and consistent flour texture, giving you the best gluten-free baking experience.
Common Mistakes When Grinding Gluten-Free Flour (and How to Avoid Them)
Grinding gluten-free flour at home can seem straightforward, but many beginners make common mistakes that compromise the quality of their flour. One big error is over processing, which can turn delicate grains into a powdery mess or cause heat buildup that damages nutrients. Another mistake is producing inconsistent texture, leading to flour that varies batch to batch, affecting your recipes. Additionally, rushing the process can cause uneven grinding, resulting in clumps or uneven particle sizes. Finally, neglecting to monitor your equipment or ingredients can lead to contamination or burnt flavors. To avoid these pitfalls, grind in short pulses, check your flour frequently, and aim for a consistent, medium-fine texture. Staying attentive ensures your homemade gluten-free flour is perfect for baking every time.
How to Store and Keep Your Homemade Gluten-Free Flour Fresh
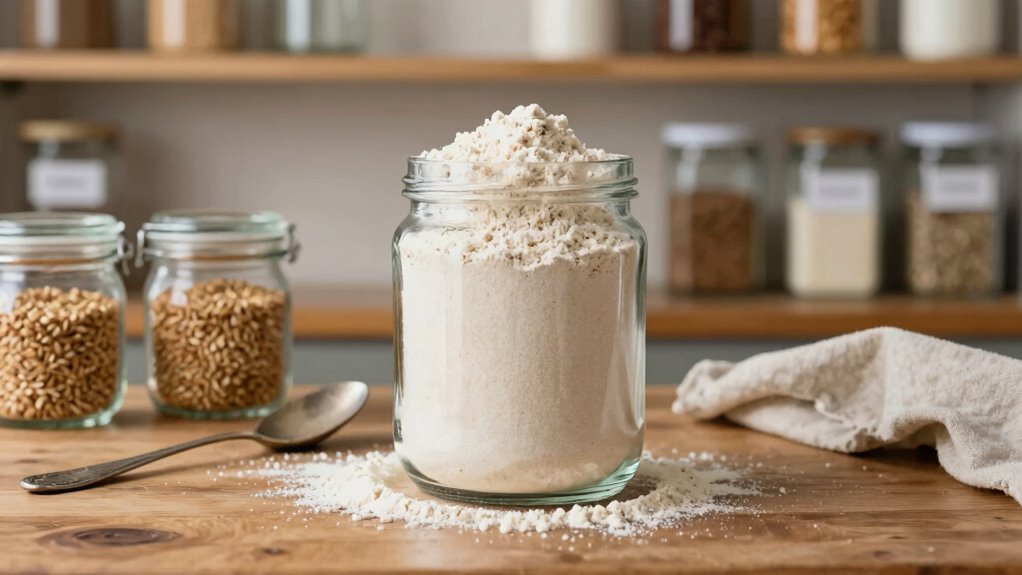
Proper storage is key to maintaining the freshness and quality of your homemade gluten-free flour. To preserve its nutrients and prevent spoilage, store your flour in an airtight container, ideally in a cool, dark place. Since gluten-free baking relies on fresh, well-preserved ingredients, avoid exposure to heat, light, and moisture, which can cause the flour to turn rancid or develop mold. For longer shelf life, consider refrigeration or freezing—just be sure to use airtight containers to prevent moisture absorption and grain storage odors. Label your containers with the date of grinding so you can keep track of freshness. Proper grain storage guarantees your homemade gluten-free flour remains flavorful and effective for baking, giving you consistent results every time.
Troubleshooting Texture and Consistency in Gluten-Free Flour
When your gluten-free flour turns out gritty, clumpy, or too coarse, it can affect the texture and rise of your baked goods. To troubleshoot texture issues, consider these steps:
- Refine your grind—use a finer setting or sift the flour to remove larger particles.
- Adjust your milling process—blend in small batches to ensure even consistency.
- Add stabilizers or binders—like xanthan gum, to improve cohesion and smoothness.
- Test different grains—some flours naturally produce coarser textures; switching can make a big difference.
Consistency troubleshooting is key to perfect baked goods. By paying attention to grind size and ingredient ratios, you’ll create a flour that delivers the desired texture, ensuring your recipes turn out just right every time.
Frequently Asked Questions
Can I Grind Gluten-Free Grains Without Specialized Equipment?
Yes, you can grind gluten-free grains without specialized equipment, but you need to be careful. Store your grains properly to keep them fresh and avoid moisture. Use a sturdy blender, food processor, or spice grinder, ensuring you don’t overload it to prevent overheating. Always prioritize grinding safety by working in small batches and wearing eye protection if needed. Proper storage and cautious grinding make homemade gluten-free flour easy and safe.
How Fine Should Gluten-Free Flour Be for Baking?
You should grind gluten-free flour to a fine, powdery texture for ideal baking results. Aim for a consistency similar to store-bought flour, which guarantees an even texture and better rise. Adjust your grind size if the flour feels coarse or gritty; a finer grind improves the texture and helps your baked goods hold together. Regularly check the texture and tweak your process to achieve the perfect consistency for your recipes.
Are There Safety Concerns When Grinding Grains at Home?
Grinding grains at home is like walking a tightrope—you need to stay alert. Safety concerns include potential grain contamination and dust inhalation. To stay safe, clean your equipment thoroughly to avoid cross-contamination. Use a mask to prevent inhaling dust, and work in a well-ventilated space. By taking these precautions, you keep your flour safe and your baking adventures worry-free.
How Long Does Homemade Gluten-Free Flour Stay Fresh?
Homemade gluten-free flour stays fresh for about 1 to 2 weeks if stored properly. Use airtight containers and keep them in a cool, dark place to preserve flavor and nutrients. For longer storage, consider refrigeration or freezing, which extends freshness up to 3 months. Proper storage techniques and preservation methods prevent spoilage and maintain the flour’s quality, ensuring your baked goods turn out delicious every time.
Can I Mix Different Gluten-Free Grains During Grinding?
Yes, you can mix different gluten-free grains during grinding to create custom blends. Grain blending allows you to tailor flavor and texture, enhancing your baked goods. Just make certain the grains have similar moisture levels and grind them evenly for consistent results. Experimenting with different combinations can boost flavor enhancement and add variety to your recipes, making your homemade gluten-free flour more versatile and enjoyable to use.
Conclusion
Imagine your homemade gluten-free flour as a secret ingredient, just waiting to unleash the perfect baking adventure. When you grind your own, you control freshness and texture, like tuning an instrument to hit just the right note. With a little practice, you’ll find your flour transforming your recipes into bakery-quality treats. Think of it as planting seeds—nurture it right, and you’ll harvest delicious, wholesome baked goods every time. Happy baking!