
To make creamy plant-based yogurt at home, choose a good plant milk like coconut or soy and add probiotics or a starter culture. Use thickeners such as agar, chia seeds, or oats to achieve the desired texture. Fermentation time influences both thickness and flavor — longer for tangier, thicker results. Controlling temperature and tasting periodically help perfect your yogurt; keep experimenting to discover what works best. If you’re curious, there’s more to learn about refining your homemade yogurt.
Key Takeaways
- Choose appropriate plant-based milk and probiotics, then ferment at 110°F for 8-12 hours for optimal texture and flavor.
- Use thickeners like agar, chia seeds, cornstarch, or oats to achieve desired creaminess and consistency.
- Longer fermentation results in tangier, thicker yogurt; shorter times produce milder, thinner textures.
- Regularly taste and monitor fermentation to prevent over-thickening or excessive tartness.
- Store in airtight containers in the fridge, and check for spoilage to ensure safety and quality.
What You Need to Know About Plant-Based Yogurt Texture
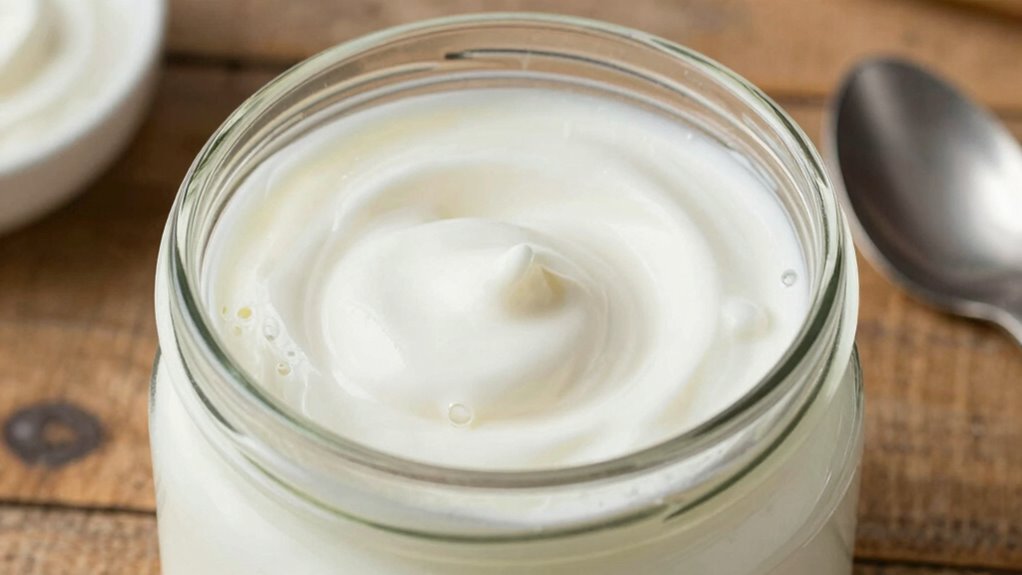
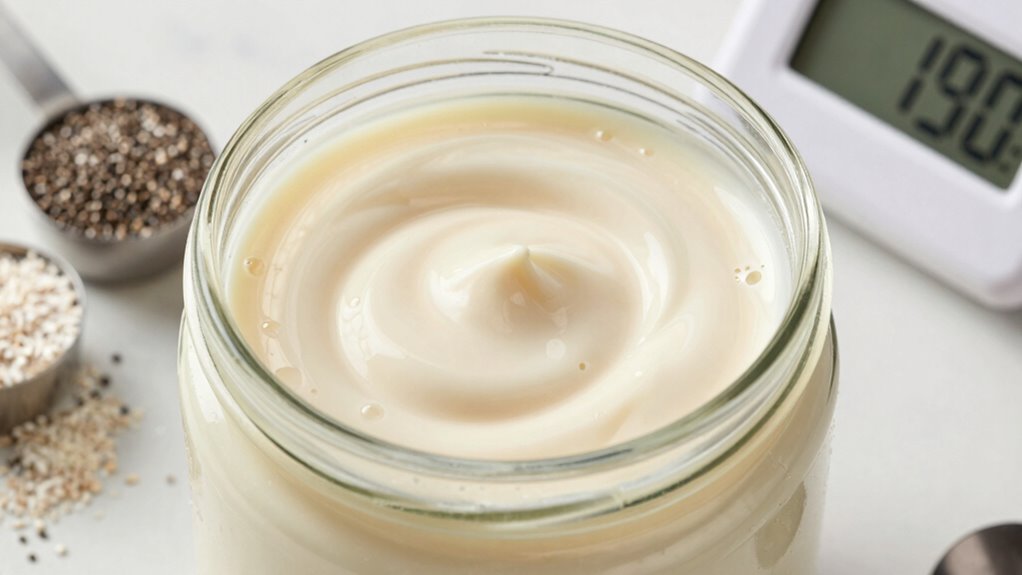
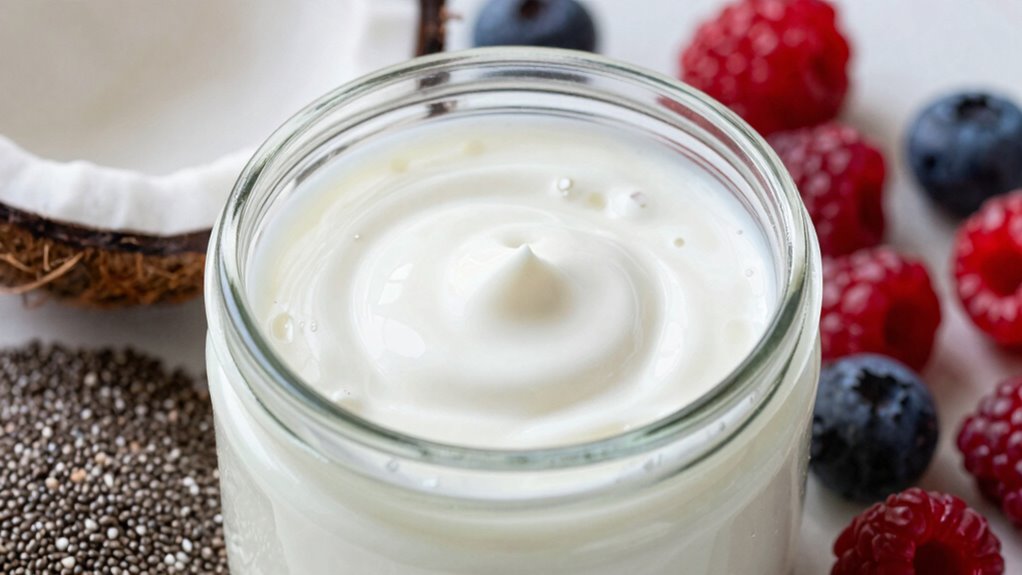
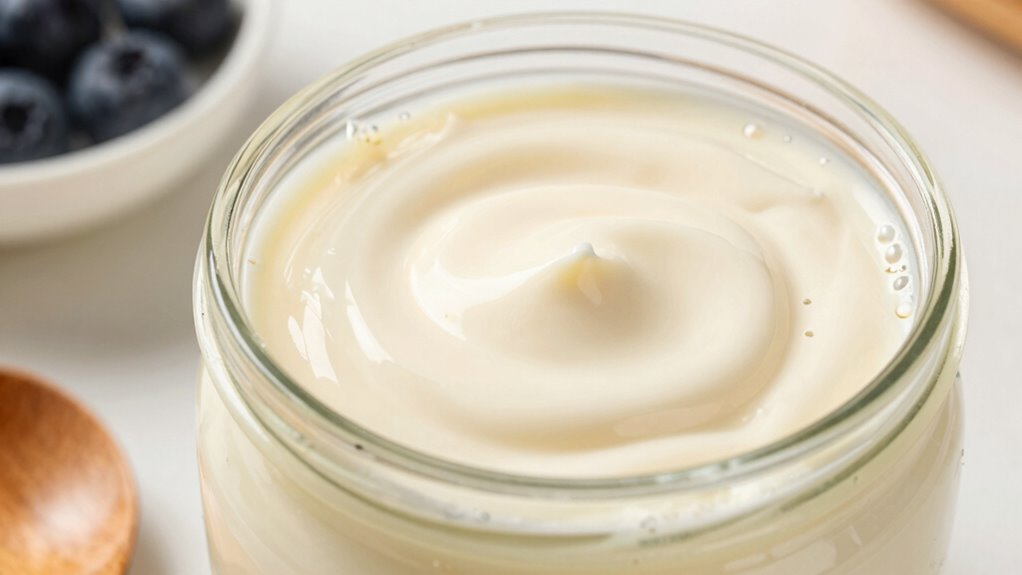
Understanding the texture of plant-based yogurt is essential because it varies widely depending on ingredients and preparation methods. The base of your plant-based dairy, such as coconut, almond, or soy, directly influences the final consistency. Additionally, the type of yogurt cultures used can significantly impact the texture, as different cultures produce varying degrees of thickness and tanginess. Yogurt cultures play a pivotal role in fermentation, affecting thickness and creaminess. Some plant-based dairy options naturally produce thinner yogurt, while others require additional thickeners for a creamier texture. The fermentation process also impacts texture, with longer cultures creating tangier, firmer results. Be aware that different plant-based ingredients ferment differently, so experimentation helps you find the perfect balance. Incorporating safety guidelines and proper techniques can also help ensure consistent, high-quality results. Understanding fermentation science can further enhance your ability to control texture and flavor in homemade plant-based yogurt. Paying attention to ingredient interactions can help optimize the final product’s consistency and taste.
How to Choose the Right Thickeners for Creamy Plant-Based Yogurt
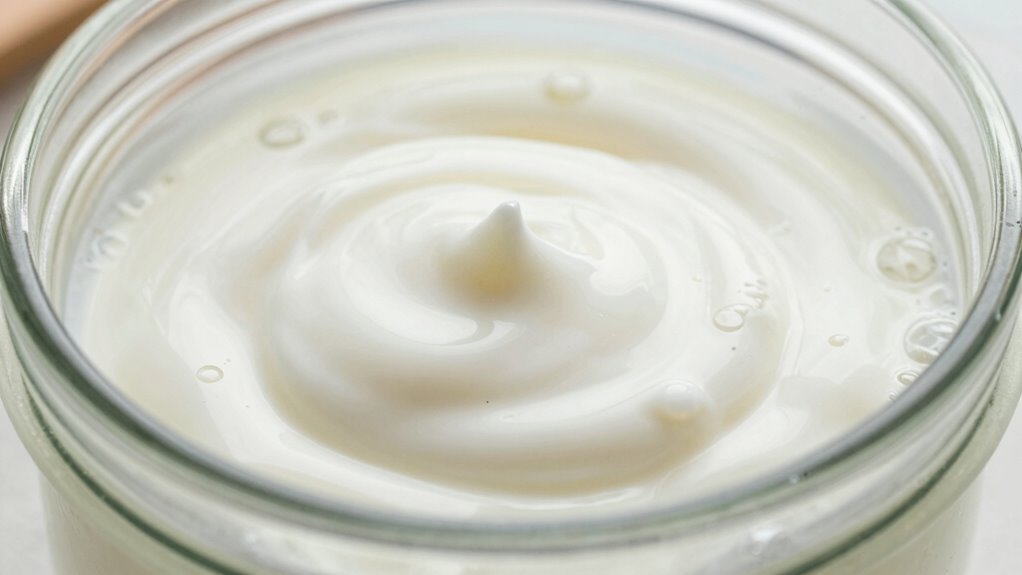
Choosing the right thickeners is essential for achieving that rich, creamy texture you want in your plant-based yogurt. Your choice impacts not only texture but also how well probiotic strains thrive and the sweetening options you can incorporate. Some thickeners, like agar or cornstarch, create smooth, glossy results, while others, like chia or oats, add a hearty feel. Consider how each interacts with your sweetening options—honey, maple, or agave—and whether it supports probiotic activity. Here’s a quick comparison:
| Thickener | Texture | Best for |
|---|---|---|
| Agar | Gel-like | Firm, smooth yogurt |
| Chia Seeds | Creamy, thick | Nutty, hearty texture |
| Cornstarch | Silky, smooth | Neutral, quick-thickening |
| Oats | Creamy, hearty | Rustic, thick consistency |
Additionally, understanding the fermentation process can help you optimize texture and probiotic health in your homemade yogurt. Selecting a proper thickener that aligns with your fermentation method can significantly influence the final product. Choose wisely for your perfect yogurt!
How Fermentation Timing Affects Yogurt Thickness and Flavor
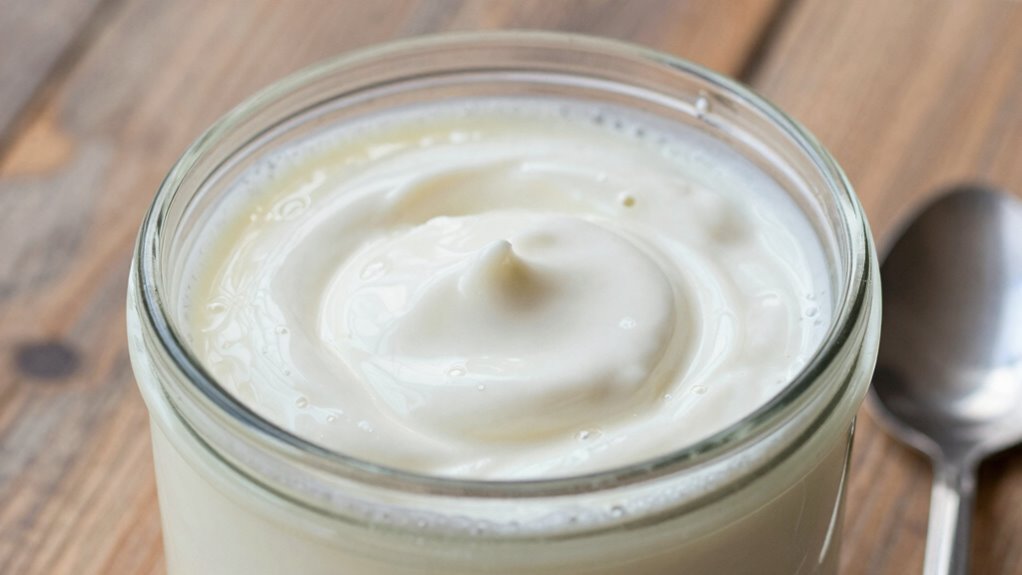
The length of fermentation considerably influences both the thickness and flavor of your plant-based yogurt. Longer fermentation duration results in a tangier taste and increased acidity, enhancing flavor development. It also allows the yogurt to thicken more as probiotics produce additional gel-like structures. Conversely, shorter fermentation produces a milder flavor and a thinner texture, ideal if you prefer a subtler taste. To optimize results, consider these factors:
- Fermentation duration: balance between desired tartness and thickness
- Temperature control: warmer conditions speed up fermentation
- Probiotic activity: stronger cultures can shorten or extend fermentation time
- Taste testing: regularly sample to achieve your preferred flavor profile
- The fermentation process is a form of Free Floating activity that can be influenced by environmental conditions.
Adjusting fermentation timing helps you craft yogurt with the perfect balance of texture and flavor to suit your preferences.
Step-by-Step Guide to Making Perfect Plant-Based Yogurt at Home
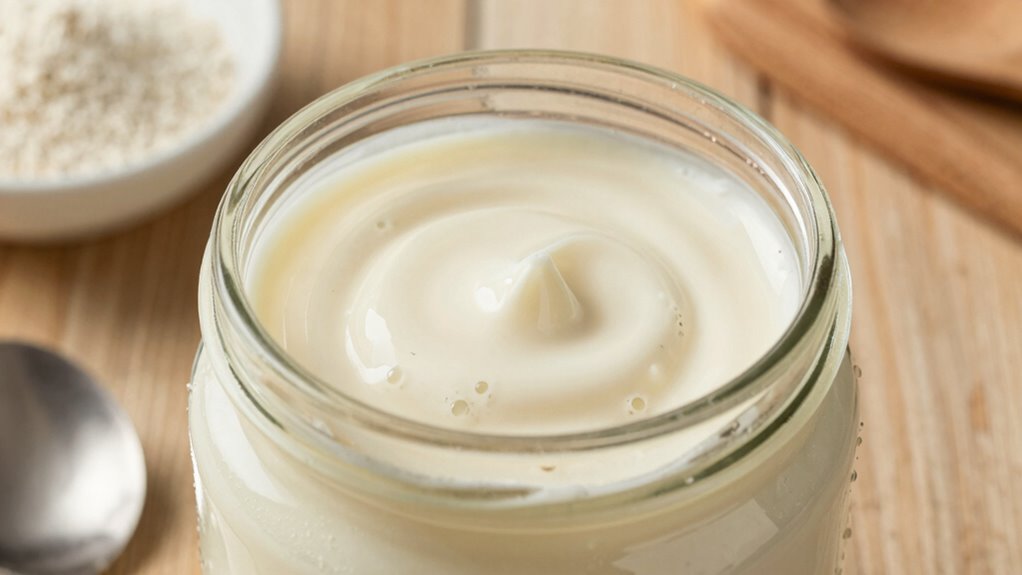
Making perfect plant-based yogurt at home is straightforward when you follow a simple, step-by-step process. First, source high-quality ingredients like plant-based milk and a probiotic starter to guarantee maximum nutritional benefits. Begin by heating your chosen milk to about 110°F (43°C), then add a small spoonful of probiotic culture or a spoonful of store-bought yogurt with live cultures. Mix well and pour into a clean container. Cover it loosely and keep it in a warm spot for 8-12 hours to ferment. Once the yogurt reaches your desired tanginess, refrigerate it to stop fermentation. Proper sourcing of ingredients and precise timing help you achieve a creamy, nutritious yogurt with the right texture and flavor every time.
Troubleshooting Common Texture Problems in Homemade Plant-Based Yogurt
If your homemade plant-based yogurt has an undesired texture, identifying common issues can help you troubleshoot effectively. Overly watery yogurt may result from insufficient thickening or too much liquid. Thin texture can also stem from using weak probiotic strains or poor fermentation. To improve consistency, consider adjusting fruit sweeteners, which can influence viscosity, or experimenting with different probiotic strains for better fermentation. Additionally, insufficient incubation time can leave yogurt too runny, so ensure proper timing. Conversely, over-fermentation may cause separation or excessive tang. Keep an eye on ingredient ratios and fermentation conditions to prevent these problems. Properly selecting and balancing your ingredients and fermentation process will help you achieve a smooth, creamy texture every time. Fermentation control is essential for consistent results and avoiding texture issues. Paying attention to heat distribution and maintaining a steady temperature during fermentation can also significantly impact the final texture.
How to Customize Flavors and Achieve Your Ideal Yogurt Texture
Customizing flavors and achieving your ideal yogurt texture starts with experimenting with ingredients and fermentation settings. To enhance flavor customization, try adding natural sweeteners, fruit purees, or spices during blending. For texture adjustments, adjust fermentation time or incorporate thickeners like agar or cornstarch. The right combination lets you craft yogurt that suits your taste and consistency preferences.
| Flavor Ideas | Texture Tweaks | Fermentation Tips |
|---|---|---|
| Fresh berries | Longer fermentation = thicker | Use a probiotic starter |
| Vanilla extract | Add coconut cream | Shorter fermentation for tanginess |
| Lemon zest | Blend in nuts or seeds | Adjust temperature for creaminess |
| Maple syrup | Reduce liquid content | Control fermentation duration |
| Cinnamon | Use chia seeds for gel-like texture | Experiment with fermentation time |
Best Practices for Storing and Serving Your Homemade Plant-Based Yogurt
Once you’ve perfected your homemade plant-based yogurt’s flavor and texture, storing it properly guarantees it stays fresh and delicious. Follow these storage tips to maximize freshness and safety. Keep your yogurt in an airtight container to prevent contamination and odors. Store it in the refrigerator at or below 40°F (4°C), ideally on a middle shelf rather than the door for consistent temperature. Consume within 5-7 days to enjoy ideal quality. When it’s time to serve, consider these suggestions: stir well before serving to redistribute any separation, use clean utensils to avoid bacteria transfer, and portion into smaller containers for better preservation. Incorporating proper storage practices can help maintain the probiotic benefits of your homemade yogurt. For added sophistication, serve with fresh fruit, a drizzle of honey or syrup, or granola for a delightful presentation and taste. Proper storage and serving practices are essential for maintaining the quality of your homemade yogurt, similar to how trusted markets ensure product integrity in the financial sector. Additionally, understanding food safety guidelines can help prevent spoilage and ensure your yogurt remains safe to enjoy. Regularly inspecting your yogurt for any signs of spoilage, such as an off smell or mold, is also a good hygiene practice to ensure safety. Ensuring proper temperature control during storage is critical to prevent bacterial growth and spoilage.
Frequently Asked Questions
Can I Make Plant-Based Yogurt Without a Yogurt Starter or Probiotic Culture?
Yes, you can make plant-based yogurt without a traditional yogurt starter or probiotic culture by using DIY fermentation methods. Starter alternatives like a small amount of existing yogurt, fermented vegetables, or a splash of liquid from previous batches can kick-start the fermentation process. Just guarantee you keep the environment clean and ferment at the right temperature to encourage beneficial bacteria growth naturally.
How Do Different Plant Milks Affect Yogurt Texture and Fermentation?
Different plant milks influence yogurt texture and fermentation dynamics because of their unique compositions. Soy milk, with higher protein content, creates a thicker, creamier yogurt, while coconut milk results in a richer, more fluid texture. Almond and cashew milks tend to produce lighter textures. Understanding each milk’s composition helps you adjust fermentation time and thickening methods, ensuring better control over the final texture and flavor of your homemade plant-based yogurt.
What Are Natural Thickeners Suitable for Allergy-Sensitive Diets?
Think of natural thickeners as the backbone of your yogurt, supporting its creamy texture. For allergy-sensitive diets, agar agar and chia seeds are your best friends. Agar agar, derived from seaweed, thickens without common allergens, while chia seeds swell and gel naturally. You add agar agar during heating, and soak chia seeds beforehand. Both provide a gentle, plant-based way to enhance your yogurt’s consistency safely and naturally.
How Long Can Homemade Plant-Based Yogurt Be Stored Safely?
You can store homemade plant-based yogurt in your fridge for up to 5 to 7 days safely. To maximize shelf life, keep it in an airtight container and always use clean utensils to prevent contamination. Be sure to check for signs of spoilage, like sour smell or mold, before consuming. Proper refrigeration tips include keeping it at or below 40°F (4°C) and avoiding frequent temperature fluctuations.
Are There Specific Tips for Making Flavored or Fruit-Added Plant-Based Yogurt?
Think of making flavored or fruit-added plant-based yogurt as painting a delicious masterpiece. To achieve perfect flavor blending, add your fruit or flavorings after fermentation, allowing a gentle fruit infusion that melds seamlessly. Mix thoroughly but gently to prevent breaking the yogurt’s texture. For vibrant fruit infusion, consider pureed berries or chopped fruit, and always taste-test to balance sweetness and tartness—your personalized, tasty creation awaits!
Conclusion
With a little patience and experimentation, you’ll craft plant-based yogurt that’s as velvety as a sunset sky and bursting with personalized flavors. Think of your homemade creation as a tender embrace, nourishing both body and soul. Each batch is a blank canvas, waiting for your touch to perfect its texture and taste. So, immerse yourself in the process with enthusiasm—your delicious, wholesome yogurt masterpiece is just a spoonful away, ready to warm your heart and brighten your day.