
Starting with fermentation kits can feel intimidating at first, but you’re not alone. Focus on small steps like choosing simple recipes and using beginner-friendly equipment such as glass jars or plastic containers. Keep your environment consistent, follow basic safety practices, and be patient as your skills grow. Mistakes are normal and part of learning. If you stick with it, you’ll discover easy techniques and confident ways to make delicious ferments. The more you explore, the easier it gets.
Key Takeaways
- Start with simple fermentation kits to build confidence without feeling overwhelmed.
- Focus on small, manageable steps rather than aiming for perfection early on.
- Learn basic techniques and common myths to dispel fears and understand the process better.
- Use proper equipment and hygiene practices to ensure safety and reduce anxiety.
- Remember that mistakes are normal; patience and practice will improve your skills over time.
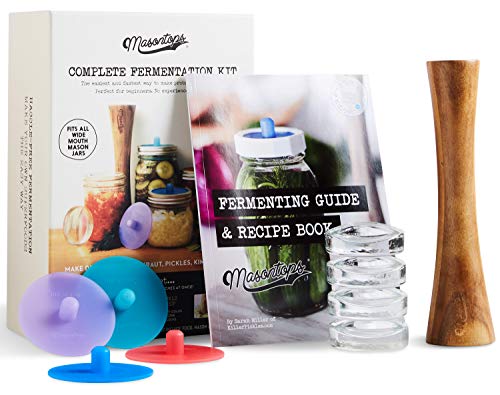
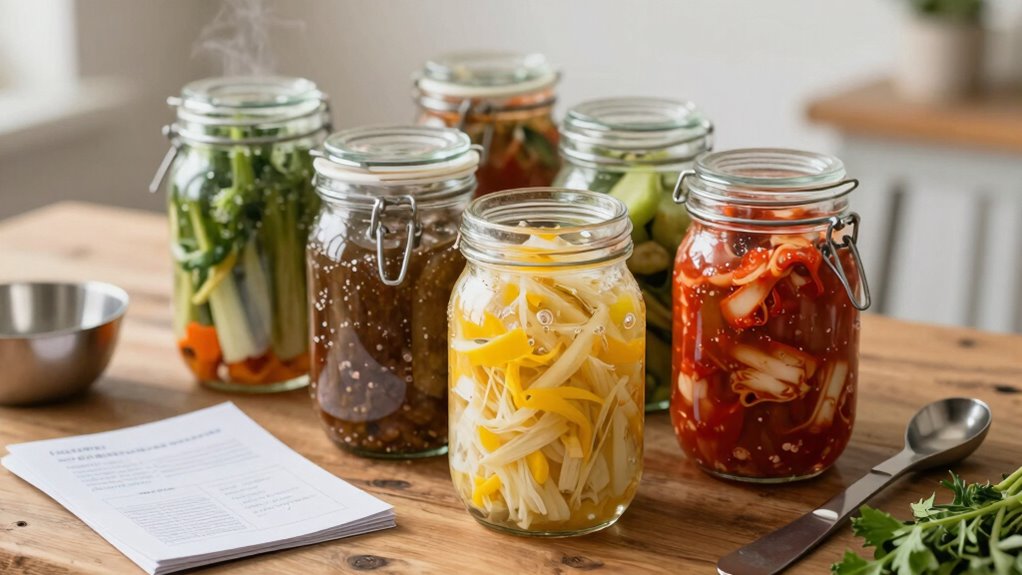
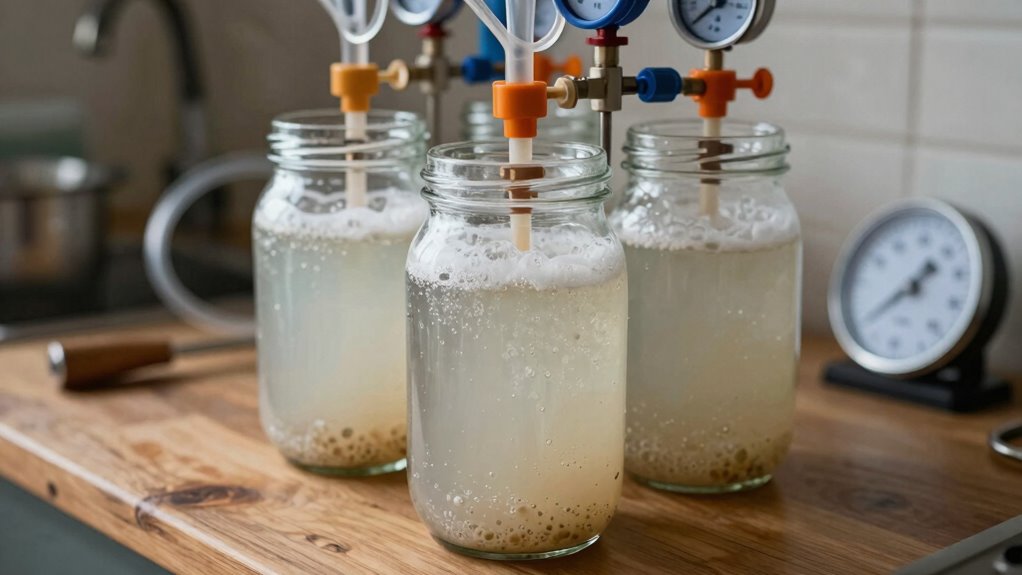
Masontops Complete Mason Jar Fermentation Kit – Pickle Kit, Sauerkraut Making Kit Kimchi Container – Fermentation Airlock Lids Wide Mouth Mason Jars
- Complete Fermentation Kit: Includes all necessary tools for fermentation
- Fits 4 Mason Jars: Converts four wide mouth jars into fermenters
- 9-Piece Starter Set: Includes lids, weights, tamper, and recipe book
As an affiliate, we earn on qualifying purchases.
As an affiliate, we earn on qualifying purchases.
Overcoming the Initial Fear of Fermentation Kits
Starting with fermentation kits can feel overwhelming at first, especially if you’ve never tried fermenting before. Mental barriers often make you doubt your ability, and beginner confidence can take a hit. Remember, everyone starts somewhere, and small steps build trust in your skills. Instead of aiming for perfection right away, focus on learning the basics and enjoying the process. It’s normal to feel unsure, but don’t let fear hold you back. Break down each step into manageable tasks, and celebrate your progress. Confidence grows as you gain experience, so give yourself permission to make mistakes. With patience and practice, what once felt intimidating becomes a rewarding part of your routine. You’ve got this—just take that first step. Exploring digital concepts can also help you find new ways to approach learning and troubleshooting.
Essential Equipment for Beginners
You’ll need some basic fermentation containers, like glass jars or crocks, to get started. Along with those, essential kitchen tools such as a stirring spoon and a strainer will help you prepare and manage your ferments. With these simple items, you’re ready to begin your fermentation journey confidently.
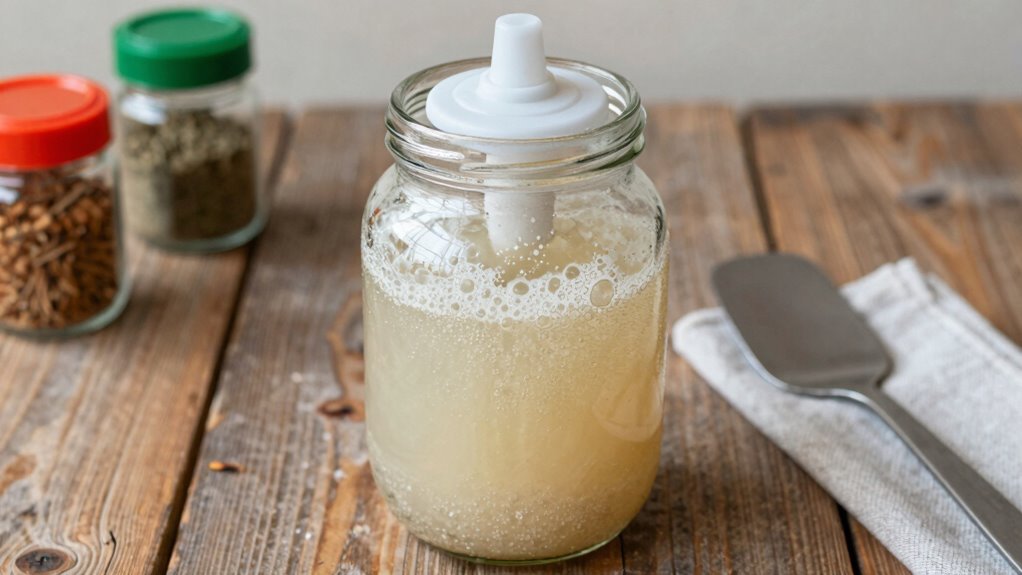
Basic Fermentation Containers
Choosing the right fermentation containers is a crucial first step for beginners, as they provide a safe and clean environment for your fermenting projects. There are various fermentation container types, including glass jars, food-grade plastic buckets, and ceramic crocks. Glass is popular because of its non-reactive nature and easy cleaning, making it a safe choice for food contact and material safety. Plastic containers are lightweight and affordable but must be food-grade to prevent chemical leaching. Ceramic crocks offer traditional appeal and good insulation, but make sure they’re food-safe and free of lead or other harmful substances. material safety is essential to prevent contamination and ensure your fermentation process remains healthy and successful. Additionally, selecting best woods for farmhouse tables can inspire a rustic and charming touch in your kitchen or fermentation space. When choosing containers, it’s also helpful to consider large number conversions to understand the capacity and scale of your fermentation batches accurately. Being aware of fermentation vessel sizes can help you plan your projects more efficiently, especially as you advance in your brewing skills. For beginners, understanding the ideal fermentation environment can significantly impact the success of your fermentations.
Essential Kitchen Tools
Having the right kitchen tools on hand makes beginning your fermentation journey much easier. A sharp knife helps you prepare ingredients efficiently, while a cutting board provides a stable surface for experimenting with different flavor combinations. A fermentation weight keeps your produce submerged, respecting the fermentation history of preserving food safely. A funnel simplifies transferring liquids without spills. Basic tools like a clean jar and a stirring spoon are essential for mixing and storing. These tools allow you to focus on the process rather than struggle with equipment. Proper kitchen organization can also streamline your fermentation process and reduce clutter. Starting with essential tools makes the process approachable, even for beginners enthusiastic to learn and enjoy the art of fermentation. Having the right setup ensures you’re following time-tested fermentation techniques that contribute to successful results. Additionally, understanding how to maintain and care for your tools helps prolong their usability and keeps your fermentation environment hygienic. Learning about auditory processing can also help you better understand the sounds involved in the fermentation process, like the bubbling or fizzing, which are signs of active fermentation. Incorporating knowledge about proper cleaning procedures further ensures your tools remain sanitary and safe for ongoing use.
How to Prepare Your First Fermentation Batch
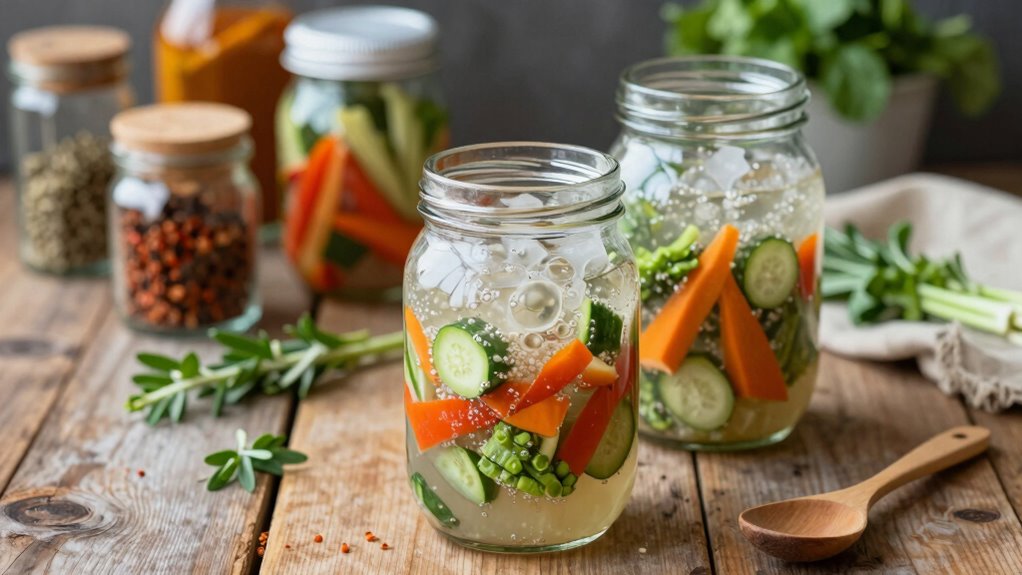
To prepare your first fermentation batch, start by choosing fresh, quality ingredients suited for your recipe. Next, guarantee your fermentation environment maintains stable conditions, like the right temperature and proper airflow. Keeping these factors in check helps your fermenting process go smoothly and produces great results.
Selecting the Right Ingredients
Getting started with your first fermentation batch requires selecting the right ingredients to guarantee success. Focus on flavor combinations that excite you, whether it’s tangy sauerkraut or spicy kimchi. Fresh, high-quality ingredients are essential, so ingredient sourcing matters—choose organic produce if possible and avoid heavily treated or processed items. For vegetables, stick to crisp, firm produce free of blemishes. If you’re using herbs or spices, select vibrant, aromatic options for the best flavor. Keep in mind that different ingredients can influence fermentation time and taste, so plan accordingly. Always wash your ingredients thoroughly before starting. Proper survival gear maintenance and careful ingredient selection can help ensure a successful fermentation process. Additionally, understanding market trends can guide you in choosing ingredients that are both fresh and in season, enhancing your fermentation results. By carefully choosing your ingredients, you set a solid foundation for a successful fermentation experience.
Ensuring Proper Fermentation Conditions
Creating the right environment for fermentation is essential to guarantee your batch turns out safe and delicious. Temperature, humidity, and cleanliness influence fermentation conditions and directly impact flavor profiles. Keep your fermentation vessel in a stable, room-temperature spot, ideally between 65-75°F, to support consistent microbial activity. Avoid sudden temperature changes, which can hinder fermentation or produce off-flavors. Understanding fermentation history helps you appreciate how different conditions shape flavor profiles, from tangy sauerkraut to bubbly kombucha. Properly prepared, your environment encourages beneficial bacteria and yeasts to thrive, resulting in a successful batch. Regularly check for signs of mold or spoilage, ensuring safety. Maintaining optimal fermentation conditions is crucial for producing high-quality, flavorful results. Additionally, monitoring environmental factors can help you fine-tune your process and achieve consistent results every time. Paying attention to microbial activity can also provide clues on whether your fermentation is progressing correctly. Being aware of contamination risks is essential to prevent spoilage and ensure the safety of your fermented foods.
Common Fermentation Mistakes to Watch Out For

Fermentation can seem straightforward, but a few common mistakes can derail your progress if you’re not careful. One mistake is ignoring proper hygiene, which can introduce unwanted bacteria and spoil your batch. Another is misunderstanding fermentation myths; for example, thinking bubbles always mean it’s ready, which isn’t always true. Additionally, improper temperature control can cause inconsistent flavor variations or halted fermentation. To avoid these pitfalls, understanding air fryer accessories can help you maintain a consistent environment for fermentation. Paying attention to temperature regulation is essential, as fluctuations can significantly impact the quality of your ferment. Ensuring a stable environment is crucial, as consistent conditions help achieve optimal fermentation results and prevent contamination from fluctuating air quality or humidity levels.
How Do You Know When Your Fermentation Is Ready?
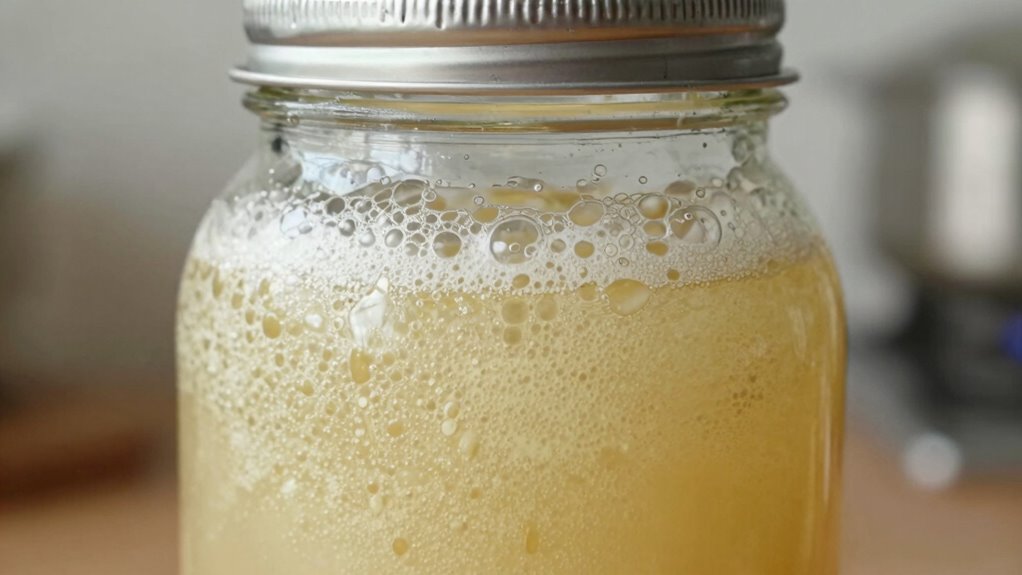
Even if you’ve followed all the steps correctly, knowing exactly when your fermentation is complete can be tricky. The key is observing flavor development; as fermentation progresses, you’ll notice the taste becoming more balanced and tangy. Relying solely on time isn’t enough, as fermentation timelines can vary depending on temperature and ingredients. Usually, your ferment should smell pleasantly sour and have a lively, bubbly surface. Check for signs like a slow, steady bubbling or a slight layer of sediment—these indicate active fermentation. Don’t rush the process; tasting small samples helps determine if the flavors have matured. When the flavor is to your liking and the texture feels right, your fermentation is likely ready to enjoy. Additionally, monitoring fermentation environment conditions, such as temperature and air exposure, can help ensure a successful process. Being aware of fermentation specifics like optimal temperature ranges and starter cultures can further improve your results.
Troubleshooting Fermentation Problems
When your fermentation isn’t going as planned, it can be frustrating, but most issues have simple solutions. If you’re noticing unusual flavor variations, don’t assume something’s wrong—fermentation myths can lead you to unnecessary worries. Sometimes, a strange taste or aroma is normal, especially in early stages or with certain ingredients. If bubbles stop or fermentation stalls, check your temperature and verify your seal isn’t too tight, as oxygen or a lack of it can hinder the process. If mold appears, discard the batch and clean thoroughly. Remember, consistency is key, but small hiccups are part of learning. Troubleshooting requires patience, and understanding common fermentation myths can help you stay confident and focused on achieving delicious results.
Keeping Your Fermentation Safe and Hygienic
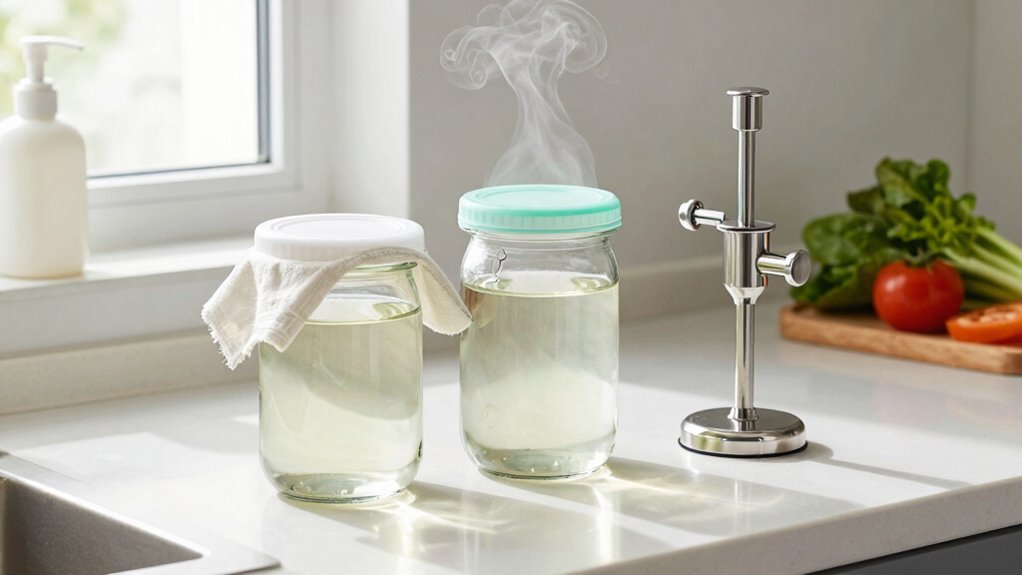
Maintaining proper hygiene is essential to prevent contamination and guarantee your fermentation turns out safe and delicious. Good hygiene practices protect your batch and assure fermentation safety. Always wash your hands thoroughly before handling ingredients or equipment. Sterilize tools, jars, and utensils to eliminate bacteria or mold spores. Keep your workspace clean and dry to prevent unwanted microbes from invading. Use airtight containers to minimize exposure and monitor your fermentation regularly for signs of spoilage.
- Wash everything with hot water and soap before use
- Use food-safe sanitizers on all equipment
- Keep fermentation area free of dust and debris
- Store ingredients in a cool, clean environment
Following these hygiene practices helps you enjoy safe, successful fermentation every time.
Easy Fermentation Recipes for Beginners
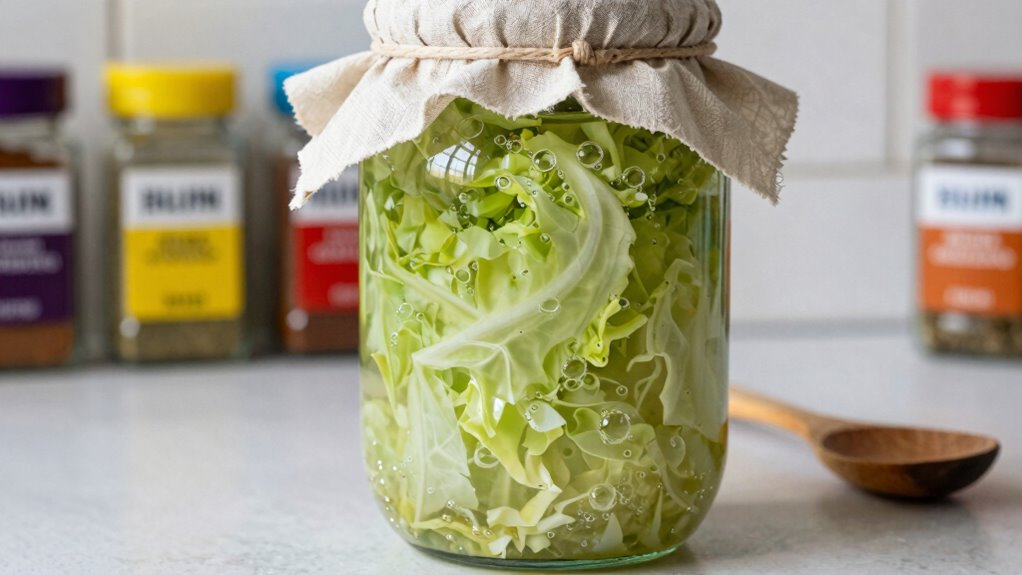
Getting started with fermentation doesn’t have to be complicated. Simple recipes like sauerkraut or quick kimchi are perfect for beginners. These projects allow you to explore flavor combinations—think garlic and ginger or caraway seeds—that suit your taste. You can also honor cultural traditions by trying traditional recipes from different regions, such as Korean kimchi or Eastern European sauerkraut. Basic fermenting ingredients, like cabbage or cucumbers, are affordable and easy to find. Just guarantee proper cleanliness and follow simple steps: chop, add salt or brine, and let it ferment at room temperature. These beginner-friendly recipes build confidence while showcasing how fermentation can enhance your meals with diverse flavors and cultural insights.
Next Steps: Exploring Advanced Fermentation Techniques

Once you’ve mastered basic fermentation recipes, it’s time to explore more advanced techniques that can elevate your craft. Experimenting with flavor combinations allows you to create unique profiles, whether adding herbs, spices, or fruits. Fine-tuning fermentation timing is vital; shorter periods can preserve freshness, while longer ones deepen flavors. To push your skills further, try:
- Adjusting fermentation temperatures for nuanced results
- Incorporating wild or secondary fermentations for complexity
- Using different starter cultures to diversify flavors
- Balancing acidity and sweetness for perfect harmony
These techniques require attention to detail but reward you with richer, more sophisticated ferments. As you grow confident, you’ll access endless possibilities, turning simple recipes into personalized culinary masterpieces.
Frequently Asked Questions
Can Fermentation Kits Be Used for Non-Food Items?
Yes, fermentation kits can be used for non-food items. You might be surprised, but they’re great for decorative projects like creating unique, textured finishes or aging natural materials. By experimenting with fermentation, you can develop interesting patinas or eco-friendly dyes. Just make certain you use the kit appropriately, and enjoy exploring creative ways to incorporate fermentation into your non-food projects. It’s a fun, versatile process once you get started.
How Long Does Fermentation Typically Take?
The fermentation timeline varies depending on what you’re making, but generally, fermentation duration can range from a few days to several weeks. For example, sauerkraut usually takes one to four weeks, while kombucha can ferment in about a week. Keep an eye on signs of readiness, like bubbling or sour smell, and remember, patience is key. The overall fermentation timeline depends on factors like temperature and ingredients, so adjust accordingly.
Are There Allergens in Homemade Fermented Foods?
They say “better safe than sorry,” and that’s true for homemade fermented foods. Allergen awareness is key—check ingredients carefully, especially if you or others have food allergies. You can make ingredient substitutions, like using coconut aminos instead of soy sauce. While most fermented foods are safe, always label and test new recipes to avoid unexpected allergic reactions, ensuring your fermentation journey is both delicious and safe.
What’s the Best Way to Store Fermented Products?
The best way to store fermented products is in airtight storage containers, which prevent contamination and preserve freshness. Keep them in a cool, consistent temperature—ideally between 60-70°F—to slow down fermentation and maintain flavor. Avoid exposing containers to direct sunlight or temperature fluctuations. Regularly check for mold or off-odors, and make sure lids are secure. With proper storage, your fermented foods stay delicious and safe to enjoy longer.
Is It Safe to Ferment at Home During Summer?
Yes, it’s safe to ferment at home during summer, but you need to prioritize fermentation safety. Summer temperatures can speed up fermentation, so keep an eye on the process and maintain consistent conditions. Use a thermometer to monitor temperature, ideally keeping it between 65-75°F. Store your ferments in a cool, dark place, and check regularly to prevent over-fermentation or spoilage, ensuring your fermented products stay safe and delicious.
Conclusion
Starting with fermentation kits might feel overwhelming, but remember, every expert was once a beginner. Think of fermentation like planting a seed—initially uncertain, but with patience and care, it blossoms into delicious results. Just as a small spark can ignite a big fire, your first batch can lead to a world of flavorful, healthy creations. Embrace the process, learn from mistakes, and soon you’ll see fermentation as a fun, rewarding adventure rather than a formidable task.