The bread machine settings that secretly matter most are those controlling crust color, rise time, and baking cycle. Adjusting crust settings affects texture and flavor, while controlling rise time ensures your bread isn’t dense or flat. Choosing the right cycle for your bread type and using delay timers or keep-warm features helps keep your loaf fresh. If you want to master these essential details, you’ll discover how to customize every bake for perfect results.
Key Takeaways
- Crust and cycle settings significantly influence bread texture, flavor, and appearance beyond just basic timing.
- Proper temperature control during kneading and baking ensures optimal dough rise and final bread quality.
- Customizing loaf size and shape impacts baking time, crust thickness, and overall presentation.
- Ingredient substitutions require adjustments in cycle and settings to achieve consistent rise and flavor.
- Troubleshooting ingredient freshness, measurement, and environmental factors can prevent common baking issues.
How Do Bread Machine Settings Impact Your Loaf’s Success?
Your bread machine’s settings play a crucial role in determining whether your loaf turns out perfect or falls flat. The right settings impact not just texture and rise but also flavor enhancements. For example, selecting the correct crust setting can bring out richer flavors, while adjusting the kneading cycle influences ingredient incorporation. If you want to experiment with ingredient substitutions, such as using gluten-free flour or adding herbs, the settings might need tweaking to guarantee a successful bake. These adjustments can help compensate for different ingredient properties, ensuring your bread still rises well and develops the desired taste. Understanding how your machine’s settings influence these factors allows you to customize recipes, making each loaf a delicious reflection of your preferences.
Understanding How Your Bread Machine Works

To make the most of your bread machine, grasping how it operates is essential. Your machine combines ingredients, environment, and timing to create bread. Fresh ingredients, especially yeast and flour, guarantee proper fermentation and rise. The baking environment, including temperature and humidity, influences how well your dough proofs and bakes. Here’s a quick overview:
| Step | What Happens | Key Factors |
|---|---|---|
| Mixing | Ingredients combine into dough | Ingredient freshness, temp |
| Kneading | Gluten develops for structure | Duration, speed |
| First Rise | Dough ferments and expands | Environment humidity and temperature |
| Shaping | Dough is prepared for baking | Consistency and timing |
| Baking | Bread is baked to golden perfection | Oven heat and timing |
Understanding these processes helps you troubleshoot and optimize your bread. Proper temperature control during each stage can significantly impact the final result. Additionally, using specialized baking equipment like proofing baskets or temperature-controlled environments can enhance consistency and quality. Recognizing how each step interacts with the others can lead to better bread outcomes and a more satisfying baking experience. Paying attention to environmental factors such as humidity and ambient temperature can make a measurable difference in your bread’s texture and rise.
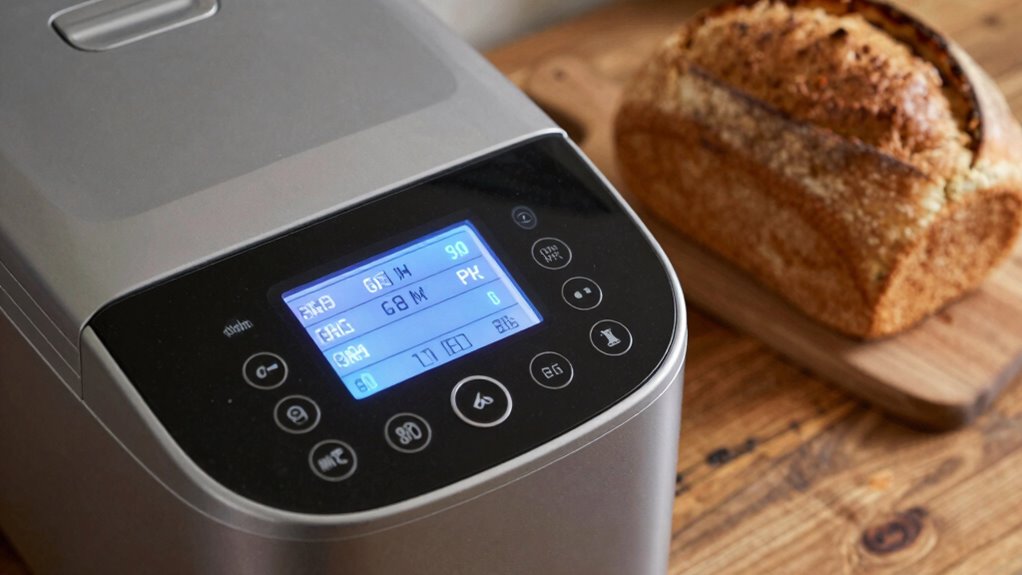
How to Adjust Crust Color Settings for Perfect Bread

Adjusting the crust color settings on your bread machine can make a significant difference in achieving the perfect loaf. It influences both the crust color and crust thickness, giving you control over how dark or light your bread turns out. To get it just right, consider these tips:
Adjust crust color settings for perfect, appealing bread with ideal crust thickness and texture.
- Set the crust color to dark for a richer, crunchier crust
- Choose light for softer, paler crusts
- Use medium for a balanced, golden finish
- Adjust based on your bread type—whole grain may need darker settings
- Remember, thicker crusts often require darker settings to achieve the desired crust color
- Incorporate baking preferences that complement your bread style, helping you tailor the crust to your liking
- Understanding bread machine settings can help you fine-tune your baking process for better results
- Familiarizing yourself with crust color adjustments can help you better anticipate the outcome before baking, especially if you consider how oven temperatures influence crust development.
Why Rise Time Matters and How to Control It

Rise time affects the bread’s texture and flavor, so understanding what influences it is key. You can regulate rise time by adjusting temperature settings and monitoring how much the dough expands during proofing. Keeping an eye on these factors ensures your bread turns out just right every time. Additionally, practicing patience and embracing imperfections can lead to more satisfying baking results. Being mindful of yeast activity can also help you better control the fermentation process for optimal rise. For example, understanding the role of temperature regulation in maintaining consistent fermentation conditions is essential for achieving the desired rise. Properly managing proofing environment helps ensure a uniform rise and better bread quality.
Factors Influencing Rise Time
The amount of time dough takes to rise considerably impacts the final texture and flavor of your bread, making it an essential factor to control. Factors influencing rise time include how quickly dough fermentation occurs and how effectively yeast activation happens.
You can tweak these factors by considering:
- The freshness of your yeast, as expired yeast slows fermentation
- The amount of sugar, which helps yeast activate faster
- The dough’s hydration level, affecting yeast activity
- The room temperature, since warmer environments speed up rise time
- The kneading process, as proper gluten development supports consistent fermentation
- Monitoring fermentation conditions can also help optimize your rise time for better bread quality. Maintaining optimal water chemistry can influence yeast health and activity, indirectly affecting fermentation speed. Additionally, ensuring the correct environment can further enhance yeast performance and improve overall rise consistency. Proper temperature and humidity levels are crucial for maintaining the ideal terrace gardening conditions that support healthy yeast activity. Being mindful of yeast health can also lead to more predictable and reliable rise times, resulting in better baking results.
Adjusting Temperature Settings
Controlling the temperature during bread making directly influences how quickly your dough ferments and rises. If you want a richer flavor enhancement, adjusting the temperature can help develop deeper flavors by modifying yeast activity. Lower temperatures slow fermentation, allowing more complex flavors to develop, while higher temperatures speed up rise time. This control also allows for ingredient substitution, such as using dairy or sweeteners, which respond differently to temperature changes. By fine-tuning your bread machine’s temperature settings, you can achieve the desired rise time, ensuring your bread isn’t under- or over-proofed. Proper temperature control is key to customizing your bread’s texture and taste. Additionally, understanding the physical and emotional needs of your bread, like proper fermentation, can improve overall results. Being aware of the style and texture of your bread can help you select the ideal temperature setting for each specific loaf, and adjusting these settings can also help you accommodate different proofing environments for consistent results. Recognizing the importance of temperature control can make a significant difference in the final outcome of your baking. Moreover, maintaining consistent temperature environments can help achieve more predictable and reliable baking results.
Monitoring Dough Expansion
Monitoring dough expansion is essential because it directly impacts the final texture and flavor of your bread. When you watch how your dough rises, you can better control the ideal rise time, guaranteeing perfect yeast activation and dough hydration. Overproofed dough can become dense, while underproofed dough may be flat and gummy. To keep things on track, consider these tips:
- Check for a smooth, puffed-up surface
- Feel for a slight springiness when gently pressed
- Adjust rising time based on room temperature
- Guarantee yeast is fresh for consistent activation
- Maintain proper dough hydration to support even expansion
Choosing the Right Bread Size and Shape Settings

Have you ever wondered how to select the perfect bread size and shape for your machine? Choosing the right loaf size and bread shape guarantees your bread fits your needs and your machine’s capacity. Most machines offer options like small, medium, or large loaf sizes, affecting baking time and crust. Bread shape options, such as round or elongated, influence the appearance and texture. Use the table below to match your preferences:
| Loaf Size | Bread Shape | Ideal Use |
|---|---|---|
| Small | Round | Snack-sized, quick baking |
| Medium | Standard | Daily bread, sandwiches |
| Large | Elongated | Family servings, storage |
Select wisely to optimize your baking experience!
How Delay Timers and Keep-Warm Features Keep Your Bread Fresh
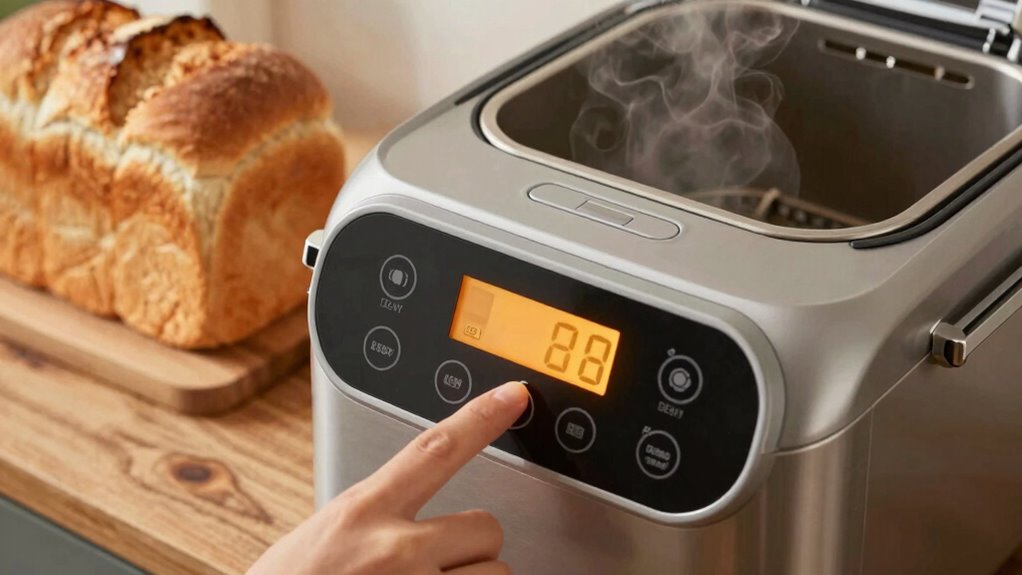
Once you’ve chosen the right bread size and shape, you might want your fresh loaf ready exactly when you need it. Delay timers and keep-warm features help you achieve this, ensuring your bread stays fresh and delicious. Using delay timers, you can align baking with your schedule, so your bread is hot and ready upon your arrival, preserving its flavor pairing. Keep-warm functions prevent bread from drying out or becoming stale, maintaining softness even if you delay slicing. For best results, consider ingredient substitutions that enhance freshness, like adding herbs or seeds after baking. These features give you flexibility and control, helping you enjoy bakery-quality bread anytime without sacrificing freshness or flavor.
- Schedule baking around busy mornings
- Keep bread warm without drying out
- Adjust flavor pairing with fresh toppings
- Use ingredient substitutions for added flavor
- Enjoy hot bread whenever you want
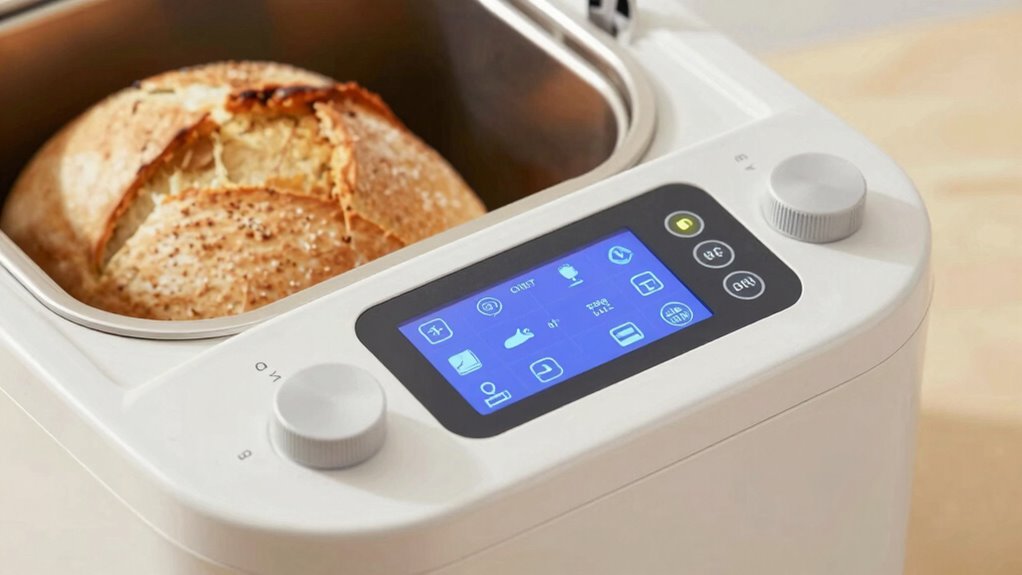
Selecting the Best Baking Cycle for Different Types of Bread

Choosing the right baking cycle is essential for achieving the perfect crust and texture for different types of bread. Different cycles are designed to optimize results, whether you’re making a soft white loaf or a hearty whole grain. Pay attention to the cycle’s settings to enhance flavor combinations, especially when experimenting with ingredient substitutions like honey, nuts, or dried fruits. Selecting the appropriate cycle guarantees the bread develops the desired crumb and crust. For denser breads, choose a cycle with longer kneading and baking times, while lighter breads benefit from shorter cycles. By matching the cycle to your bread type, you improve texture and flavor, making your homemade bread consistently delicious and tailored to your preferences.
Troubleshooting Common Bread Machine Setting Issues
Even with careful attention to your bread machine settings, issues can still arise that affect the final product. If your bread turns out dense, uneven, or lacking flavor, troubleshooting can help. For flavor variations, ensure you’re using the right ingredients and not skipping essential steps. When making ingredient substitutions, remember that different flours or sweeteners may require adjustments to the cycle or liquid amounts. Common issues include under- or over-kneading, which can be fixed by adjusting cycle times or ingredient ratios. Additionally, temperature settings might need tweaking if your bread isn’t rising properly. Keep these tips in mind:
- Check ingredient measurements and freshness
- Adjust for ingredient substitutions
- Verify cycle settings match your bread type
- Monitor dough consistency during kneading
- Experiment with flavor variations to find what works best
Frequently Asked Questions
Can I Customize Bread Machine Settings for Gluten-Free Recipes?
Yes, you can customize bread machine settings for gluten-free recipes. Use gluten-free adjustments like selecting a shorter kneading cycle and a different crust setting. Employ customization techniques such as manually adjusting the rise time or using the dough-only cycle. Keep in mind, experimenting with these settings helps you find the perfect texture and consistency for your gluten-free bread, ensuring better results than sticking strictly to preset options.
Do Different Bread Machine Brands Have Unique Setting Options?
Ironically, you might think all bread machine brands are identical, but they often have unique setting options. This variation directly impacts bread quality, making bread machine maintenance crucial for baking consistency. Different brands may offer specialized settings for gluten-free or artisan loaves, so exploring these options helps you master your bread’s texture. Embracing these differences ensures your baking remains consistently excellent, regardless of the brand you choose.
How Do Ambient Temperature and Humidity Affect Settings?
Ambient temperature and humidity influence your bread machine’s settings by affecting oven calibration and ingredient adjustments. If it’s hot and humid, your dough may need less liquid or longer mixing times, while cooler weather might require more water and longer kneading. Pay attention to how your ingredients behave, and tweak settings accordingly to guarantee perfect bread. Adjust oven calibration if your loaves consistently turn out dense or undercooked, regardless of settings.
Are There Settings for Making Specialty Breads Like Sourdough or Brioche?
Yes, your bread machine often has specific settings for making specialty breads like sourdough or brioche. These settings incorporate artisan techniques and flavor enhancements, such as longer fermentation times or extra kneading, to develop complex textures and flavors. Using these specialized presets guarantees your bread benefits from proper fermentation and rise, giving you bakery-quality results at home. Always check your machine’s manual for tailored settings for these delicious varieties.
How Often Should I Clean or Calibrate My Bread Machine Settings?
You should clean your bread machine regularly, ideally after every few uses, to prevent dough buildup and guarantee peak performance. Incorporate cleaning routines that include wiping down the pan and kneading blade. Calibration techniques are also essential—use them when you notice inconsistencies in baking results or after moving the machine. Periodically check and recalibrate the settings to keep your bread consistently perfect, making sure your machine functions smoothly over time.
Conclusion
Think of your bread machine as a trusted compass guiding your baking journey. Each setting is a marker on the map, directing you toward perfectly baked loaves. By understanding and adjusting these hidden signals, you navigate past pitfalls and steer toward success. With patience and a keen eye, you’ll find that even the smallest setting can shape your bread’s destiny—transforming simple ingredients into a warm, inviting beacon of homemade comfort.