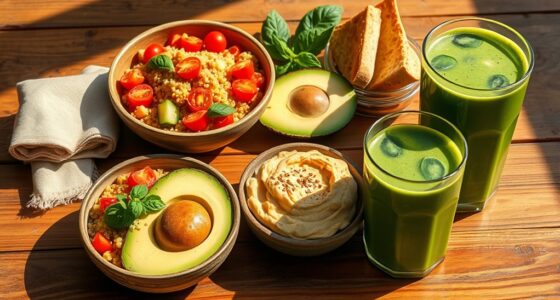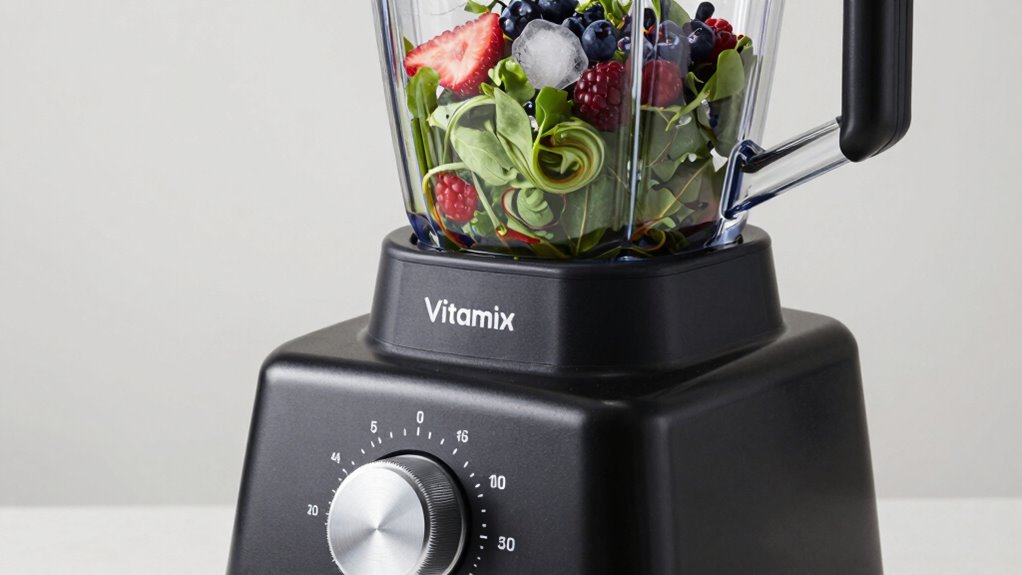
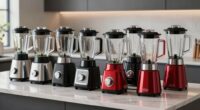
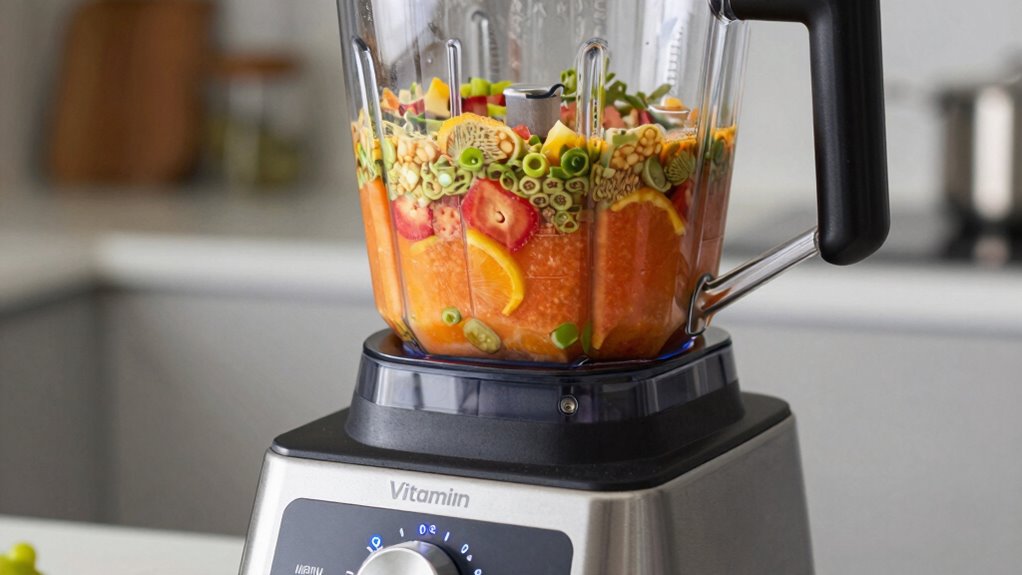
Vitamix speed settings control the blender’s power level and texture outcome, from gentle mixing to tough ingredient crushing. Lower speeds are ideal for soft ingredients, smoothies, and sauces where delicate blending is needed, while high speeds quickly break down ice, nuts, and tough produce. The variable control helps fine-tune textures, and the pulse function offers precise chopping and layering. Understanding each setting helps you get perfect results—exploring this more can elevate your blending skills.
Key Takeaways
- Lower speeds are ideal for gentle mixing, soft ingredients, and controlling texture, while higher speeds efficiently break down tough items.
- Speed controls allow precise adjustments for different recipes, from smoothies and sauces to nut butters and ice crushing.
- Pulsing functions provide quick stops and starts, perfect for chunkier textures, chopping, and layered blending.
- High speeds (speed 8-10) are used for grinding tough ingredients, achieving smooth textures, and making creamy mixtures.
- Regular cleaning and blade maintenance help preserve optimal performance across all speed settings.
What Do Vitamix Speed Settings Do and When Should I Use Them?
Understanding what Vitamix speed settings do can help you achieve the best results for your recipes. The speed control allows you to adjust the blender’s power output, giving you greater control over blending consistency. Lower speeds are perfect for gentle mixing, such as stirring or combining ingredients without over-processing. Higher speeds maximize blender efficiency, breaking down tough ingredients like nuts and ice quickly. Using different settings lets you fine-tune texture and ensure even blending. For delicate tasks, start at a low or medium speed and increase gradually. When you need everything smoothly combined or finely pureed, crank it up to a high setting. Mastering these speed controls helps you get the most out of your Vitamix, guaranteeing ideal performance for every recipe. Additionally, understanding projector contrast ratio can improve your overall viewing experience by ensuring images have the appropriate depth and clarity. Being familiar with blending techniques can further enhance your culinary results and expand your recipe options. Knowing how to correctly utilize speed settings can also prevent over-processing and preserve ingredient textures, leading to better dish outcomes. Developing a good grasp of appropriate speed can also help you avoid common mistakes and optimize your blending process. Moreover, adjusting the texture of the blend according to your needs ensures that you achieve the desired consistency for various recipes.
Which Speed Is Best for Soft Ingredients and Gentle Mixing?
When blending soft ingredients or performing gentle mixing, choosing the right speed is key. Using the ideal speed setting helps you achieve smooth results without overprocessing. Precision control allows for delicate handling of ingredients, ensuring optimal textures and consistency. Properly adjusting your blender settings can prevent over-mixing and preserve the integrity of fragile components. Additionally, understanding the speed functions helps you tailor the blending process to specific textures and ingredients. Mastering speed management can greatly enhance your overall blending results and prevent unintended consequences. Being aware of how different speeds influence ingredient texture enables you to select the most appropriate setting for each task. Let’s explore some gentle blending techniques and the best speed options to get perfect consistency.
Gentle Blending Techniques
For soft ingredients and gentle mixing, starting with a low speed setting is your best bet. This allows you to carefully blend delicate fruit pairings without over-processing, preserving texture and flavor. Use the lower speeds to gently incorporate ingredients, ensuring you don’t turn a smooth mixture into a puree unless that’s your goal. When customizing recipes, these gentle techniques help you control the consistency, especially for smoothies or dressings. If you need a slightly more thorough blend, gradually increase the speed while maintaining a light touch. This approach prevents splattering and over-agitation, which can compromise the integrity of soft ingredients. Mastering Proper blending techniques ensures you get the perfect texture every time, tailored to your specific recipe and ingredient sensitivity. Understanding blending speed functions allows you to better adapt your technique for optimal results and avoid common financial planning mistakes that could impact your culinary budget or ingredient management. Additionally, being mindful of speed settings can help extend the lifespan of your Vitamix by reducing unnecessary wear on the motor.
Optimal Speed Settings
To achieve gentle mixing of soft ingredients, the ideal starting point is usually setting your Vitamix to low or variable speed. This allows you to control the blending process carefully, preventing overprocessing and preserving delicate textures. Using a lower speed also makes blender maintenance easier, as it reduces strain on blades and motor components. Proper speed selection is key to soft ingredient blending and maintaining your Vitamix’s performance. Once you get comfortable, you can gradually increase the speed for recipe customization, adjusting for thicker or more fibrous ingredients. For soft ingredients like ripe fruit or yogurt, stick to the lower settings to maintain a smooth, gentle consistency. This approach helps you avoid overheating or over-mixing, ensuring your recipes turn out just right every time. Additionally, sound frequency can impact how well your Vitamix performs and how smoothly it operates during different blending tasks. Understanding motor power can further optimize your blending experience and extend your blender’s lifespan. Being aware of blending speeds helps in choosing the correct setting for various ingredients and textures, leading to better results.
How Do I Choose the Right Speed for Smoothies and Sauces?
Choosing the right speed on your Vitamix is key to achieving smooth, well-blended smoothies and sauces. Start with a lower speed to break down softer ingredients and gradually increase as needed. For thicker blends, like hearty smoothies or chunky sauces, use higher speeds to ensure thorough mixing. Keep blade maintenance in mind; regular cleaning helps prevent buildup that can hinder blending efficiency. Noise reduction can be achieved by starting at a lower setting and gradually increasing, which minimizes loud vibrations. If you notice uneven blending or ingredients sticking, switch to a higher speed. Adjusting speeds thoughtfully guarantees your smoothies and sauces reach the perfect consistency while prolonging your Vitamix’s lifespan. Additionally, knowing the motor performance and how different speeds impact blending can help you optimize your results and prevent unnecessary wear on your machine. Understanding speed functions and their specific purposes allows for more precise control over various blending tasks. Familiarizing yourself with speed settings enables you to tailor your blending process to achieve the desired texture and consistency efficiently. Incorporating appropriate speed choices based on ingredient type can make your blending more effective and efficient. Moreover, experimenting with different speed combinations can help you discover new textures and improve your overall blending technique.
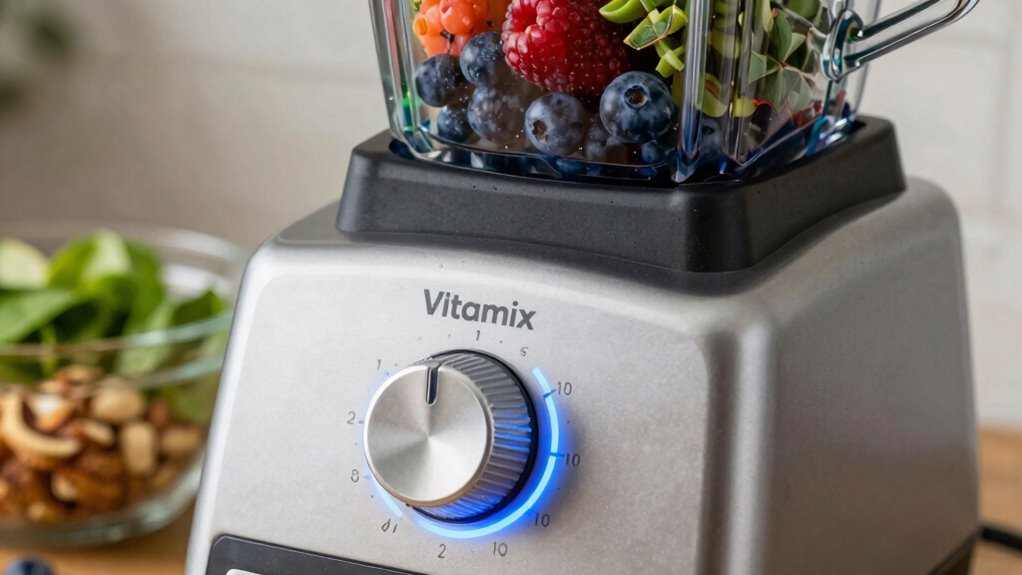
What Are the Best High Speeds for Crushing Ice and Making Nut Butters?

When you’re ready to tackle tougher tasks like crushing ice or making nut butters, high speeds on your Vitamix become your most valuable setting. Using the highest speeds guarantees your ingredients break down quickly and smoothly. For crushing ice, start at high speed while lightly pulsing for better control, preventing damage to the blades or container. When making nut butters, blend at top speed until the mixture reaches your desired consistency, often around 1-2 minutes. Remember, blending tips like avoiding overfilling and using the tamper can improve results. Regular equipment maintenance, such as cleaning the blades and checking for wear, keeps your Vitamix performing at its best during high-speed operations. This way, you get perfect texture every time without putting unnecessary strain on your machine.
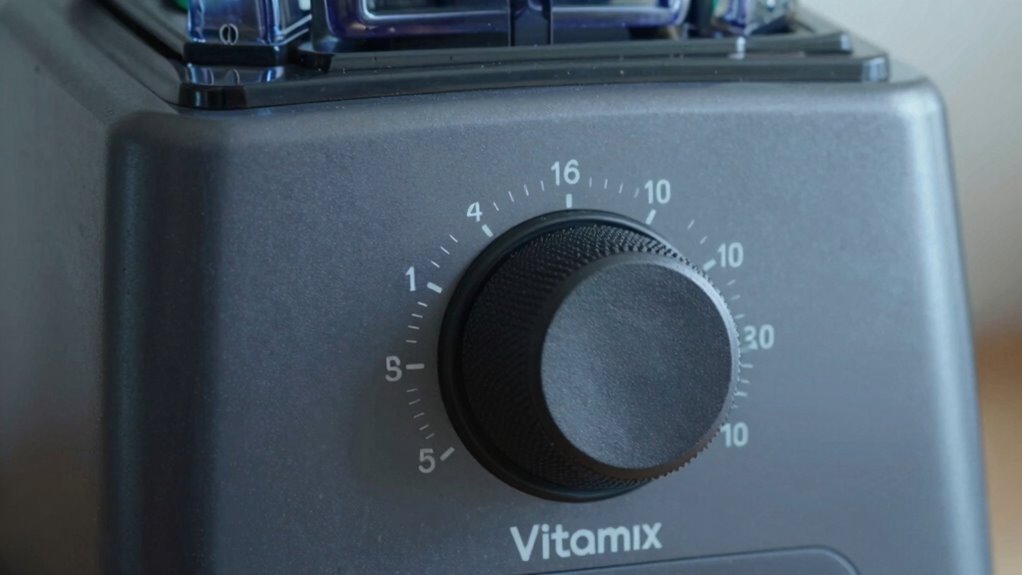
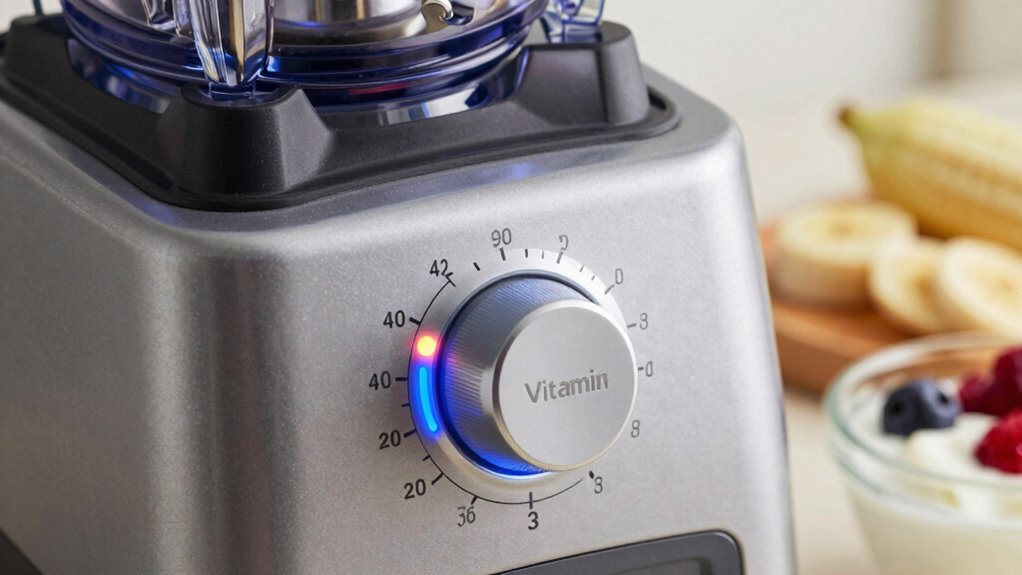
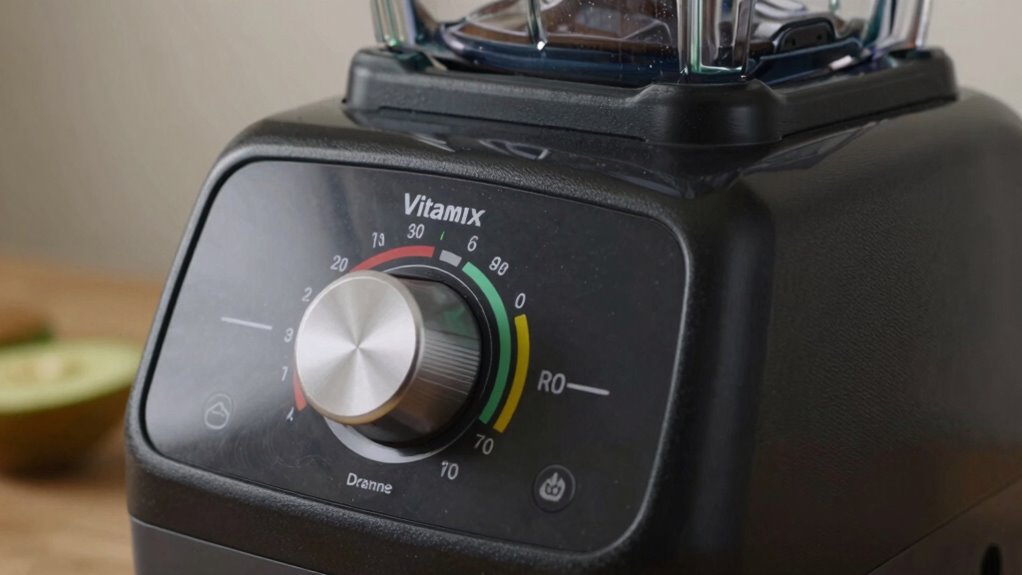
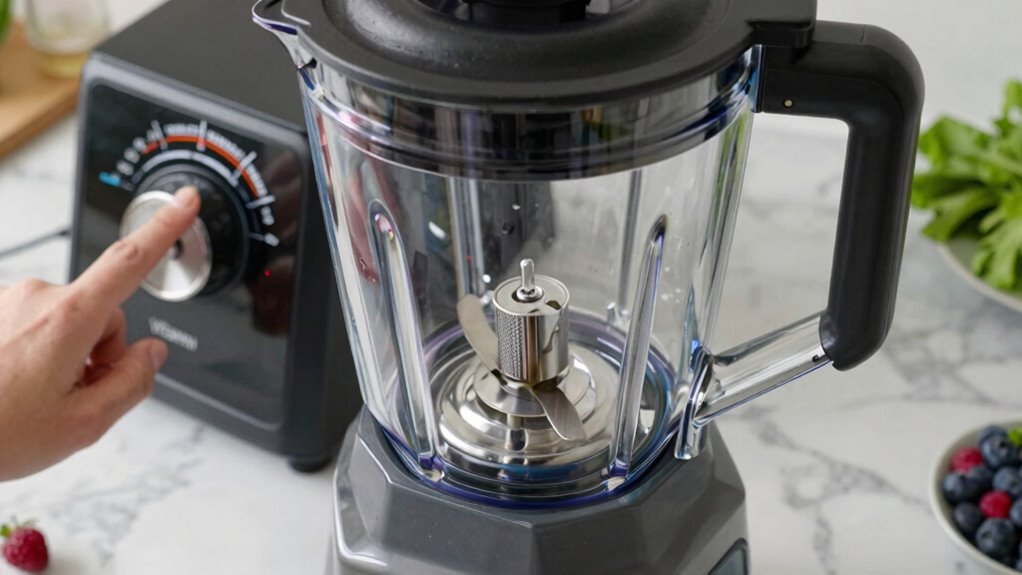
How Can I Use the Variable Speed Control for Perfect Texture?
You can achieve the perfect texture by adjusting the variable speed control carefully. Start slow to blend ingredients smoothly, then increase the speed as needed for consistency. Using the pulsing effect also helps you control texture precisely, especially for chunky or layered results.
Adjusting Speed For Texture
Adjusting the speed on your Vitamix is key to achieving the perfect texture for your recipes. By fine-tuning the variable speed control, you can manage texture control and ensure ingredients blend smoothly or remain chunky, depending on your goal. To improve ingredient integration, start at a lower speed to gently break down tougher ingredients, then gradually increase for a smoother consistency. For a creamier blend, push the speed higher, but avoid over-processing. Use the speed dial to target specific textures—whether you want coarse, thick, or silky results. Remember, slower speeds offer more control for delicate textures, while higher speeds create a uniform mixture. Adjusting speed precisely helps you tailor each blend to your desired outcome.
- Start slow for gentle ingredient mixing
- Gradually increase for smooth textures
- Use high speeds for creaminess
- Dial back for chunky or coarse results
Using Pulsing Effect
Using the pulsing effect with your Vitamix allows for more precise control over texture, especially when blending ingredients that require careful handling. Pulsing helps you avoid over-processing, giving you better control over the consistency. To use it effectively, start by selecting a low to medium speed, then press the pulse button in short bursts. This technique prevents the noise levels from becoming overwhelming and reduces strain on the blades, which benefits blade sharpening over time. Pulsing is ideal for chunky salsas or delicate ingredients that need gentle blending. It also helps you monitor progress closely, stopping when you reach the perfect texture. Incorporating pulsing into your routine ensures smoother blends without risking over-processing or dulling your blades prematurely.
When Should I Use the Pulse Function for Better Blending?
The pulse function is especially useful when you need more control over blending texture and consistency. It allows you to stop and start blending quickly, helping you achieve the perfect blend without over-processing. Use the pulse button when you want to maintain ingredient preservation, preventing ingredients from becoming too smooth or heated. It’s ideal for tasks like chopping vegetables, kneading dough, or creating chunky salsas. Pulsing also helps you adjust blending consistency on the fly, giving you better control over the final product.
The pulse function offers precise control for chunky textures and ingredient preservation.
- Achieving a chunky or coarse texture
- Preventing over-blending ingredients
- Preserving the freshness and nutrients of delicate items
- Gaining precise control over blending stages
Tips for Optimizing Your Vitamix Settings for Different Recipes
To get the most effective results from your Vitamix, it’s important to tailor the settings to suit each recipe’s specific needs. Adjust blending techniques and ingredient preparation accordingly. For smoothies, start slow, then increase speed for smooth texture. For nut butters, use high speeds and steady pressure. For hot soups, blend on variable speeds to incorporate ingredients smoothly. Use the table below as a guide:
| Recipe Type | Recommended Speed | Blending Technique |
|---|---|---|
| Smoothies | 3-5 | Pulse, then blend |
| Nut Butters | 8-10 | Steady, high-speed |
| Hot Soups | Variable | Start slow, then high |
| Ice Crushing | 10 | Quick, short bursts |
Adjust settings based on ingredient texture and desired consistency for advantageous results.
Frequently Asked Questions
Can I Blend Multiple Ingredients at Different Speeds Simultaneously?
Yes, you can do multitasking blending with your Vitamix by using the simultaneous speed control feature. This allows you to blend multiple ingredients at different speeds, giving you more control over texture and consistency. Simply add your ingredients, then adjust the speeds as needed during blending. This way, you can achieve precise results without stopping to change settings, making your blending process more efficient and versatile.
How Do I Clean the Vitamix After Blending Sticky or Thick Mixtures?
To clean sticky residues from your Vitamix, fill it halfway with warm water and a few drops of dish soap. Blend on high for 30 to 60 seconds to loosen stubborn mixtures. Rinse thoroughly with warm water afterward. Regular maintenance tips like cleaning immediately after use and avoiding abrasive scrubbers help keep your blender in top shape and prevent buildup of sticky residues.
Are There Safety Precautions When Using High-Speed Settings?
You should always wear safety gear when using high-speed settings on your Vitamix—think gloves or eye protection—just in case. Be alert for the emergency shutoff feature; it’s a vital safety net if the blender starts to overheat or vibrate excessively. Never operate the blender without paying close attention, and always follow the manufacturer’s instructions. Stay cautious, and your blending experience will be both safe and smooth.
How Long Should I Run the Blender at Each Speed for Optimal Results?
You should run your blender at each speed for about 20-30 seconds, adjusting as needed based on your recipe. Focus on blender timing and speed duration to achieve smooth results; start slow to blend ingredients, then increase speed for finer textures. Avoid overloading your Vitamix, and pause if needed to prevent overheating. Monitoring the mixture’s consistency helps determine the best blending time for perfect results every time.
Does the Vitamix Have Preset Programs for Specific Recipes?
Think of your Vitamix like a chef with a favorite recipe—some models have preset programs for automatic blending, making your tasks easier. Yes, many Vitamix blenders offer preset programs tailored for smoothies, hot soups, and more. These settings let you press a button and trust the machine to handle the rest, ensuring consistent results without guesswork. It’s like having a personal sous-chef working behind the scenes!
Conclusion
Master your Vitamix by understanding the settings, mastering the speed, and knowing when to pulse. Adjust your speeds for perfect textures, switch to high for crushing ice, and use low for gentle mixes. Practice switching between functions to enhance your recipes and elevate your blending game. With these tips, you’ll blend with confidence, create with precision, and enjoy consistently delicious results every time.