
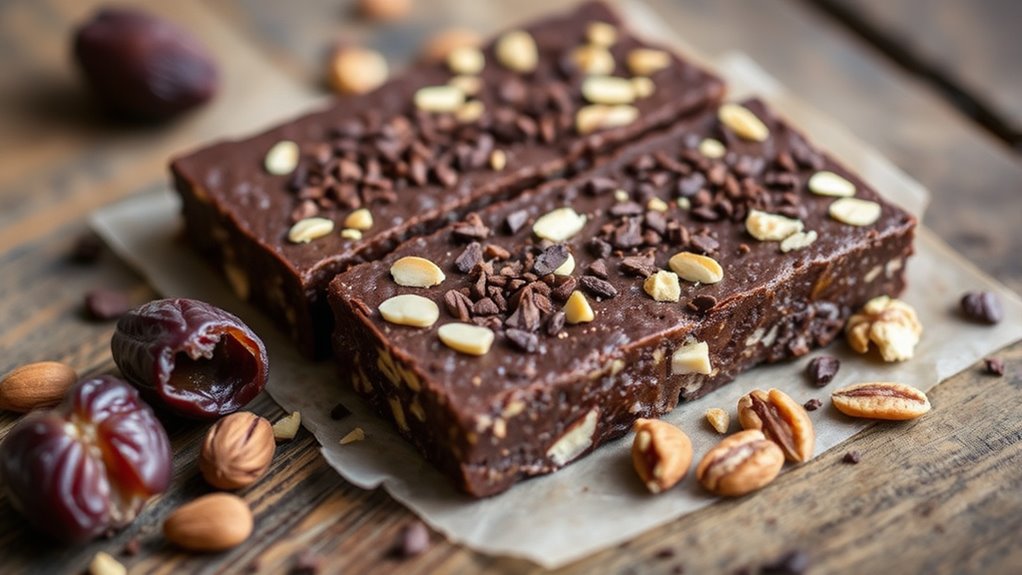
To make raw date-cacao energy bars, start by blending pitted dates into a sticky paste, adding water or lemon juice if needed. Mix in cacao powder and your favorite chopped nuts like almonds or walnuts. For extra flavor, toss in dried berries or coconut flakes. Press the mixture into a lined dish, chill until firm, then cut into bars. Proper storage keeps them fresh and tasty—continue for detailed steps and helpful tips.
Key Takeaways
- Use fresh, organic dates blended into a sticky paste as the base for raw energy bars.
- Incorporate raw cacao powder and chopped nuts for flavor, texture, and nutritional benefits.
- Add optional ingredients like dried berries, coconut flakes, or seeds to customize taste and boost antioxidants.
- Press the mixture into a lined dish and chill in the fridge until firm before cutting into bars.
- Store the bars in airtight containers in the fridge or freezer to maintain freshness and extend shelf life.
Gathering Your Ingredients
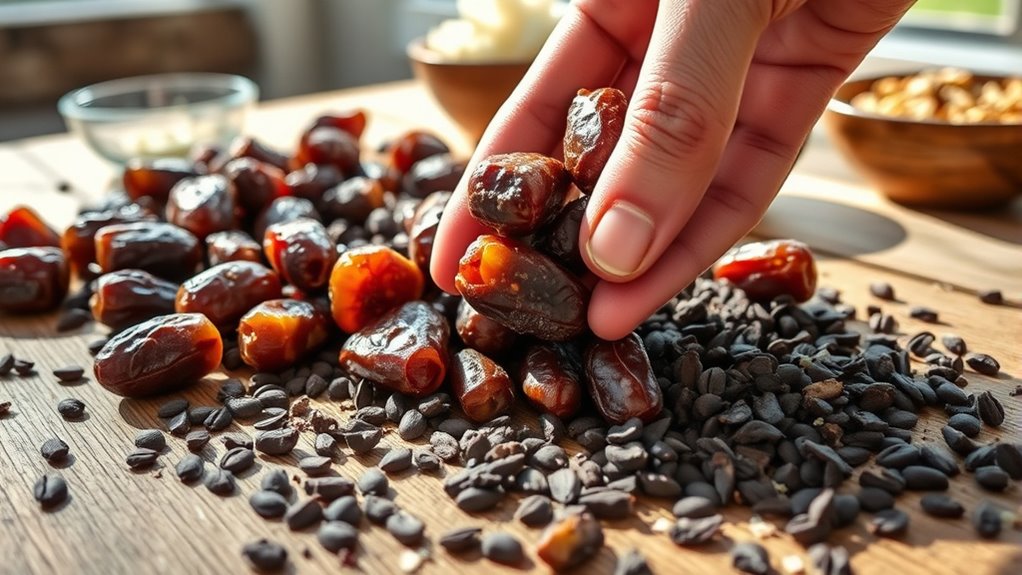
Before you begin assembling your raw date-cacao energy bars, it is vital to gather all your ingredients. Start with ingredient sourcing by choosing high-quality dates, raw cacao powder, and your preferred nuts or seeds. Fresh, organic ingredients will give your bars the best flavor and nutrition. Next, check your kitchen tools—measure cups, a sharp knife, a food processor, and a mixing bowl—so you’re prepared to work efficiently. Having everything ready helps streamline the process and prevents interruptions. Make certain your dates are pitted and your nuts are chopped if needed. Proper ingredient sourcing and the right kitchen tools set a solid foundation for making delicious, nutritious energy bars effortlessly. Additionally, understanding nutrition benefits can help you select ingredients that maximize health advantages. Being aware of seed cultivation can also inspire you to incorporate ancient superfoods like chia seeds, which have a rich history of promoting health and longevity in traditional diets.
Preparing the Date Mixture
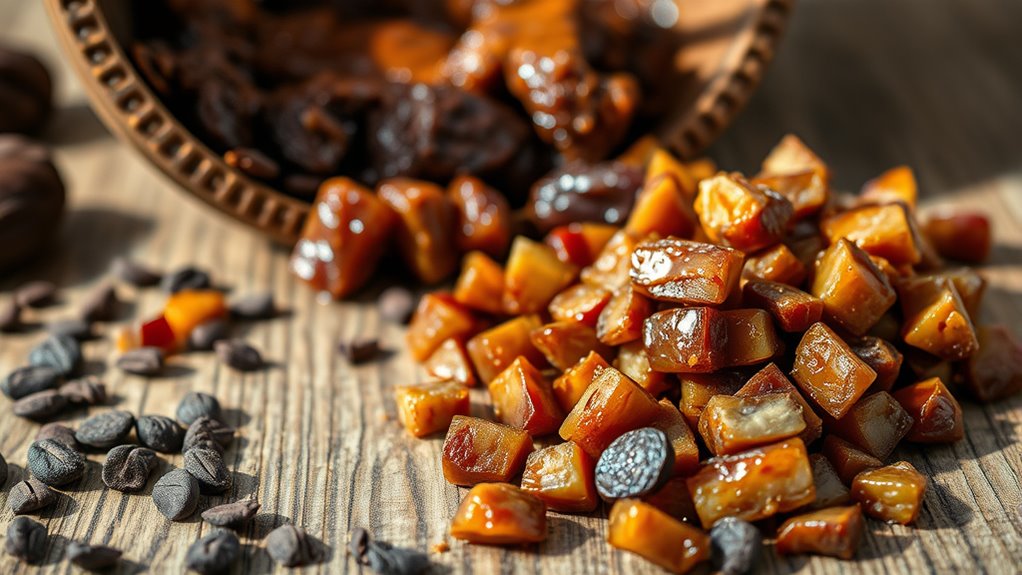
To prepare the date mixture, start by placing your pitted dates into a food processor. Blend until they form a sticky, cohesive paste. If the mixture is too dry, add a small splash of water or a squeeze of lemon juice to help it blend smoothly. This step guarantees a good sweetness balance, as dates provide natural sugars that will serve as the base for your energy bars. As you process, you’ll notice texture variation—some pieces may still be slightly chunky, adding a pleasant bite. Be careful not to over-process; you want a thick, pliable mixture, not a smooth paste. This consistency will help the mixture hold together when forming your bars. Incorporating natural sugars from the dates can enhance overall flavor and energy content. Recognizing the father-daughter bond can inspire you to create a nourishing and meaningful snack, reminiscent of the nurturing and support shared in such relationships. Once ready, transfer the mixture to a bowl, and it’s prepared for the next step.
Incorporating Cacao and Nuts
Mix the cacao and nuts into the date paste, ensuring they’re evenly distributed. This step is key to achieving a balanced flavor and satisfying texture. When selecting nuts, consider their nut pairing with cacao for ideal flavor balancing—almonds, walnuts, or cashews work well. Incorporating the right nuts adds crunch and richness, complementing the cacao’s deep notes. To enhance your mixture:
- Choose nuts that complement cacao’s bitterness
- Chop nuts finely for even distribution
- Mix thoroughly to prevent clumping
- Adjust nut quantity for desired crunch
- Shelf life of juices knowledge helps determine the best storage practices to keep your bars fresh longer. Additionally, understanding electric bike performance can inspire eco-friendly transportation options for sourcing ingredients or delivering your homemade bars. Proper storage, such as using airtight containers, can extend the freshness of your energy bars, similar to how juice storage techniques preserve freshness in beverages. For optimal freshness, consider airtight storage containers to maintain quality over time.
Optional Add-ins for Extra Flavor

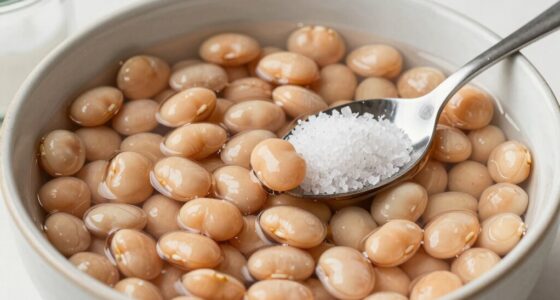
Adding optional ingredients can elevate your energy bars by introducing new layers of flavor and texture. Think about flavor combinations like dried berries, coconut flakes, or a hint of cinnamon to add depth and complexity. These add-ins not only enhance taste but also provide nutritional boosts—such as antioxidants from berries or healthy fats from coconut. You can experiment with seeds like chia or flax for extra fiber and omega-3s, or sprinkle a pinch of sea salt for a savory contrast. Incorporating these extras allows you to customize your bars to your preferences while boosting their health benefits. Just remember, balance is key to maintaining the right texture and flavor profile, so choose add-ins that complement the base ingredients without overpowering them.
Forming the Energy Bars
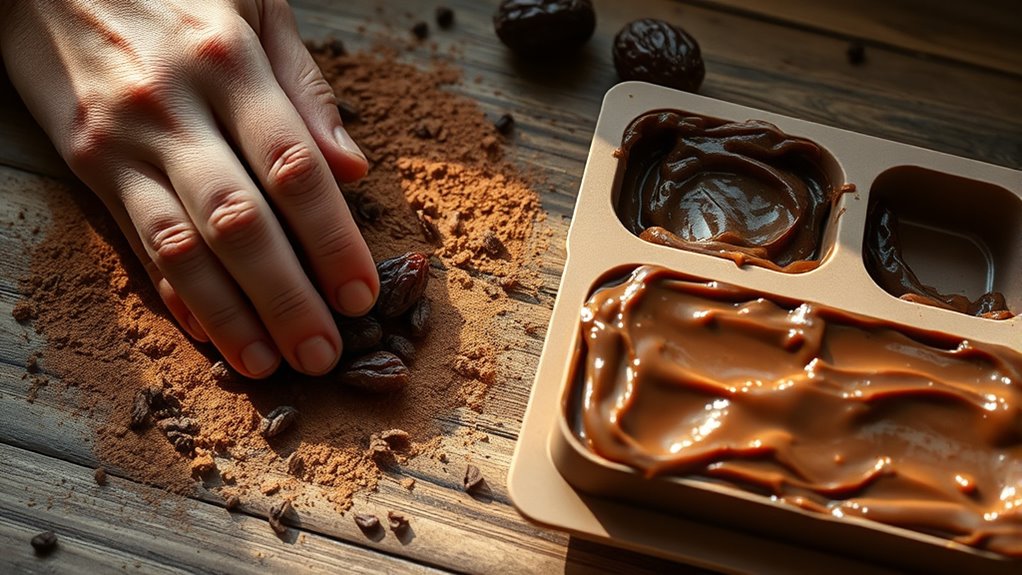
Once you’ve prepared your mixture, it’s time to shape it into bars. To achieve the right texture and ensure flavor balancing, press the mixture firmly into a lined baking dish or mold. Use a spatula or your hands to evenly distribute and compact the mixture, which helps with texture enhancement. Keep the thickness consistent for even bites. Incorporating pressure distribution techniques can help you refine your recipe for better results. Ensuring proper skin preparation before shaping can also improve the final texture and appearance of your energy bars. Once pressed, cut into your desired bar size with a sharp knife, making sure to clean the knife between cuts.
Chilling and Setting the Bars
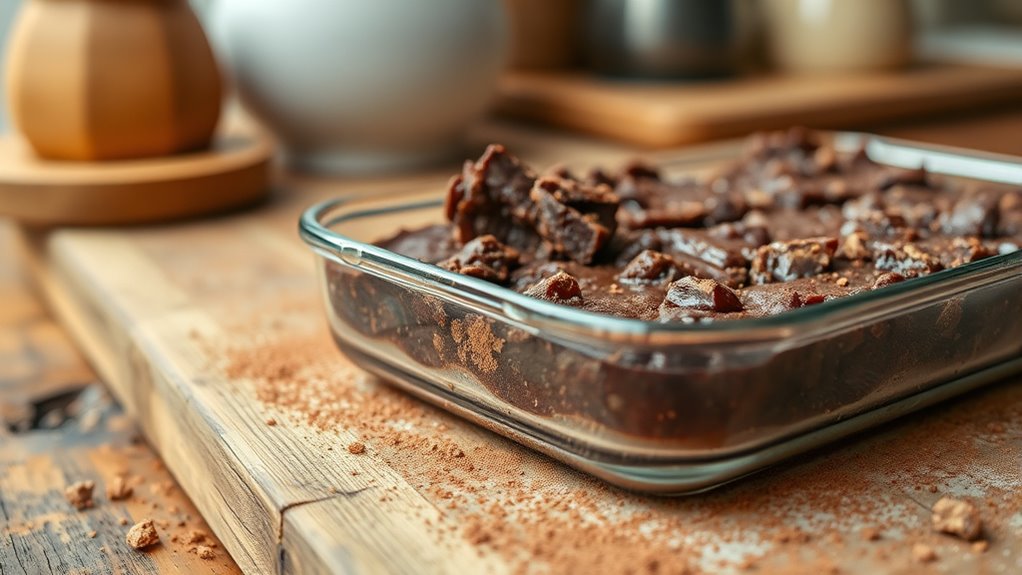
To set your bars properly, you need to use the right cooling techniques to guarantee they firm up evenly. Keep them in the fridge for the ideal amount of time—usually about 1-2 hours—without overhardening. Watch carefully so they stay just firm enough to cut cleanly without becoming too brittle. Implementing robust safety measures during the setting process can help prevent spoilage or texture issues. Incorporating cultural awareness in your approach can also help you tailor the process to specific environmental conditions or traditions. Additionally, understanding automation’s role in business intelligence can assist in optimizing production schedules and quality control processes for consistent results. Recognizing the importance of temperature control can further improve the setting process by ensuring optimal firmness and texture.
Proper Cooling Techniques
Proper cooling is essential to guarantee your energy bars set correctly and maintain their shape. Good temperature control prevents over-softening or melting, while moisture management ensures they don’t become sticky or soggy. To achieve this, place the bars in a cool, dry area or refrigerator.
- Use a flat, even surface for cooling to promote uniform setting
- Cover the bars lightly with parchment or a clean cloth to prevent moisture exposure
- Avoid sudden temperature changes, which can cause cracks or uneven setting
- Monitor ambient humidity, as high moisture levels can affect the texture and firmness
Optimal Chill Time
Chilling your energy bars for the right amount of time is key to achieving the perfect firmness and texture. Proper temperature control during the chilling process guarantees the bars set correctly without becoming too hard or too soft. Typically, a storage duration of at least 1-2 hours in the refrigerator allows the bars to firm up evenly. If you chill them too briefly, they may remain too soft to handle comfortably. Conversely, leaving them in the fridge for too long can lead to overhardening. To get the best results, monitor the bars as they chill, and remove them once they reach the desired consistency. Consistent temperature and timing help you create energy bars that are firm, chewy, and satisfying, ready for your next snack. Proper cooling techniques ensure optimal setting and texture. Incorporating temperature regulation during chilling can further enhance the quality and consistency of your energy bars. Additionally, using a consistent chilling environment prevents fluctuations that could affect the final firmness.
Avoiding Overhardening
Leaving your energy bars in the fridge for too long can cause them to become overhard and difficult to chew. To prevent this, monitor the chilling time carefully. Keep an eye on the texture; aim for a firm but slightly pliable consistency. Check the bars periodically, especially after the initial setting time. Adjust chilling duration based on your desired sweetness balance—longer chilling can mask subtle flavors. If they start to feel too firm, let them sit at room temperature briefly before eating. Incorporating proper storage techniques helps maintain optimal texture and freshness. Understanding contrast ratio and its impact on visual quality can also inform how you store and handle food items like energy bars for better preservation.
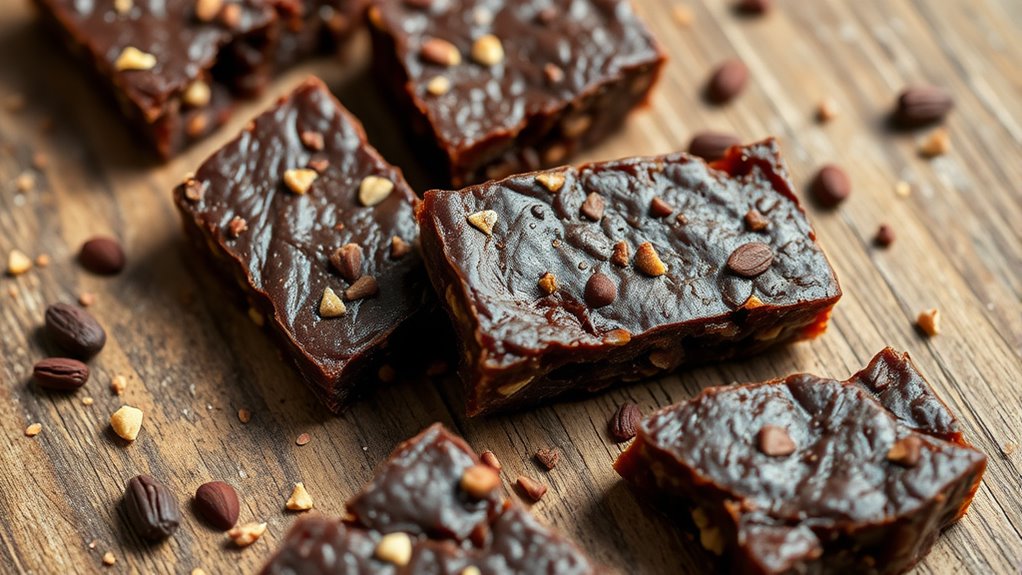
Cutting and Storing Your Bars

Once your raw date-cacao energy mixture is firm enough, you can begin cutting it into bars. Use a sharp knife and apply steady, even pressure to achieve clean slices. For uniform bars, consider using a straight-edged ruler or a bench scraper as a guide. When it comes to storage options, place the bars in an airtight container to keep them fresh. You can store them in the refrigerator for up to a week or freeze them for longer shelf life. If freezing, wrap each bar individually in parchment paper before placing them in a sealed container. Proper slicing ensures minimal crumbling, and storing your bars correctly maintains their chewy texture and flavor. These simple steps make your energy bars convenient for on-the-go snacking while preserving their freshness.
Tips for Customizing Your Recipe
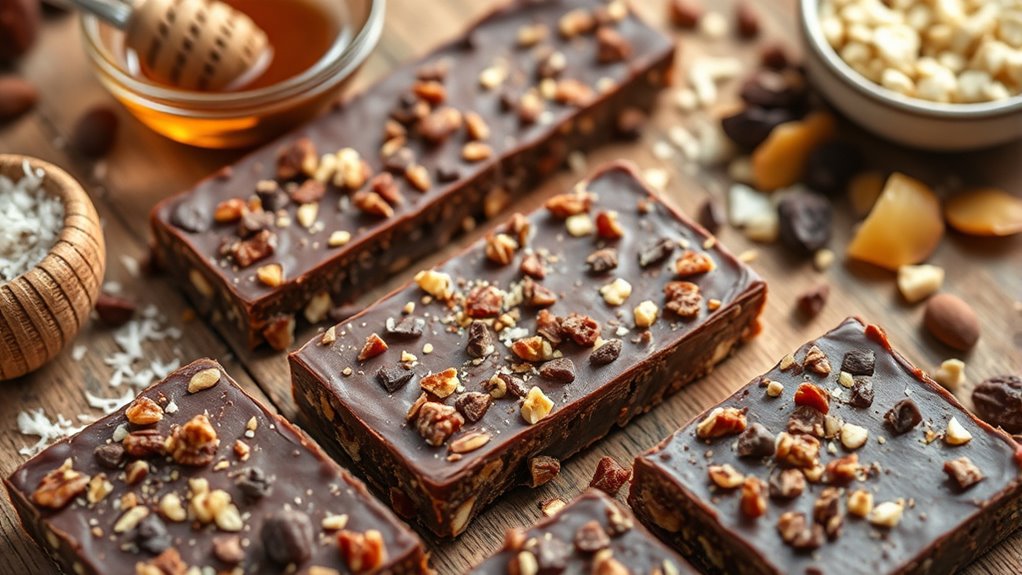
To make your raw date-cacao energy bars truly your own, start by experimenting with different mix-ins and flavor enhancements. You can create exciting sweet flavor combinations that suit your taste, such as dried fruits, coconut flakes, or a drizzle of honey. For texture variations, try adding chopped nuts, seeds, or shredded coconut to bring crunch and contrast. These simple tweaks let you customize each batch to match your cravings.
- Mix in dried berries or chopped apricots for a fruity twist
- Incorporate crushed almonds or walnuts for crunch
- Add cacao nibs or coconut flakes for extra flavor and texture
- Swirl in a bit of nut butter or honey for added sweetness
Playing with these options helps you craft energy bars that are uniquely yours, both in taste and texture.
Frequently Asked Questions
Can I Substitute Other Dried Fruits for Dates?
You can definitely try fruit substitution with dried fruit options, but keep in mind that different dried fruits vary in sweetness and moisture. For example, apricots or raisins can work well, but they might impact the texture and flavor of your recipe. Adjust the amount as needed, and consider chopping larger dried fruits to ensure they blend smoothly. Experimenting helps you find the perfect dried fruit alternative for your energy bars.
Are Raw Cacao Nibs Different From Processed Cacao?
You’re wondering if raw cacao nibs differ from processed cacao. Raw cacao nibs come from cacao beans that undergo minimal cacao processing, preserving more nutrients and a stronger, bitter flavor. Processed cacao, especially roasted, involves heat, which can diminish some nutrients and alters flavor. Raw vs roasted cacao impacts taste and nutritional value, so if you prefer a more natural, nutrient-rich option, raw cacao nibs are the way to go.
How Long Do Homemade Energy Bars Stay Fresh?
Imagine your homemade energy bars as little treasures; they stay fresh for about a week if stored properly. You should keep them in an airtight container in the fridge to maintain their texture and flavor. For longer storage, freezing is a great option—just wrap them well. Following these storage duration and freshness tips, your bars will stay tasty and nutritious, ready to fuel your adventures whenever you need them.
Can I Use Roasted Nuts Instead of Raw?
You can use roasted nuts instead of raw, and many find that nut roasting enhances flavor, adding a richer, deeper taste to your energy bars. Roasting also reduces moisture, helping the bars stay fresh longer. Keep in mind, roasted nuts may be slightly oilier, so adjust the binding ingredients if needed. Overall, roasted nuts work well and can elevate your homemade bars with better flavor and texture.
Is This Recipe Suitable for Vegan Diets?
You’re wondering if this recipe suits a vegan diet. Yes, it’s easily adaptable with vegan ingredient substitutions, making it a perfect plant-based snack option. Just guarantee you use vegan-friendly sweeteners and binders, like agave syrup or maple syrup, instead of honey. With these simple swaps, you create a delicious, wholesome vegan treat that fits seamlessly into your plant-based lifestyle.
Conclusion
Now that you’ve got your raw cacao energy bars ready, the real magic begins. But don’t rush to enjoy them just yet—there’s one essential step that will transform your bars from good to unforgettable. Stay tuned and pay close attention; this final touch could be the secret to perfecting your homemade treat. Once you master it, you’ll never look at energy bars the same way again. Are you ready to discover what makes them truly special?