
To make nut butter without burning out your blender, choose a high-quality, powerful model with variable speeds and pulse options. Prepare nuts by lightly toasting them to soften and guarantee even blending. Work in small batches, blending with short pauses every 20-30 seconds to let the motor cool. Gradually increase blending speed, and add oil gradually for a smoother texture. Proper technique and care will help you create delicious nut butter safely; discover more tips to protect your blender.
Key Takeaways
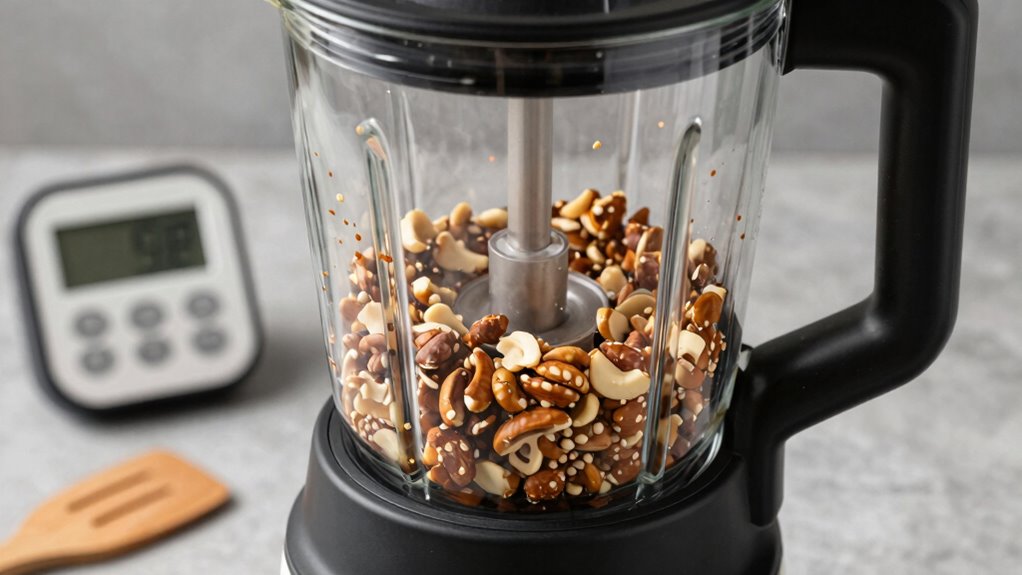
- Use small batches to reduce motor load and prevent overheating during blending.
- Incorporate short pauses every 20-30 seconds to allow the motor to cool.
- Gradually increase blending speed, starting with low or medium settings, to avoid sudden strain.
- Toast nuts beforehand to soften them, decreasing blending time and friction.
- Regularly stop to scrape sides and add small amounts of oil or water for smoother, safer blending.
Why Does My Blender Overheat When Making Nut Butter?
When making nut butter, your blender can overheat because the process requires prolonged, high-speed operation that generates a lot of friction. Continuous blending causes heat buildup, which can strain the motor if not managed properly. Good blender maintenance is essential to prevent overheating; regular checks ensure that vents are clear and the motor functions smoothly. Additionally, nut soaking beforehand softens the nuts, reducing the blending time and friction needed. This not only shortens the process but also lessens the workload on your blender, decreasing the risk of overheating. Using proper blending techniques can help keep the motor cool by avoiding excessive strain during blending. Incorporating cooling pauses during extended blending sessions can also help prevent overheating and prolong your blender’s life. Being mindful of motor strain can further help you avoid overheating issues and extend your appliance’s longevity.
How to Choose the Best Blender for Making Nut Butter
Choosing the right blender is essential for making smooth, creamy nut butter without stressing your machine. Look for a blender with a strong motor that can handle tough nuts without overheating. Check the blender warranties—longer warranties often indicate better quality and durability. Consider the motor durability, as a powerful, reliable motor ensures consistent performance and reduces burnout risks. Additionally, features like variable speed controls help you adjust blending intensity. A sturdy jar with a secure lid prevents messes and spills. Investing in a high-quality blender saves you time, effort, and potential repair costs. Understanding how to navigate and optimize your blender’s features can also help prolong its lifespan and improve your results, especially when considering motor strength and reliability as key factors. Regular maintenance and proper usage can further prevent blender burnout and ensure optimal performance over time. Being aware of your blender’s capacity and how it matches your typical batch sizes can also make blending more efficient and reduce unnecessary strain on the motor.
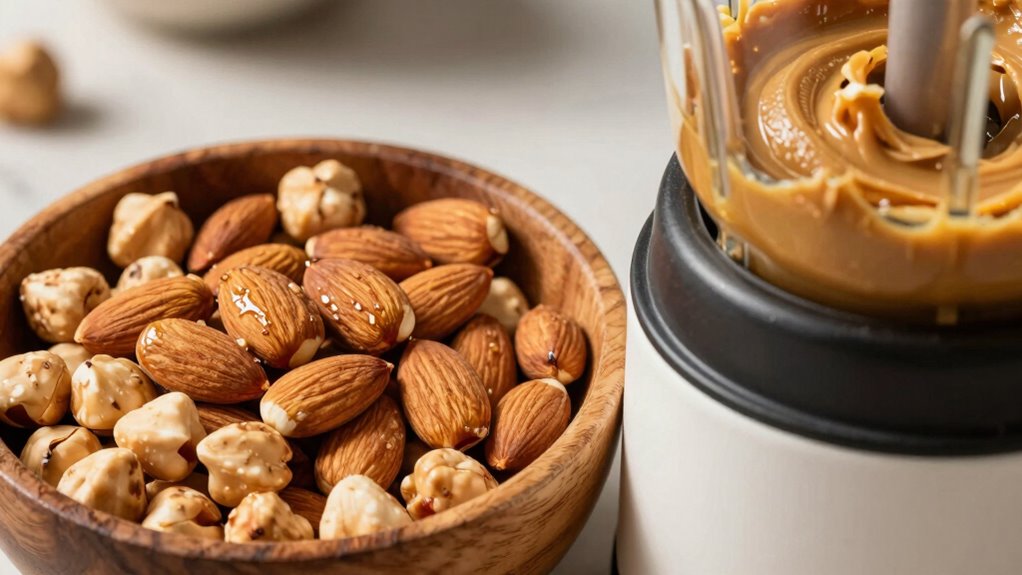
How Can I Prepare Nuts to Blend More Easily?
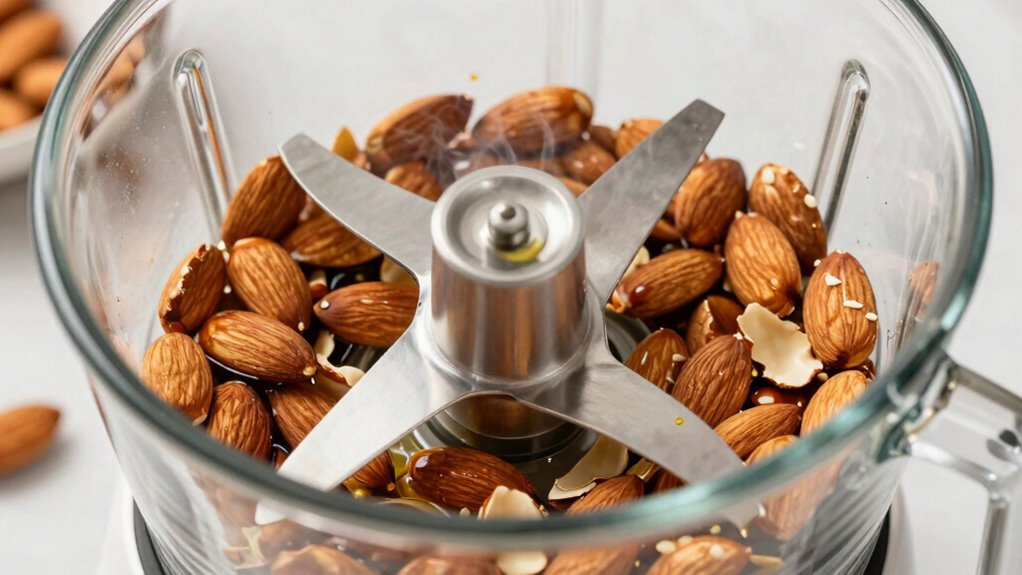
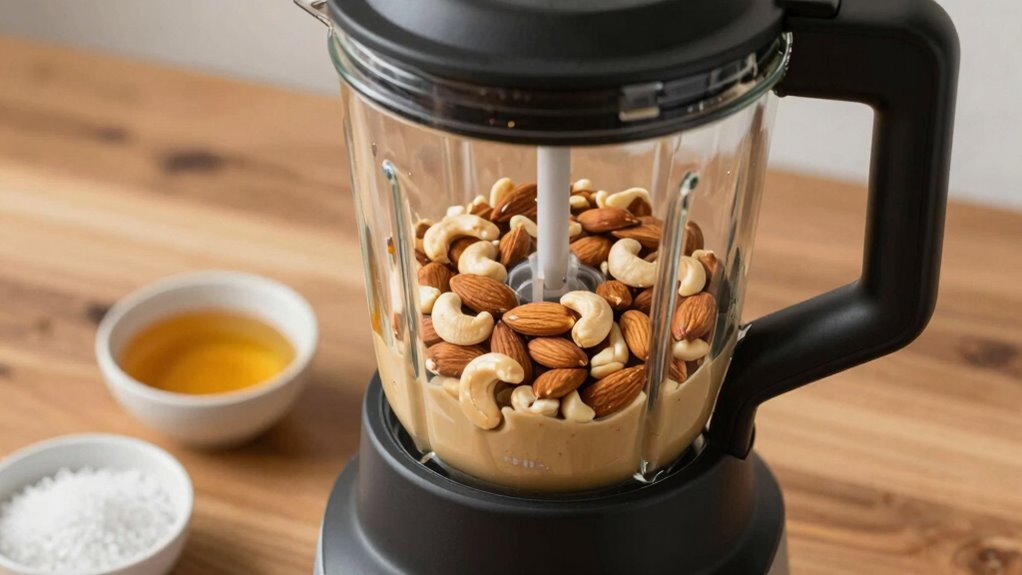
To make nuts easier to blend, start by toasting them lightly in the oven or on the stovetop. Nut prep through roasting techniques enhances their flavor and softens the texture, making them easier for your blender to process. Spread the nuts in a single layer on a baking sheet or dry skillet, and toast at a low temperature—around 350°F (175°C)—for 8-10 minutes, stirring occasionally. Keep a close eye to prevent burning. The gentle roasting releases oils and moisture, reducing blending time and strain on your motor. Allow the nuts to cool slightly before adding them to your blender. Proper nut prep also improves flavor and *guarantees* a smoother, more efficient process, helping you avoid overworking your equipment and achieving a creamy nut butter with less effort.
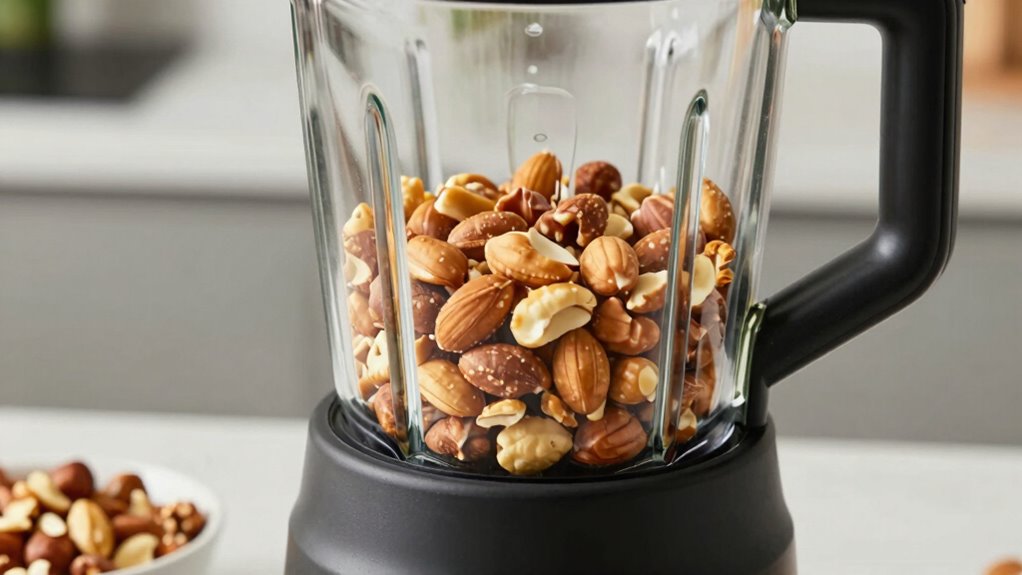
Why Should I Use Small Batches When Making Nut Butter?
Making small batches of nut butter helps prevent overloading your blender, which can cause overheating and strain on the motor. Smaller batches improve nut butter safety by reducing the risk of motor burnout and guarantee consistent texture. When you prepare batches carefully, you maintain control over the process and avoid burning out your equipment. Plus, it allows for better batch preparation, so you can adjust ingredients as needed without waste. Additionally, proper batching techniques can help extend your blender’s lifespan by minimizing unnecessary stress on its components. Incorporating smart appliance features can further protect your device and ensure safer operation during your nut butter-making process. Utilizing manufacturer guidelines for your specific blender model is also crucial to prevent damage and ensure optimal performance. Being aware of overheating indicators can help you respond promptly and prevent potential damage during blending.
How Do Pauses Help Prevent Blender Overheating?
Pauses during blending are essential because they give your blender’s motor a break, preventing it from overheating. When you blend nuts continuously, the motor works hard and can quickly become too hot, risking damage or burnout. Incorporating short blender pauses allows the motor to cool down, which is a simple but effective method for overheating prevention. During these breaks, the motor dissipates heat, reducing the risk of malfunction and extending your blender’s lifespan. It’s best to stop blending every 20 to 30 seconds, especially with tough nuts or large batches. These controlled blender pauses help maintain the motor’s integrity while still allowing you to process your nut butter efficiently. Additionally, proper appliance maintenance can further enhance your blender’s performance and longevity. Regularly checking your blender’s ventilation areas helps prevent dust buildup that could impair cooling. Understanding motor cooling is a key part of maintaining good indoor air quality, as it promotes safer, more efficient appliance use and reduces heat-related hazards. Being mindful of overheating risks can also help you avoid unexpected appliance failures, saving money on repairs. Practicing these pauses can also improve your overall blending efficiency, making the process quicker and less stressful. Overall, using pauses ensures smoother blending without compromising your equipment’s safety.
How Does Adding Oil Make Nut Butter Creamier?
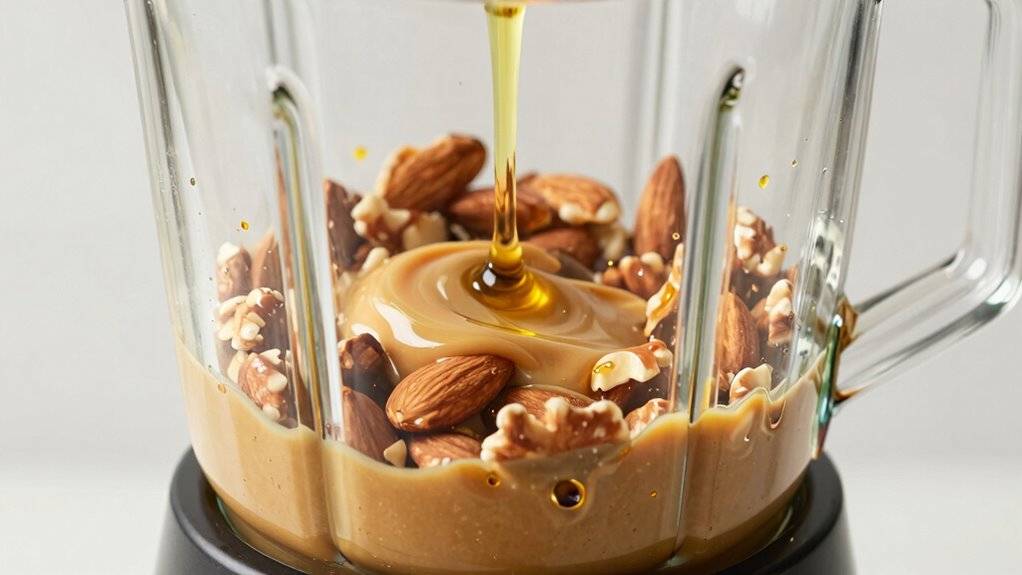
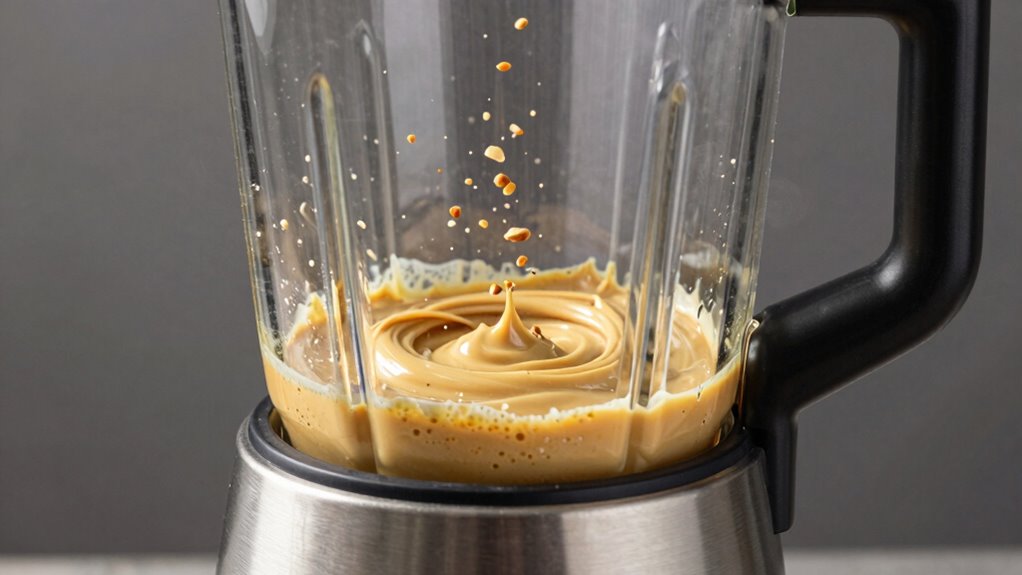
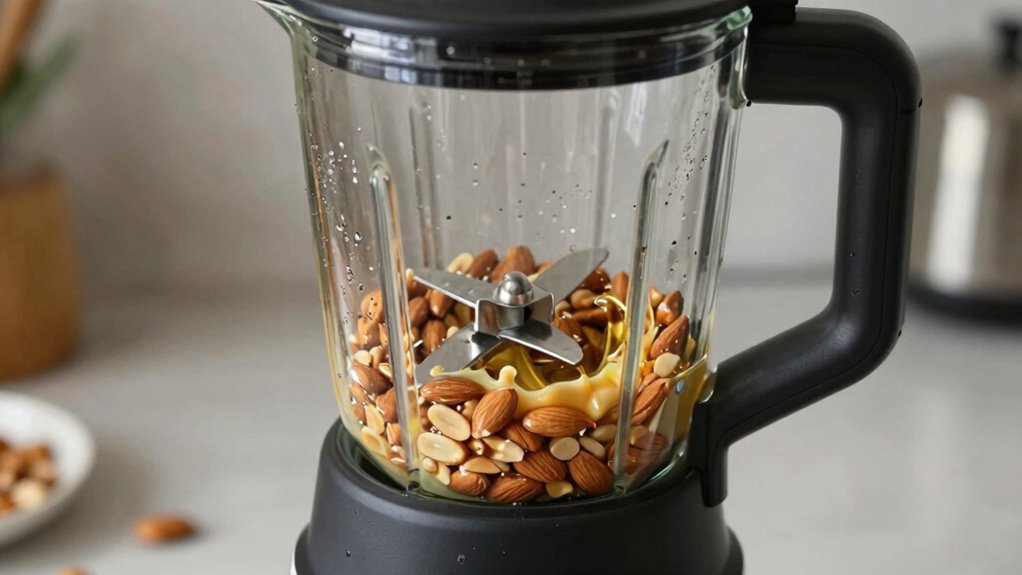
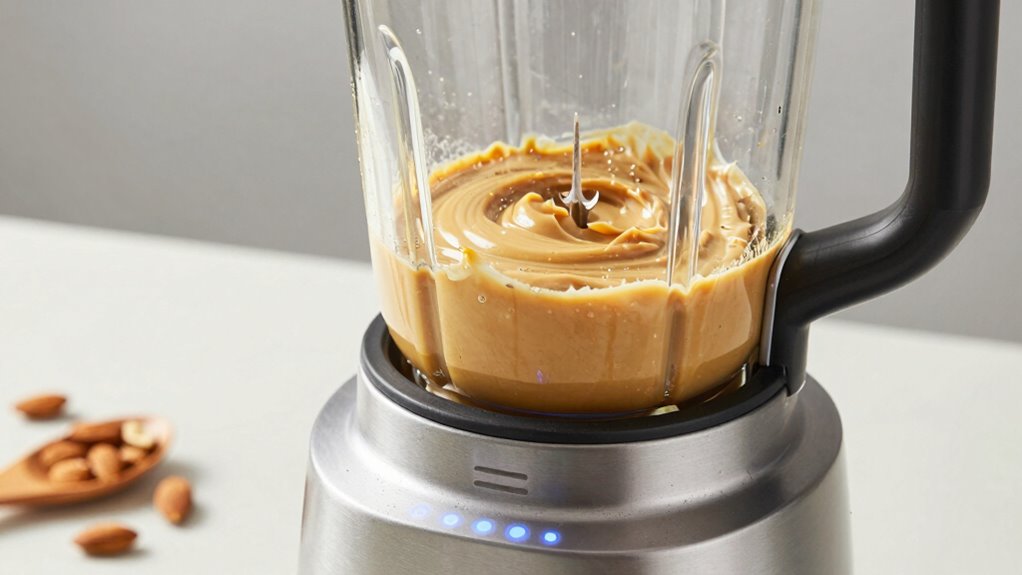
Adding oil to your nut butter helps achieve a smoother, creamier texture by reducing the mixture’s thickness and improving its consistency. Oil incorporation allows the fats to blend more evenly, leading to a creaminess enhancement that makes your nut butter easier to spread. When you add oil gradually, it helps break down stubborn nut particles, resulting in a uniform, silky finish. This process also prevents the mixture from becoming dry or gritty. Incorporating oil is a simple trick to achieve the perfect, spreadable consistency. Choosing the right oil can further enhance the flavor and texture of your nut butter for optimal results. Understanding oil types can help you select the best option for your desired flavor and creaminess, especially when considering healthy fats that contribute to a better nutritional profile. Incorporating sustainable oils aligns with environmentally conscious practices and supports eco-friendly choices.
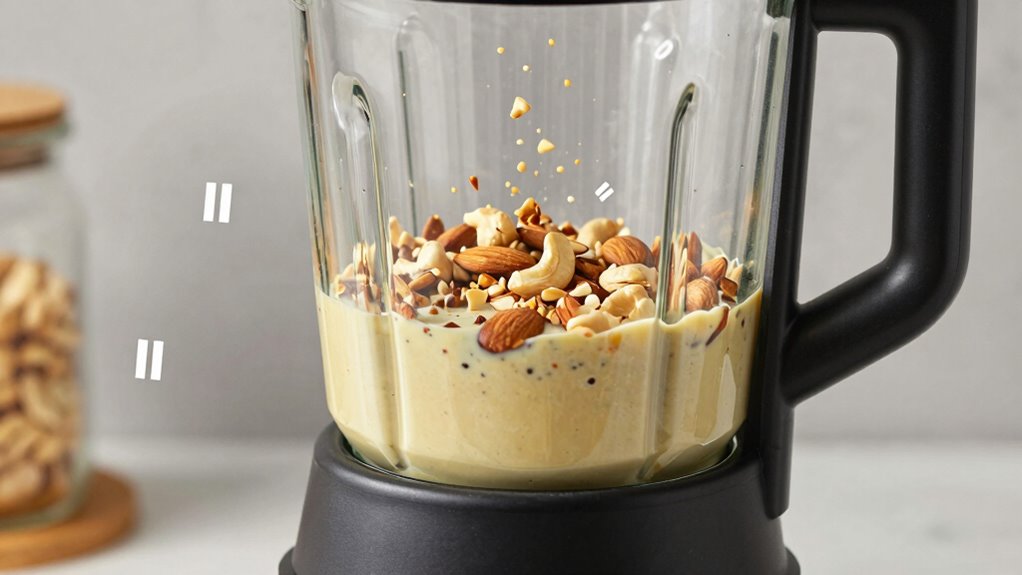
What Are the Best Blending Speeds for Nut Butter?

To achieve a smooth and well-blended nut butter, selecting the right blending speed is essential. Start with a low blending speed to break down the nuts gradually, preventing overload on your motor power. As the nuts begin to release oils and soften, gradually increase the speed to medium. This helps blend them evenly without overheating or burning out your blender’s motor. For tougher nuts or larger batches, avoid high speeds initially, as they can strain your blender’s motor power. Instead, use a pulse function or variable speed settings to control the process carefully. Consistently monitoring and adjusting the blending speed ensures your nut butter becomes creamy without risking damage to your blender. Patience and attentive speed control are key for ideal results. Proper technique can make the difference between a smooth spread and motor burnout.
How Can I Keep My Blender Cool and Maintain It Properly?
Keeping your blender cool during use is essential to prevent overheating and prolong its lifespan. Proper blender maintenance and cooling techniques ensure smooth operation and avoid damage. To keep things running efficiently, consider these tips:
Keeping your blender cool during use prevents overheating and extends its lifespan.
- Use short blending intervals, allowing the motor to rest between sessions
- Add small amounts of oil or water to reduce friction and heat
- Avoid overloading the blender with too many ingredients at once
- Regularly clean the blade and jar to prevent buildup that strains the motor
- Use the pulse function instead of continuous blending for better control
Implementing these strategies helps maintain your blender’s performance, prevents overheating, and extends its durability. Consistent blender maintenance and cooling techniques are key to making nut butter without burning out your appliance.
What Are Common Blender Problems During Nut Butter Making: And How Do I Fix Them?
When making nut butter in a blender, common problems often stem from the motor overheating, inconsistent texture, or ingredients sticking to the blades. To fix these issues, proper blender maintenance is key. Overheating can be prevented by pulsing and pausing frequently, while adjusting nut selection helps avoid tough, oily nuts that clog blades. If texture is uneven, scrape down the sides and add small amounts of oil or liquid to encourage smoother blending.
| Problem | Solution |
|---|---|
| Motor overheating | Use pulsing, take breaks, and avoid overloading |
| Clumping or sticking to blades | Scrape down sides and add oil or liquid |
| Inconsistent texture | Adjust nut selection and blend in stages |
| Ingredients burning out motor | Maintain proper blender maintenance and use appropriate nuts |
How Can I Make Smooth Nut Butter Without Overworking My Blender?
Achieving smooth nut butter without overworking your blender requires a strategic approach. To get the perfect nut butter texture without excessive blender noise or strain, follow these tips:
- Use small batches to prevent overload.
- Pulse the nuts in short bursts instead of continuous blending.
- Add oil gradually to help achieve creaminess smoothly.
- Pause frequently to let your blender rest, reducing heat buildup.
- Use a high-quality, powerful blender designed for nut butters to minimize noise and effort.
Frequently Asked Questions
Can I Use a Food Processor Instead of a Blender for Nut Butter?
Yes, you can use a food processor instead of a blender for making nut butter. A food processor is suitable because it has a powerful motor and sharp blades that can handle nuts well. It helps you achieve a smooth, creamy nut butter texture more efficiently, especially when you pulse and scrape down the sides frequently. Just be patient, and you’ll get delicious, homemade nut butter without overworking your appliance.
What’s the Ideal Nut Temperature Before Blending?
Don’t let the cat out of the bag—your nut temperature should be around room temperature, roughly 68–72°F, for ideal blending efficiency. Cold nuts tend to be harder to process, which can strain your blender. Warming them slightly releases oils and softens textures, making blending smoother and quicker. Just avoid overheating, as excessive heat can alter flavor and cause clumping. Keep nuts at balanced temps for the best nut butter results.
How Long Should I Blend Nuts to Avoid Overheating?
You should blend nuts for about 1-2 minutes at a time to prevent overheating. To guarantee overheating prevention, pause every 30 seconds to give your blender a break and stir the nuts if needed. This way, you avoid motor strain and overheat. Repeat this process until the nuts reach your desired creamy consistency, typically totaling 3-5 minutes of blending, depending on your blender’s power.
Are There Specific Nuts That Are Easier to Blend Smoothly?
You’ll find that softer nut varieties like cashews and almonds blend more smoothly than tougher options like walnuts or pecans. Roasting tips, such as lightly warming nuts beforehand, help them break down easily. These gentle, warm nuts yield creamier butter with less strain on your blender. So, choose milder nuts and give them a gentle roast to make your nut butter-making process smoother and more efficient.
How Do I Store Homemade Nut Butter Properly?
To store your homemade nut butter properly, transfer it to an airtight container to keep it fresh. Keep it in the refrigerator to extend its shelf life, typically lasting about 2-3 weeks. Always use a clean spoon when scooping to prevent contamination. Proper nut storage is key to maintaining flavor and preventing spoilage, so check for any signs of mold or rancidity before use.
Conclusion
Making nut butter without burning out your blender is like walking a tightrope—you need balance and patience. By choosing the right blender, preparing nuts properly, and blending in small batches with pauses, you’ll keep your appliance cool and working smoothly. Regular maintenance and mindful speeds help prevent overheating. With these tips, you’ll turn nuts into creamy butter without breaking a sweat—literally! Keep these tricks in mind, and enjoy perfect nut butter every time.