This guide helps parents and caregivers choose the best lunchbox for children and pack nutritious, appealing meals. It covers selecting suitable containers and preparing balanced lunches that kids will enjoy, all within a manageable timeframe. No prior experience needed.
Difficulty: Beginner | Time: 15-30 minutes
What You’ll Need
Tools & Materials:
- Reusable lunchbox or container set
- Small utensils (fork, spoon)
- Ice packs or cold packs
- Food storage bags or containers
Knowledge:
- Basic understanding of balanced nutrition
- Awareness of child’s food preferences and allergies
Prepare the lunch ingredients in advance to save time. Ensure the lunchbox is clean before packing.
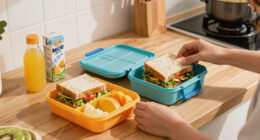
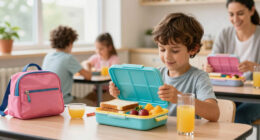
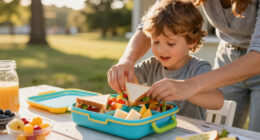
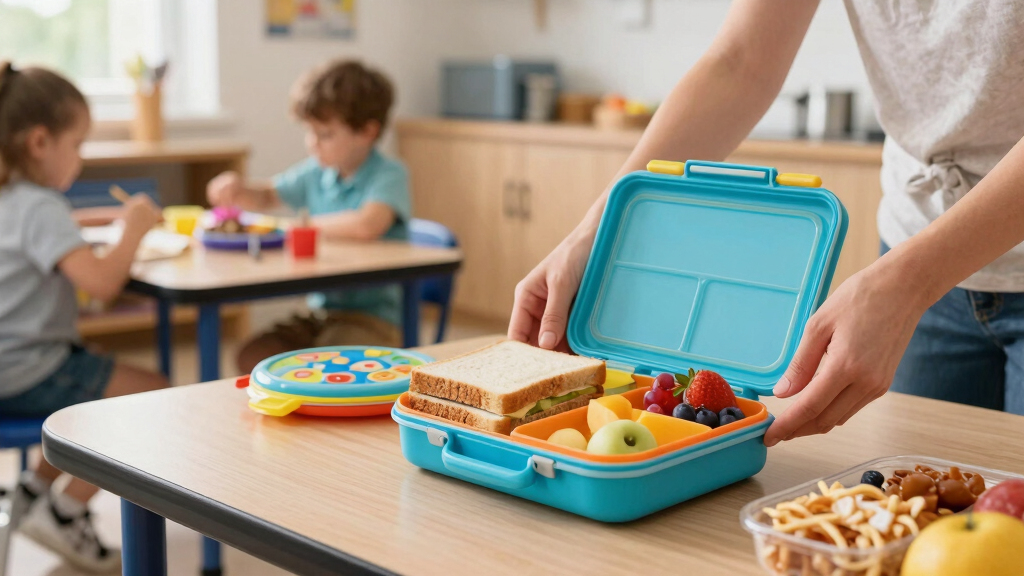
insulated kids lunchbox with compartments
As an affiliate, we earn on qualifying purchases.
As an affiliate, we earn on qualifying purchases.
Before You Start
Check the child’s dietary restrictions and preferences. Wash hands thoroughly before handling food. Confirm the lunchbox is clean and free of any residues or odors.
Step-by-Step Instructions
Step 1: Select a suitable lunchbox
Choose a lunchbox that is appropriately sized for the child’s age and appetite. Look for one with multiple compartments to separate different foods and prevent mixing.
Tip:
Opt for a model with insulation if keeping food cold or warm is necessary. Ensure it is durable and easy to open for the child.
Check:
The lunchbox fits the intended portion sizes and has at least 2-3 compartments to keep foods separated.
Step 2: Plan a balanced meal
Decide on a combination of protein, carbohydrates, fruits, vegetables, and a small treat. Consider the child’s preferences and any allergies.
Tip:
Use colorful fruits and vegetables to make the meal visually appealing. Include a variety of textures and flavors.
Check:
The meal includes at least 3 food groups and is visually appealing and varied.
Step 3: Prepare and portion the food
Wash and cut fruits and vegetables into manageable pieces. Portion proteins, grains, and snacks into small containers or bags.
Tip:
Avoid overfilling compartments; leave space for expansion or liquids. Use leak-proof containers for liquids and moist foods.
Check:
All foods are prepared, properly stored in individual containers, and ready to pack.
Step 4: Pack the lunchbox
Arrange the prepared foods into the lunchbox, placing heavier items on the bottom and delicate items on top. Add an ice pack if needed.
Tip:
Ensure all lids are secure and compartments are closed properly to prevent spills or spoilage.
Check:
The lunchbox is neatly packed with all items secure and organized, ready for transport.
Step 5: Include drinks and extras
Add a drink, such as water or juice, in a spill-proof bottle. Include optional extras like napkins, utensils, or a small note.
Tip:
Use an insulated bottle to keep drinks cold. Pack essentials last to prevent crushing or spilling.
Check:
The lunchbox contains a suitable drink and any additional items, with everything arranged securely.
Common Mistakes to Avoid
- Overpacking the lunchbox, causing it to be too heavy or crowded. — Pack only the necessary items in appropriate portions; avoid stuffing the lunchbox.
- Using non-leak-proof containers for liquids or moist foods. — Select containers with secure lids and test for leaks before packing.
- Ignoring the child’s preferences, leading to uneaten food. — Involve the child in meal planning and choose foods they like.
- Not including an ice pack, causing perishable foods to spoil. — Always add an ice pack for perishable items, especially in warm weather.
Troubleshooting
Problem: Food gets soggy or mixed during transport.
Solution: Use separate, airtight containers for moist items and pack each item securely.
Problem: Lunchbox smells bad or has residue.
Solution: Wash the lunchbox thoroughly with soap and water regularly, and air-dry completely.
Problem: Child refuses the lunch or leaves it untouched.
Solution: Ask the child about their preferences and involve them in meal selection to increase acceptance.
What Success Looks Like
The packed lunch is organized, contains a variety of food groups, and the child eats most or all of it. The lunchbox remains clean and intact after use, and food stays fresh until mealtime.
Next Steps
Clean the lunchbox after use, replenish supplies as needed, and adapt future meals based on what the child enjoys or avoids. Rotate different foods for variety and keep an eye on expiration dates.
Frequently Asked Questions
How can I keep food fresh until lunchtime?
Use insulated lunchboxes and include ice packs for perishable items. Pack cold foods last and keep them refrigerated overnight if possible.
What are safe containers for kids’ lunches?
Choose BPA-free, leak-proof containers made of BPA-free plastic, stainless steel, or glass with child-friendly lids. Avoid containers with small parts that can be a choking hazard.
How do I prevent the lunch from getting squished or spilled?
Use sturdy, leak-proof containers and pack heavier items on the bottom. Secure lids tightly and avoid overfilling compartments to prevent spills.
What are good snack options for kids’ lunchboxes?
Opt for sliced fruits, vegetables with dip, nuts (if age-appropriate), cheese, yogurt, or whole-grain crackers. Balance treats with healthy options.