
To make daily juicing easy, rinse your juicer immediately after use with warm water and a gentle brush. This simple trick prevents pulp and residue from hardening, making cleanup faster and easier. It reduces buildup, keeps your juicer hygienic, and extends its lifespan. By following this quick step every time, you’ll notice less scrubbing and more efficient mornings. Keep going, and you’ll discover even more tips to keep your juicer in top shape.
Key Takeaways
- Rinse all parts immediately after use to prevent residue buildup and ensure quick, hygienic cleaning for daily juicing.
- Use warm water and gentle brushes to thoroughly clean components, reducing wear and maintaining optimal performance.
- Pre-soak produce and clean pulp traps to minimize clogging and streamline the cleaning process.
- Follow manufacturer guidelines and use dishwasher-safe parts to simplify cleaning and extend juicer lifespan.
- Incorporate a quick rinse or no-scrub hack into your routine to prevent bacterial growth and keep the juicer ready for daily use.

3Pcs Juicer Cleaning Brushes Set for Omega 8006, 8004, 8003 VRT350 VRT330-Replacement Masticating Juicer Accessories, Masticating Juicers Replacement Cleaner, HD Bristles
Perfect Juicer Compatibility – Specially designed for Omega 8003, 8004, 8005, 8006, VRT330, VRT350, and more horizontal &…
As an affiliate, we earn on qualifying purchases.
As an affiliate, we earn on qualifying purchases.
What Is the Best Way to Keep Your Juicer Clean Daily?
To keep your juicer clean daily, it’s best to rinse all parts immediately after use. This simple step helps prevent pulp and residue buildup, guaranteeing your juicer stays in top condition. When you rinse promptly, you preserve the flavor enhancement of your fresh juices, preventing stale tastes from developing. Additionally, quick cleaning helps maintain nutritional preservation, as leftover particles won’t break down or ferment over time. Use warm water and a gentle brush to thoroughly clean the components, paying attention to hard-to-reach areas. Regular rinsing prevents stubborn stains and odors, making deep cleaning easier later. Incorporating proper cleaning techniques can also help prolong the lifespan of your juicer and ensure it continues to perform optimally. Staying consistent with this routine ensures your juicer functions efficiently, produces flavorful juices, and retains maximum nutritional value with minimal effort. Incorporating a mindful cleaning routine can also contribute to a more positive and aligned mindset towards your health goals. Proper maintenance, including regular inspection of parts, is essential to prevent buildup and ensure your machine operates smoothly over time. Additionally, keeping an eye on preventative care can help avoid more extensive repairs and prolong the overall lifespan of your appliance. Maintaining a clean juicer is not only about hygiene but also about preserving machine efficiency for better juice quality over time.
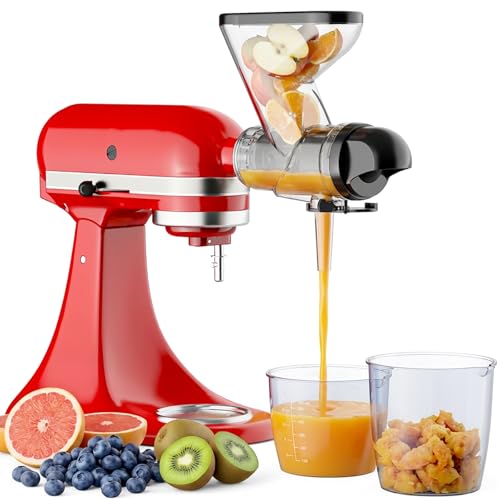
Masticating Juicer Attachment for KitchenAid Stand Mixer, Cold Pressed Juicer Machine, Slow Juicer Attachment with Dual Feed Chute and Pusher
Premium Compact Build: Engineered with space-saving precision, this Kitchenaid juicer attachment fits seamlessly into any kitchen. Crafted from…
As an affiliate, we earn on qualifying purchases.
As an affiliate, we earn on qualifying purchases.
How Does This Simple Juicer Cleaning Hack Work?
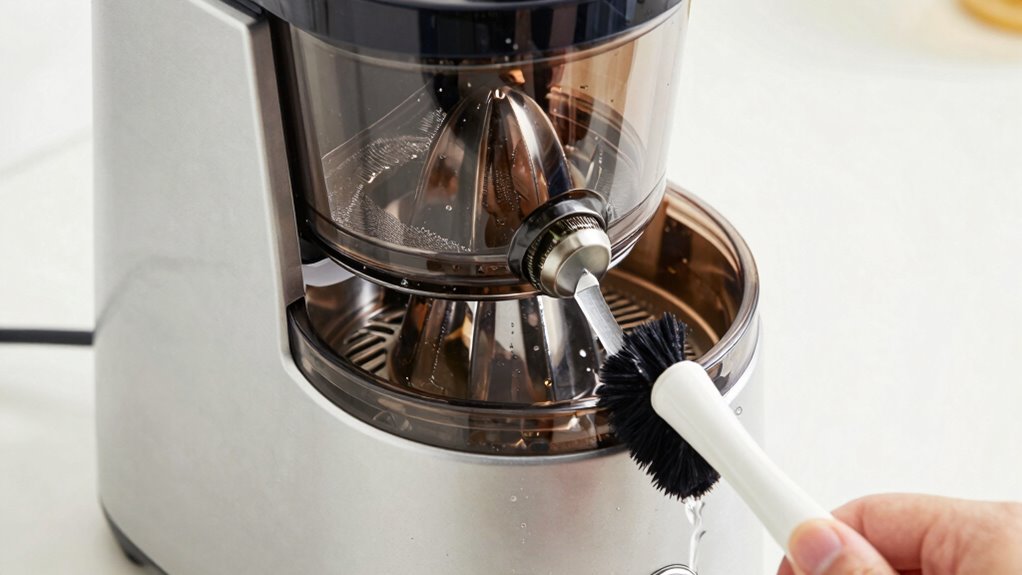
Rinsing your juicer immediately after use works by physically removing pulp, juice residue, and small particles before they dry and stick. This quick action prevents buildup that can make cleaning more difficult later. By doing so, you help preserve the freshness of your fruit, maintaining its flavor and texture for future juicing sessions. This simple hack also supports fruit preservation by reducing oxidation and spoilage, keeping your produce fresh longer. When you clean your juicer right away, you minimize bacteria growth, which can impact juicing benefits over time. Additionally, a clean juicer ensures each juice retains its vibrant taste and nutrients. Incorporating proper cleaning techniques further enhances the longevity and performance of your equipment. Regular maintenance and immediate cleaning are key to preventing bacterial growth and ensuring optimal operation. Proper cleaning not only keeps your appliance hygienic but also helps maintain the color accuracy of your juices, ensuring they look as appealing as they taste. Overall, this small step makes daily juicing easier, more enjoyable, and more efficient, encouraging consistent healthy habits.

XANGNIER 6PCS Cold Press Juicer Cleaning Brush Kit – Complete Cleaning Set for Slow Juicers, Masticating Juicer Accessories & Juice Extractor Parts – Essential Kitchen Cleaning Tool
【All-in-One Cleaning Power – Complete System for Your Juicer】Transform your juicing experience with this comprehensive 6PCS kit—designed to…
As an affiliate, we earn on qualifying purchases.
As an affiliate, we earn on qualifying purchases.
Why Rinsing Your Juicer Immediately Saves Time
Rinsing your juicer immediately prevents juice from hardening and sticking, making cleanup quicker later. It also eases the cleaning process by removing residue before it sets, saving you time and effort. The moment you finish juicing, a quick rinse keeps your next session seamless and efficient. Additionally, maintaining your equipment with proper firewood safety practices can help ensure your tools stay in good condition and reduce the risk of accidents. Being aware of the affiliate disclosure ensures transparency about any links or recommendations you encounter during your cleaning routine. Proper kitchen hygiene also plays a vital role in keeping your juicer functioning well and your food safe.
Prevents Juice Hardening
Have you ever noticed how juice quickly hardens and becomes stubborn to clean if you wait too long? Rinsing your juicer immediately prevents this hardening, making cleanup easier. When juice sits, it can dry and form stubborn residues, complicating your cleaning routine. By rinsing right away, you keep leftover pulp and fibers from sticking, saving time in the long run. Plus, fresh rinsing helps preserve the flavor pairing and nutritional analysis of your juice, ensuring each glass tastes vibrant and retains its nutrients. This quick step minimizes buildup, reducing scrubbing and cleaning effort later. Regularly maintaining your equipment, such as through immediate rinsing, also supports proper cleaning techniques that keep your juicer functioning optimally over time. Overall, rinsing immediately is a simple trick that keeps your juicer in top shape, so you can enjoy your daily juice without the hassle of dealing with hardened residue.
Eases Future Cleaning
By rinsing your juicer immediately after use, you prevent residue from drying and sticking, which can make cleaning more time-consuming later on. This simple step helps maintain your juicer’s durability by reducing buildup that could cause wear or damage over time. When you clean right away, you also lower the cleaning frequency needed, making maintenance quicker and easier. Less dried pulp and juice residue mean fewer scrubbing sessions and less risk of clogging or corrosion. Additionally, a clean juicer works more efficiently, so you get the most out of each use. Regular rinsing keeps your appliance in top shape, saving you time and effort in the long run while ensuring your juicer stays durable and reliable for daily use. Proper space planning in your kitchen can also make the cleaning process more streamlined and convenient. Incorporating proper kitchen organization can further enhance the ease of cleaning and maintenance routines. A well-organized kitchen setup supports efficient cleaning routines and makes daily tasks less cumbersome. To maximize the longevity of your juicer, understanding appliance maintenance best practices is also beneficial. Additionally, adopting effective cleaning tools can make the process even more straightforward and thorough.
Saves Time Instantly
When you rinse your juicer immediately after use, you eliminate the need for scrubbing and soaking later on. This quick step saves you significant time, especially with different fruit varieties and juicer accessories. By doing so, you prevent residue from drying and sticking, making cleanup faster.
Here’s how it helps:
- Quickly removes pulp from juicer accessories, reducing scrub time.
- Prevents stubborn stains from fruit varieties like berries or citrus.
- Keeps components ready for the next use without lengthy soaking.
This simple rinse keeps your juicer clean, minimizes hassle, and ensures you spend less time on cleanup, so you can enjoy your fresh juice sooner.
Quick & Clean 32oz. Carbonated Water Machine Cleaner & Descaler – Made in the USA – Compatible with At-Home Carbonated Water Machines – Removes Mineral & Limescale Buildup
Mineral Scale Removal: Our cleaner & descaler effectively removes mineral buildup from hard water, which can accumulate in…
As an affiliate, we earn on qualifying purchases.
As an affiliate, we earn on qualifying purchases.
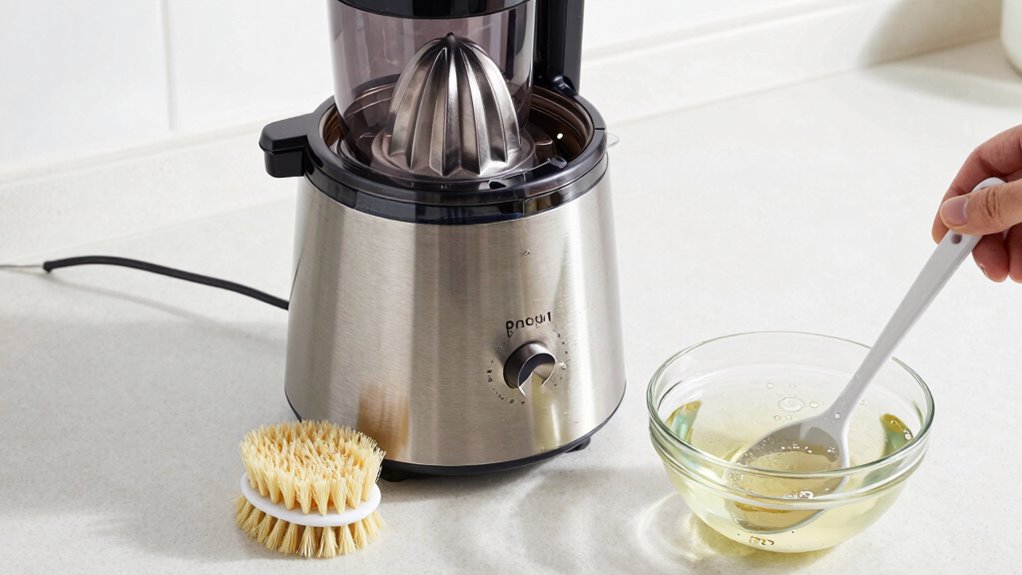
Step-by-Step: How to Use the No-Scrub Cleaning Hack
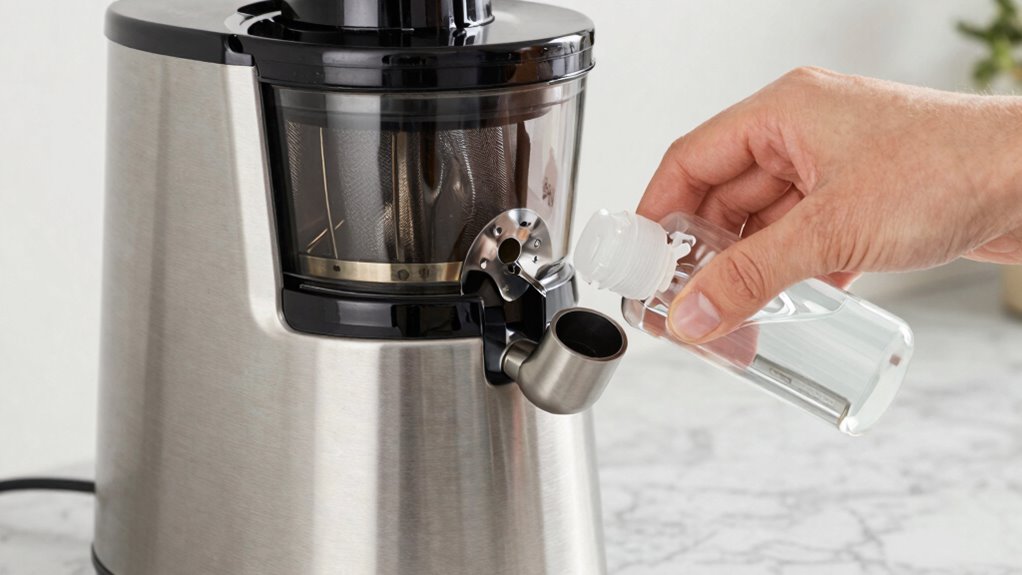
To effectively use the no-scrub cleaning hack, start by gathering your juicer parts and the cleaning supplies you’ll need. Fill the juicer with warm water and a splash of dish soap, then turn it on briefly to loosen residue. Once finished, disassemble the parts and rinse them thoroughly. This process helps preserve the fruit’s freshness, maintaining ideal fruit preservation for future juicing. It also ensures your juicer stays clean, which directly benefits juicing benefits like better flavor and longer appliance lifespan. Instead of scrubbing, the warm soapy water breaks down pulp and residue effortlessly. Accurate measurement tools can help you monitor the cleaning process to ensure all residues are removed effectively. After rinsing, dry the parts with a clean towel or air dry. This simple step keeps your juicer in top shape, making daily juicing quick and easy.
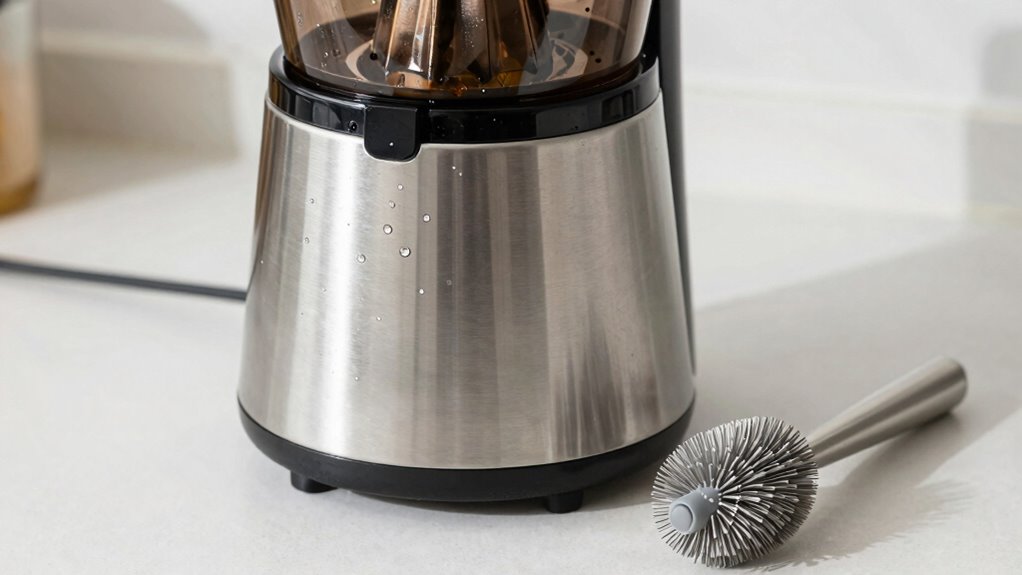
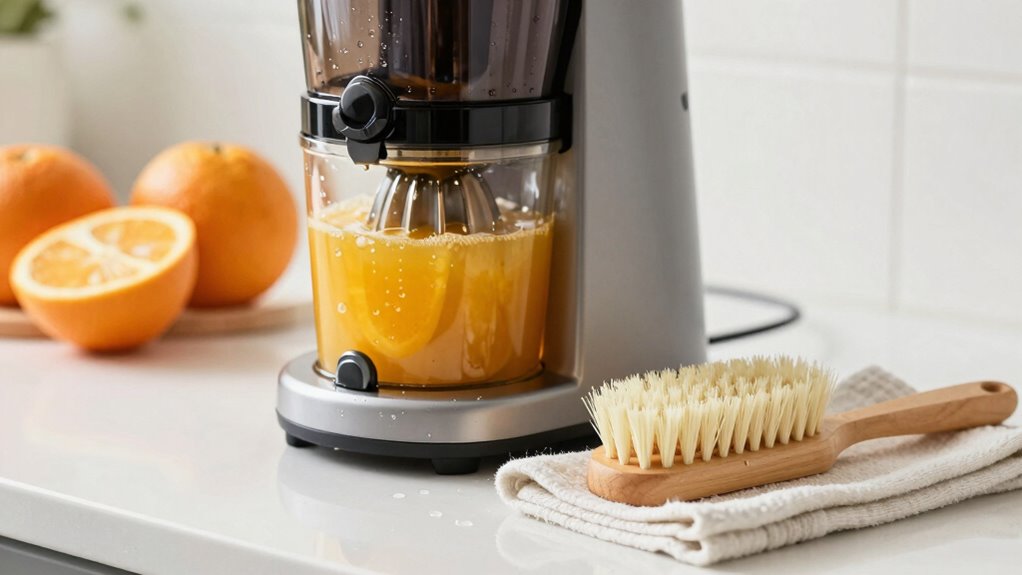
Choosing the Right Cleaning Tools for Easy Juicer Maintenance
Choosing the right cleaning tools makes maintaining your juicer quicker and more effective. When you’re focused on creating nutritious juicing recipes, it’s crucial to keep your equipment clean to preserve the nutritional benefits and avoid flavor transfer. To do this efficiently, consider these tools:
Using proper cleaning tools keeps your juicer efficient and your juices fresh and flavorful.
- Small brushes with soft bristles for cleaning blades and mesh screens thoroughly.
- Dish brushes or sponges for wiping down larger parts without damaging sensitive surfaces.
- Toothpicks or small picks for dislodging pulp and residue in tight crevices. Additionally, selecting tools designed for professional services ensures that your cleaning process aligns with high standards of efficiency and thoroughness.
- Using the appropriate cleaning tools can help prevent residue buildup, making cleaning easier and faster. Proper maintenance ensures your juicer operates smoothly, allowing you to enjoy fresh, nutrient-rich juices every day without hassle. Incorporating natural cleaning methods can also reduce reliance on harsh chemicals, supporting a more eco-friendly approach. Additionally, understanding the electric power of your juicer can help you select the most suitable cleaning methods for optimal performance.
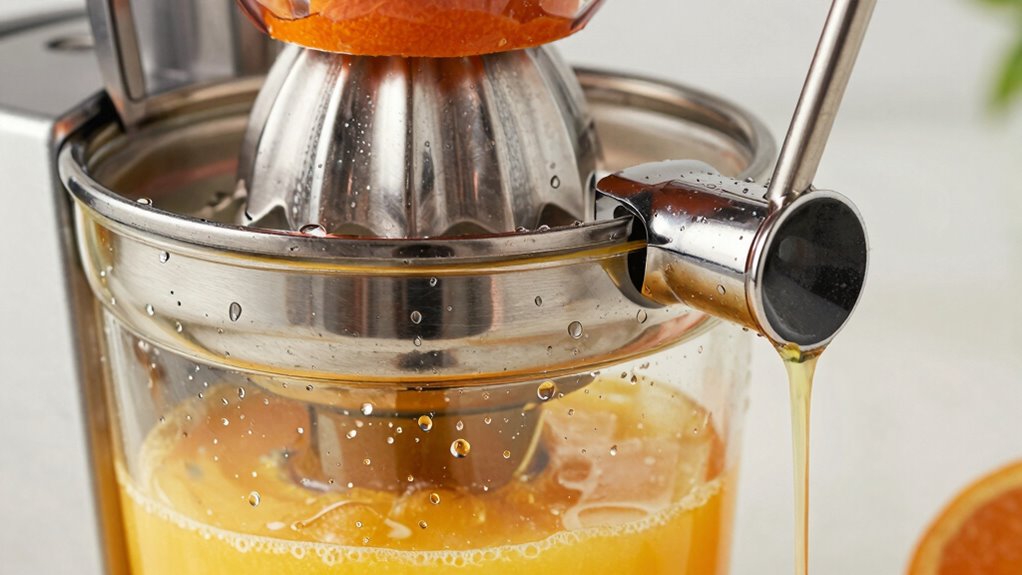
Prevent Pulp and Residue Buildup During Juicing

Preventing pulp and residue buildup during juicing starts with proper preparation and technique. To minimize pulp accumulation, choose ripe, firm produce and chop ingredients evenly. Use a slow, steady juicing pace to prevent overload, which causes residue buildup. Incorporate these tips:
| Technique | Benefit | Result |
|---|---|---|
| Pre-soak produce | Loosens fibers and pulp | Less clogging |
| Use a fine mesh filter | Traps pulp and residue effectively | Cleaner juice, less buildup |
| Alternate ingredients | Distributes pulp evenly | Reduced residue buildup |
| Clean produce thoroughly | Removes dirt that can clog | Smoother operation |
| Avoid overfilling | Prevents pulp accumulation | Maintains consistent flow |
Additionally, maintaining the juicer’s optimal performance by regularly inspecting and replacing worn parts helps prevent residue buildup. Proper cleaning techniques are essential for keeping your juicer in top condition and avoiding residue accumulation. Applying these practices helps keep your juicer clean, ensuring smooth operation and fresh juice every time.
How Often Should You Clean Your Juicer?
Regularly cleaning your juicer is essential to keep it functioning at its best and to guarantee your juice stays fresh and safe to consume. How often you clean it affects juicer noise and juice quality. Ideally, you should:
- Clean after every use to prevent residue buildup and maintain smooth operation.
- Deep clean weekly to remove pulp and mineral deposits that can impact juice quality.
- Inspect parts regularly and clean immediately if you notice increased juicer noise, which signals dirt or blockages.
Neglecting cleaning can lead to louder operation and compromised juice freshness. Consistent cleaning keeps your juicer running quietly and ensures every glass of juice is fresh and flavorful. Staying on top of cleaning schedules is key for peak performance and health.
Common Mistakes When Using the No-Scrub Hack and How to Avoid Them
While the no-scrub hack can save you time and effort, many people make common mistakes that can reduce its effectiveness or even damage their juicer. One mistake is believing cleaning myths, like thinking you don’t need to clean thoroughly afterward. This can lead to hygiene myths, where you assume the hack cleans everything. Another error is using harsh tools or chemicals, which can harm delicate parts. Also, rushing the process might leave residue, risking mold or bacteria growth. To stay on track, avoid these pitfalls:
| Mistake | Consequence | How to Avoid |
|---|---|---|
| Ignoring hygiene myths | Bacterial buildup | Rinse thoroughly after juicing |
| Believing cleaning myths | Incomplete cleaning | Follow proper cleaning steps |
| Using harsh tools | Damage to parts | Use soft brushes and gentle methods |
| Rushing the process | Residue buildup | Take your time for thorough cleaning |
How This Hack Saves Time and Keeps Your Juicer Hygienic

Ever wonder how a simple no-scrub hack can save you precious time while keeping your juicer spotless? It streamlines your kitchen organization and debunks common juicing myths that cleaning is time-consuming. This hack prevents buildup and germs, making daily juicing easier. Here’s how it helps:
A no-scrub hack saves time, prevents buildup, and keeps your juicer hygienic with minimal effort.
- Quick Cleanup: Rinsing parts immediately after juicing prevents residue from hardening, saving you from lengthy scrubbing later.
- Hygienic Freshness: Regular, easy rinses stop bacteria growth, ensuring your juicer stays hygienic without extra effort.
- Time Efficiency: Simplifies cleanup, so you spend less time on maintenance and more on enjoying fresh juice.
Will This Cleaning Hack Work for All Types of Juicers?
You might wonder if this cleaning hack works for all juicer types, from centrifugal to masticating models. Some juicers are more delicate or have different parts that need special attention. Consider the compatibility and effectiveness for your specific juicer before trying this method.
Compatibility With Juicer Types
Not all juicers respond equally to cleaning hacks, so it’s essential to take into account their specific designs before trying any new method. Different types, like centrifugal, masticating, or triturating juicers, vary in complexity and parts. This cleaning trick might work better for some than others. For example:
- Centrifugal juicers with removable screens often respond well, making cleanup quick.
- Masticating models with tight seals might require extra care.
- Triturating juicers, with their complex mechanisms, may need specialized cleaning methods.
Understanding your juicing innovations and how they fit into your kitchen essentials helps determine compatibility. Always check manufacturer guidelines before applying new cleaning hacks. This way, you keep your juicer in top condition without risking damage.
Effectiveness Across Models
While this cleaning trick can be effective for many juicer models, its success largely depends on the specific design and material of your appliance. Some juicers, especially those with delicate parts or softer plastics, may not withstand frequent cleaning with certain methods. Generally, the trick works best for models with durable, dishwasher-safe components, ensuring consistent juicer durability over time. Keep in mind that regular cleaning frequency is key—overdoing it on fragile parts could cause damage, while infrequent cleaning might lead to buildup. For most standard juicers, this hack helps maintain cleanliness and efficiency. However, always check your manufacturer’s guidelines to avoid potential harm, especially with specialized or older models. When used correctly, this trick can be a reliable part of your daily juicing routine.
Frequently Asked Questions
Can This Cleaning Hack Be Used on Vintage or Manual Juicers?
Yes, you can use this cleaning hack on vintage juicers and manual cleaning. It’s effective because it targets stubborn residues without damaging delicate parts. For vintage juicers, be gentle to avoid wear, while manual cleaning benefits from thorough scrubbing with soft brushes. Just make sure to adapt the technique slightly if needed, ensuring all small crevices are cleaned properly. This hack helps keep your vintage and manual juicers in top condition for daily use.
Does This Method Remove All Stubborn Pulp and Fruit Residues?
Think of your juicer as a garden bed; this cleaning method is like watering it thoroughly. It effectively loosens stubborn fruit residue and pulp, making removal easier. However, some tiny particles hide in hard-to-reach corners, so while it clears most pulp, a bit may still linger. With patience and a gentle brush, you can achieve a cleaner juicer, ensuring every drop of freshness makes it into your glass.
Are There Any Safety Concerns When Using This Cleaning Technique?
Yes, there are safety concerns when using this cleaning technique. You should follow safety precautions like wearing gloves to prevent chemical risks from cleaning agents. Make sure to thoroughly rinse all parts to remove any residue, and avoid using harsh chemicals that could damage your juicer or pose health risks. Always read the manufacturer’s instructions to guarantee safe and effective cleaning, preventing accidents or potential contamination.
Can This Hack Be Applied to Commercial or Industrial Juicers?
Sure, this cleaning hack is perfect for your home, but don’t expect it to conquer the industrial application or commercial compatibility chaos of massive juicers. While clever for small-scale use, it’s not designed to handle the grime and complexity of commercial units. For industrial or commercial juicers, you’ll need more robust, professional cleaning methods—this trick’s more of a cute party trick than a serious solution.
How Long Does the Cleaning Process Take Using This Trick?
Using this cleaning trick, you’ll spend about 2-3 minutes on each cleaning session, maximizing cleaning efficiency. The quick process markedly reduces your cleaning time, giving you more time to enjoy fresh juice. By streamlining your routine, you save time and keep your juicer in ideal condition. This method is perfect for daily use, ensuring your juicer stays clean without the hassle, so you can focus on your healthy habits.
Conclusion
By incorporating this simple no-scrub cleaning hack into your routine, you’ll find juicing becomes easier and more enjoyable. Rinse immediately, avoid tough scrubbing, and keep your juicer hygienic without hassle. Remember, a stitch in time saves nine—staying on top of cleaning means less work later. Embrace this trick, and you’ll be able to enjoy fresh juice daily without the stress of complicated cleanup. Cheers to a healthier, more convenient juicing habit!