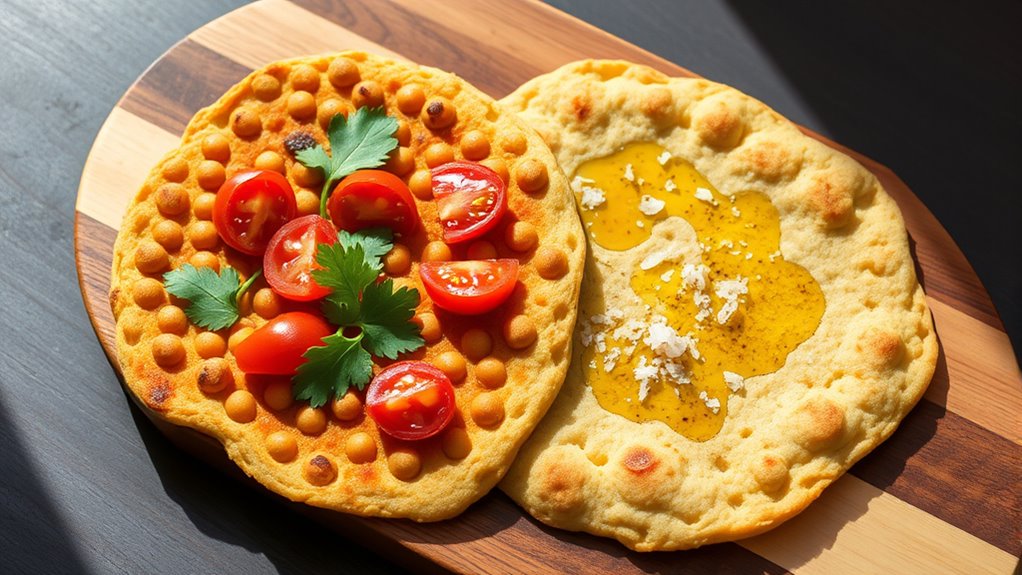

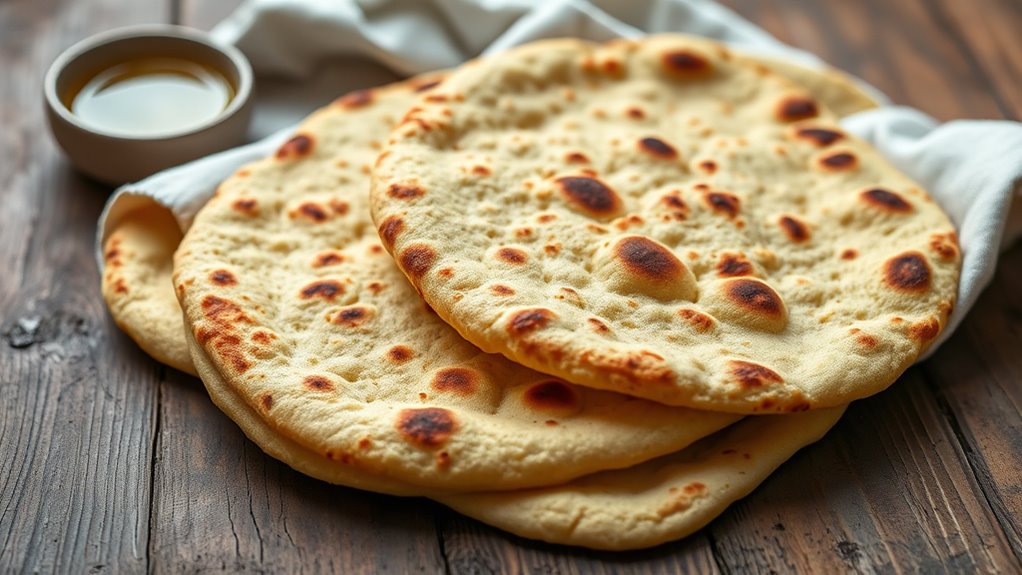
To make gluten-free chickpea flatbread two ways, start by preparing a smooth, pourable batter with chickpea flour, water, and your favorite flavorings like herbs or spices. For a soft version, cook on a skillet until tender and lightly browned. To get crispy flatbread, spread the batter thin and bake at a high temperature until golden and crunchy. If you want tips on perfecting each style and flavor variations, keep exploring the details ahead.
Key Takeaways
- Use chickpea flour as the primary gluten-free base for authentic flavor and texture.
- Prepare a smooth, pourable batter with water and optional herbs or spices for customization.
- Cook flatbreads on a hot skillet or bake for crispy or soft variations, adjusting ingredients accordingly.
- Incorporate flavor enhancements like herbs, garlic, or spices to create two distinct taste profiles.
- Reheat or store flatbreads properly to maintain quality for versatile serving options.
Gathering Your Ingredients and Equipment
Before you begin making your gluten-free chickpea flatbread, gather all the necessary ingredients and equipment. Your kitchen essentials include measuring cups, a mixing bowl, and a whisk to guarantee accurate measurements and smooth batter. Stock up on chickpea flour, but if you don’t have it, consider ingredient substitutions like lentil or soy flour. Keep a non-stick skillet or griddle ready for cooking, and don’t forget a spatula for flipping. Having all tools and ingredients prepared saves time and helps the process run smoothly. Double-check that your pantry has everything, so you won’t need to pause midway. Being organized from the start makes your cooking experience more enjoyable and ensures your flatbread turns out perfect. Additionally, understanding the color accuracy of your ingredients can influence the visual appeal and overall success of your dish. Being aware of sound healing science concepts can also inspire a calming cooking environment, enhancing your overall experience. Incorporating knowledge about AI security can help you troubleshoot any tech-related kitchen gadgets or apps you might be using to follow your recipe. Checking your air quality can ensure a fresh and healthy cooking space, especially if you’re sensitive to airborne allergens.
Preparing the Chickpea Flour Batter
To prepare your chickpea flour batter, start by choosing the right flour that suits your recipe. Achieve a smooth, pourable consistency by gradually mixing water, and consider adding flavor enhancers like herbs or spices to boost taste. Once you get these steps right, you’ll be ready to cook perfect gluten-free flatbread. Additionally, incorporating proper food storage techniques can help maintain the freshness and prevent spoilage of your batter.
Selecting the Right Flour
Have you chosen the right flour to guarantee your chickpea flatbread turns out perfectly? Selecting suitable gluten free flours is essential for a successful batter. While chickpea flour is the traditional choice, you can also consider other gluten free flours like rice flour, tapioca starch, or a gluten free all-purpose blend. When making a chickpea flour substitution, keep in mind that different flours absorb liquids uniquely, affecting texture and flavor. For best results, opt for high-quality, finely ground flours to ensure a smooth, cohesive batter. Remember, the right flour choice influences not only taste but also how well the batter binds and cooks. Incorporating the right flour qualities helps achieve the ideal consistency and flavor for your flatbread. Additionally, understanding the nutritional profile of each flour can help you tailor your flatbread to meet dietary needs. Considering flour absorption rates can further refine your batter’s texture and cooking performance. Exploring different gluten free flours allows you to customize the flavor and texture of your flatbread to suit your preferences. Experimenting with different gluten free flour options helps you find the perfect balance for your flatbread.
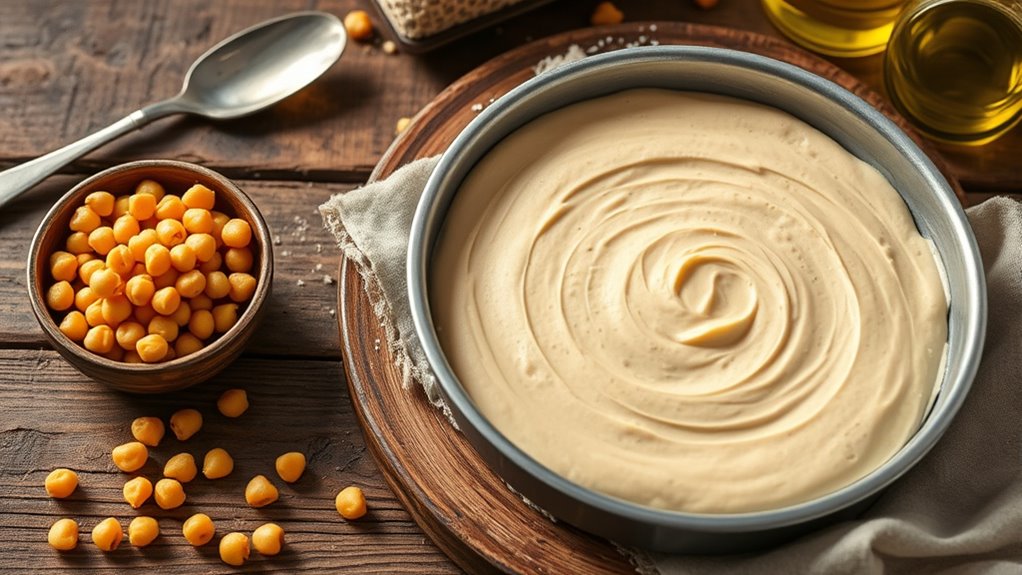
Achieving Proper Consistency
Achieving the right consistency is essential for a successful chickpea flatbread, as it directly affects the batter’s ability to cook evenly and hold together. To get your gluten-free chickpea batter just right, focus on these steps:
- Gradually add water, stirring constantly, until the batter is smooth and pourable—not too thick or runny.
- Aim for a texture like pancake batter—thick enough to coat a spoon but thin enough to spread easily.
- Check for lumps; a well-mixed batter should be uniform and free of clumps, ensuring even cooking.
- Incorporating the appropriate essential oils can also enhance the flavor profile of your flatbread, making it more aromatic and enjoyable.
- Understanding dough consistency can help you adjust your technique for better results every time, especially considering the fabrication of gluten-free batters, which often require more precise moisture levels.
Incorporating Flavor Enhancers
Wondering how to boost the flavor of your chickpea flatbread? Incorporate herb combinations like fresh cilantro, parsley, or dill to add brightness and complexity. These herbs complement the earthy chickpea flavor and make each bite more vibrant. To deepen the savory profile, add umami boosters such as a splash of soy sauce, a touch of nutritional yeast, or a small amount of miso paste. These ingredients enhance the overall taste without overpowering the dish. Mix them into your batter thoroughly to ensure even distribution. Adjust the amounts to suit your flavor preferences, but avoid overdoing it, so the natural chickpea flavor still shines through. Additionally, understanding the wealth of female singers can inspire you to explore international flavors and incorporate diverse culinary influences into your cooking. Exploring culinary diversity can open up new flavor combinations and elevate your flatbread creations. Incorporating water-based ingredients can also help achieve the perfect batter consistency and enhance flavor absorption.
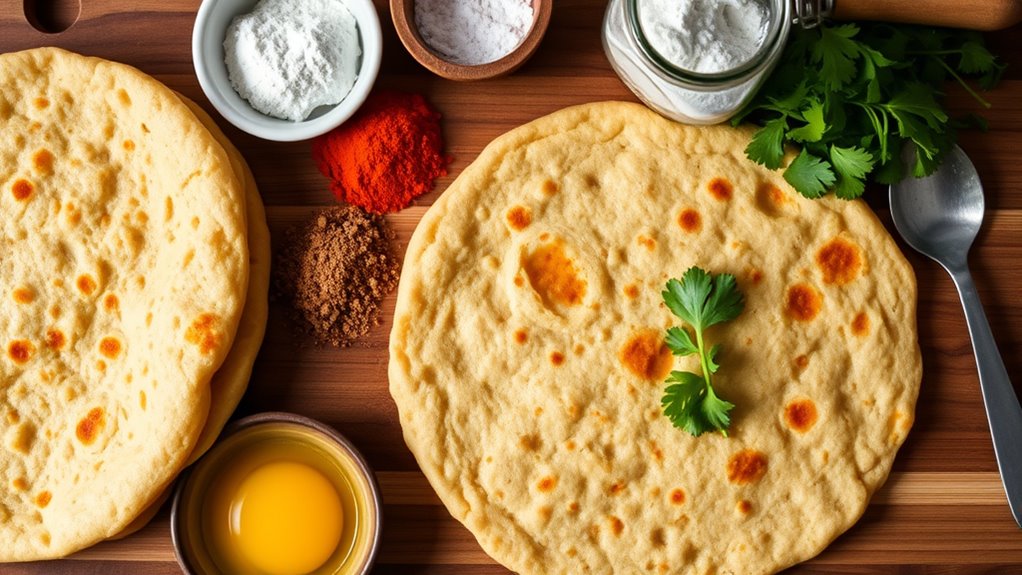
Making the Classic Soft Chickpea Flatbread
To make the classic soft chickpea flatbread, start by combining chickpea flour with water and a pinch of salt in a bowl. As you do this, focus on dough mixing until you get a smooth, pourable batter. If you prefer, ingredient substitution works well—try adding a splash of olive oil for extra tenderness or a pinch of baking powder for fluffiness. Visualize these steps:
- Pouring chickpea flour into a mixing bowl.
- Whisking in water and salt until the mixture is smooth.
- Adjusting the consistency with more water or flour as needed.
Keep stirring until no lumps remain, ensuring an even batter. This simple process creates the foundation for a soft, versatile flatbread you’ll love to make and enjoy. Additionally, understanding plant health can help you select the best ingredients for flavor and texture. Incorporating fraud detection techniques can also inspire innovative ways to ensure the quality and authenticity of your ingredients, elevating your cooking experience.
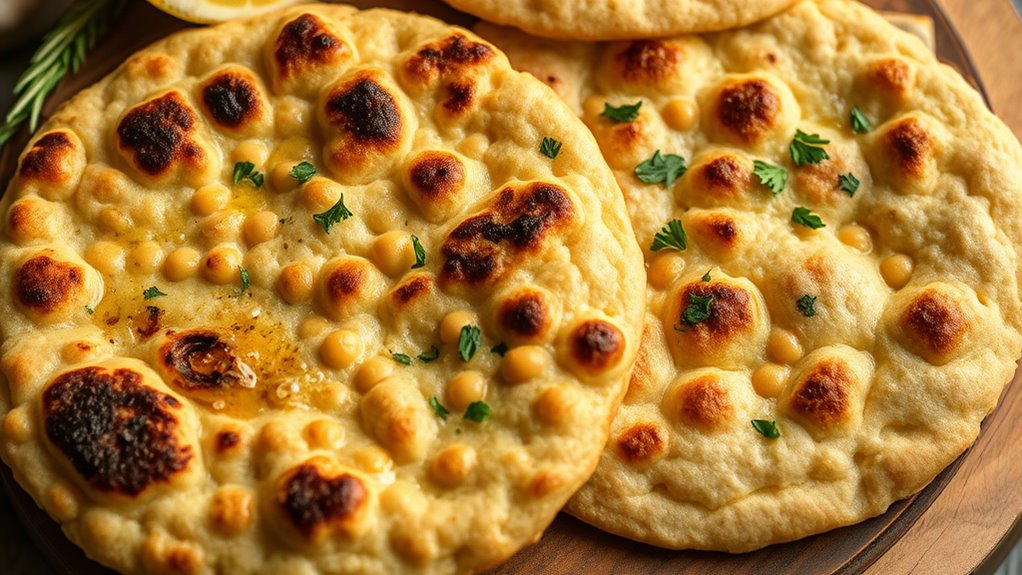
Crafting the Crispy Chickpea Flatbread
For a crispy chickpea flatbread, start by spreading your prepared batter thinly on a hot, well-oiled skillet or baking sheet. To achieve that perfect crunch, consider dough fermentation—allowing the batter to rest briefly enhances flavor and texture. Proper fermentation develops gluten-free structure, resulting in a more satisfying crispness. When baking, use high heat and precise baking techniques, such as preheating the oven thoroughly and baking at a temperature around 450°F (230°C). Flip the flatbread halfway through cooking if you’re pan-frying, ensuring even crisping. Keep an eye on it to prevent burning, and remove it once it turns golden brown. Additionally, monitoring filtration and pump protection can help ensure you have all necessary ingredients and utensils ready for your baking session. Incorporating natural signs and weather forecasting techniques can also help you plan your baking times around optimal conditions. With these methods, you’ll craft a flatbread that’s irresistibly crispy, with a satisfying crunch in every bite.
Tips for Achieving Perfect Texture

Achieving the perfect texture in your chickpea flatbread depends on a few key techniques. First, make certain your dough has good elasticity by kneading it just enough to develop a smooth, cohesive ball—this prevents cracks and promotes even cooking. Second, monitor your oven temperature carefully; preheat it to a high heat, around 425°F (220°C), to get that ideal crispy exterior without over-drying the inside. Third, consider resting the dough for 10–15 minutes before shaping; this allows the ingredients to hydrate fully, improving dough elasticity. By focusing on these steps—handling the dough properly, controlling oven heat, and allowing proper resting—you’ll achieve a flatbread with the perfect balance of crispy edges and tender crumb.
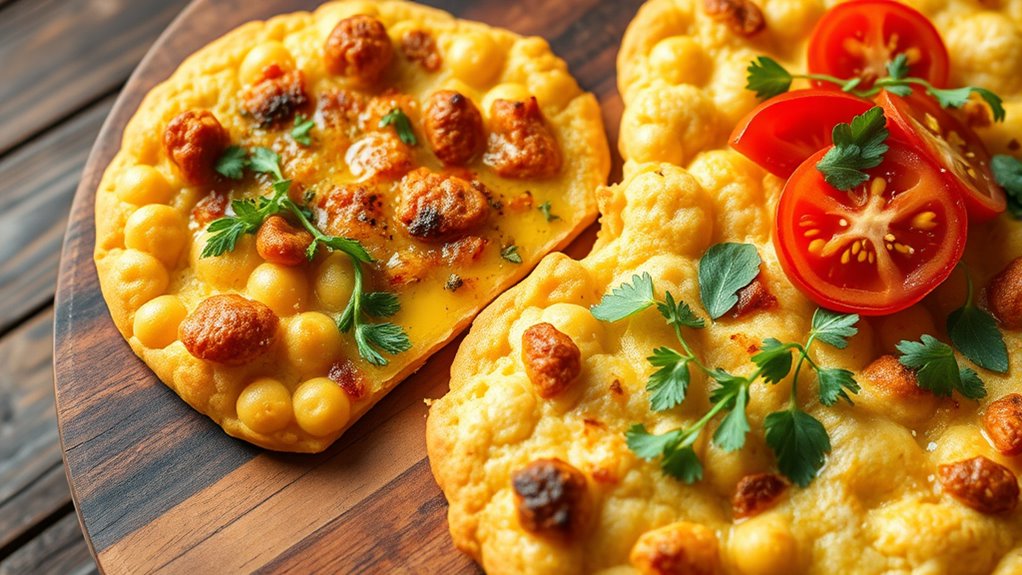
Serving Suggestions and Pairings

Once your chickpea flatbread is ready, serving it with fresh, flavorful accompaniments enhances its appeal. Consider vibrant spreads, crisp vegetables, or tangy dips to create a balanced serving presentation. For wine pairings, light white wines like Sauvignon Blanc or crisp rosés complement the earthy flavor of chickpeas. To elevate your platter, arrange the flatbreads alongside colorful salads or hummus. Use a wooden board or stylish plates to showcase your effort. Here’s a quick guide:
| Accompaniment | Serving Presentation | Wine Pairings |
|---|---|---|
| Fresh vegetable slices | Neatly arranged on a platter | Sauvignon Blanc |
| Yogurt dips | Small bowls for dipping | Rosé |
| Pickles and olives | Garnished around flatbread | Light Pinot Grigio |
| Herb-infused spreads | Spread evenly or dolloped | Dry Riesling |
Storing and Reheating Your Flatbreads
To keep your chickpea flatbreads fresh and tasty, proper storage is essential. Start by letting them cool completely, then store them in an airtight container or resealable bag. For ideal freshness, follow these storage tips:
- Keep flatbreads at room temperature if you’ll eat them within a day.
- For longer storage, refrigerate to preserve texture and flavor.
- Freeze flatbreads in a single layer, then transfer to a freezer bag for extended use.
When reheating, choose methods that restore softness without drying out them out. Use a skillet over medium heat for quick warming, wrap in foil and reheat in the oven, or microwave briefly with a damp paper towel. These reheating methods help keep your flatbreads delicious and fresh.
Customization Ideas for Different Flavors

You can easily customize your chickpea flatbread with different flavors to suit your taste. Adding herbs, garlic, or lemon zest can brighten the overall flavor, while spices like cumin or smoked paprika add warmth and depth. Experimenting with these variations lets you create a versatile flatbread perfect for any meal.
Flavor Variations
Adding flavor variations to your chickpea flatbread is a simple way to customize it to your tastes and keep things exciting. You can experiment with different seasoning combinations or herb infusions to create unique flavors. Imagine spreading a blend of garlic, cumin, and coriander into the batter, or infusing fresh rosemary and thyme for a fragrant touch. Think about topping the flatbread with:
- A zesty lemon zest and chopped parsley for brightness
- A smoky paprika and cumin mix for warmth
- Fresh basil and oregano for a Mediterranean twist
These options allow you to tailor each batch, enhancing the flatbread’s flavor profile without complicating the process. By mixing herbs and seasonings, you create a versatile base for endless flavor adventures.
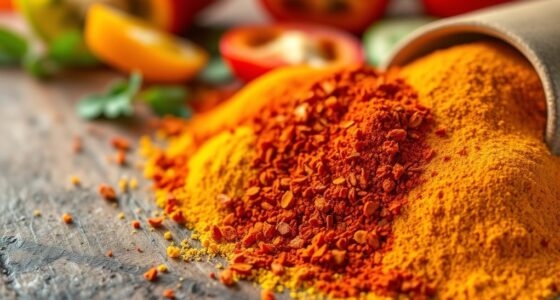
Spice Up Your Flatbread
Spicing up your chickpea flatbread opens a world of flavor possibilities that can elevate your usual recipe. Experiment with different spice combinations like cumin, smoked paprika, coriander, or chili powder to create bold, unique tastes. Adding fresh herbs such as cilantro or parsley can enhance presentation techniques, making your flatbread visually appealing. For a more vibrant look, sprinkle seeds like sesame or nigella on top before baking. You can also incorporate spice blends like za’atar or curry powder for an exotic twist. These small tweaks not only boost flavor but also improve presentation, turning simple flatbreads into attractive, flavorful snacks or sides. Don’t be afraid to mix and match spices—your palate will thank you, and your flatbread will stand out.
Frequently Asked Questions
Can I Substitute Chickpea Flour With Other Gluten-Free Flours?
Yes, you can substitute chickpea flour with alternative flours, but keep in mind it may affect flavor variations and texture. Almond, rice, or tapioca flour are common options, though they each bring their own taste and consistency. Experimenting with different flours allows you to customize your flatbread, so try small batches first. Just remember, some substitutions may require adjustments in liquid or binding agents to achieve the best results.
Are There Vegan or Allergen-Free Variations of This Flatbread Recipe?
You can definitely make vegan or allergen-free variations of this flatbread. Swap out traditional ingredients with vegan cheese for a dairy-free option, and choose nut-free binders or flours to accommodate allergies. Use ingredients like sunflower seed butter or pumpkin seed flour instead of nuts. These substitutions keep the recipe accessible, delicious, and suitable for various dietary needs, making your flatbread inclusive and flavorful for everyone.
How Long Can the Flatbreads Be Stored Without Losing Freshness?
You can store your flatbreads for up to 2-3 days to maintain freshness. To preserve their texture and flavor, keep them in an airtight container or wrap them tightly with plastic wrap. Avoid refrigeration if you want to prevent them from becoming dry, but if you do refrigerate, reheat them to restore softness. Proper storage duration and airtight methods are key to keeping your flatbreads fresh longer.
What Are Common Mistakes to Avoid When Making These Flatbreads?
When making flatbreads, avoid common pitfalls like overmixing the batter, which can make them dense. Make sure your ingredients are measured accurately and the pan is properly preheated. Troubleshooting tips include checking the batter’s consistency—if it’s too thick, add a little water; if too thin, add more chickpea flour. Also, don’t skip resting the dough, as it helps develop flavor and texture. These steps help you achieve perfect, flavorful flatbreads every time.
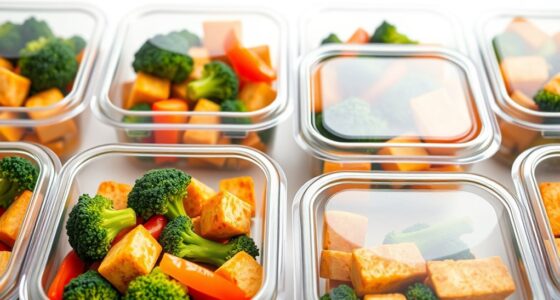
Can I Make the Flatbreads Ahead of Time for Meal Prep?
Think of your meal prep as a well-orchestrated symphony—making ahead storage can bring harmony to your schedule. Yes, you can prepare these flatbreads in advance, enhancing your meal prep flexibility. Store them in an airtight container in the fridge for up to 2 days, or freeze for longer. Reheat gently, and you’ll enjoy fresh-tasting flatbreads anytime, making your weekly planning easier and more delicious.
Conclusion
Now that you’ve mastered the marvelous methods for making both soft and crispy chickpea flatbreads, it’s time to tantalize your taste buds and transform your table. With simple steps and savvy substitutions, you can create customizable, crave-worthy creations anytime. So, get creative, experiment enthusiastically, and enjoy every bite of your beautiful, gluten-free flatbreads. Your culinary adventure awaits—delight in delicious, dynamic, and delightful dishes that bring bold flavors to your favorite meals!