
TL;DR
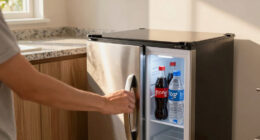
Moving your rig away from your workspace into another room can cut noise more than any foam. Proper placement of absorption and sealing gaps are key. Ventilation is essential if you put a rig in a closet, or heat will ruin your setup.
Ever notice how your closet sounds like a box? Echoey, boomy, and full of reflections—yet it might be the perfect spot for a quiet workspace. The secret isn’t just more foam, but where you put it and how you arrange your rig. If you’re tired of noisy recordings or want to keep your workspace silent, understanding the difference between dampening, soundproofing, and placement will change the game.
This guide is about making your small space work smarter—by thinking like an engineer rather than a DIYer. You’ll learn how to dampen reflections, block sound leaks, and even set up a rig in the closet without cooking your equipment. Ready to transform your tiny studio into a sound haven? Let’s dive in.
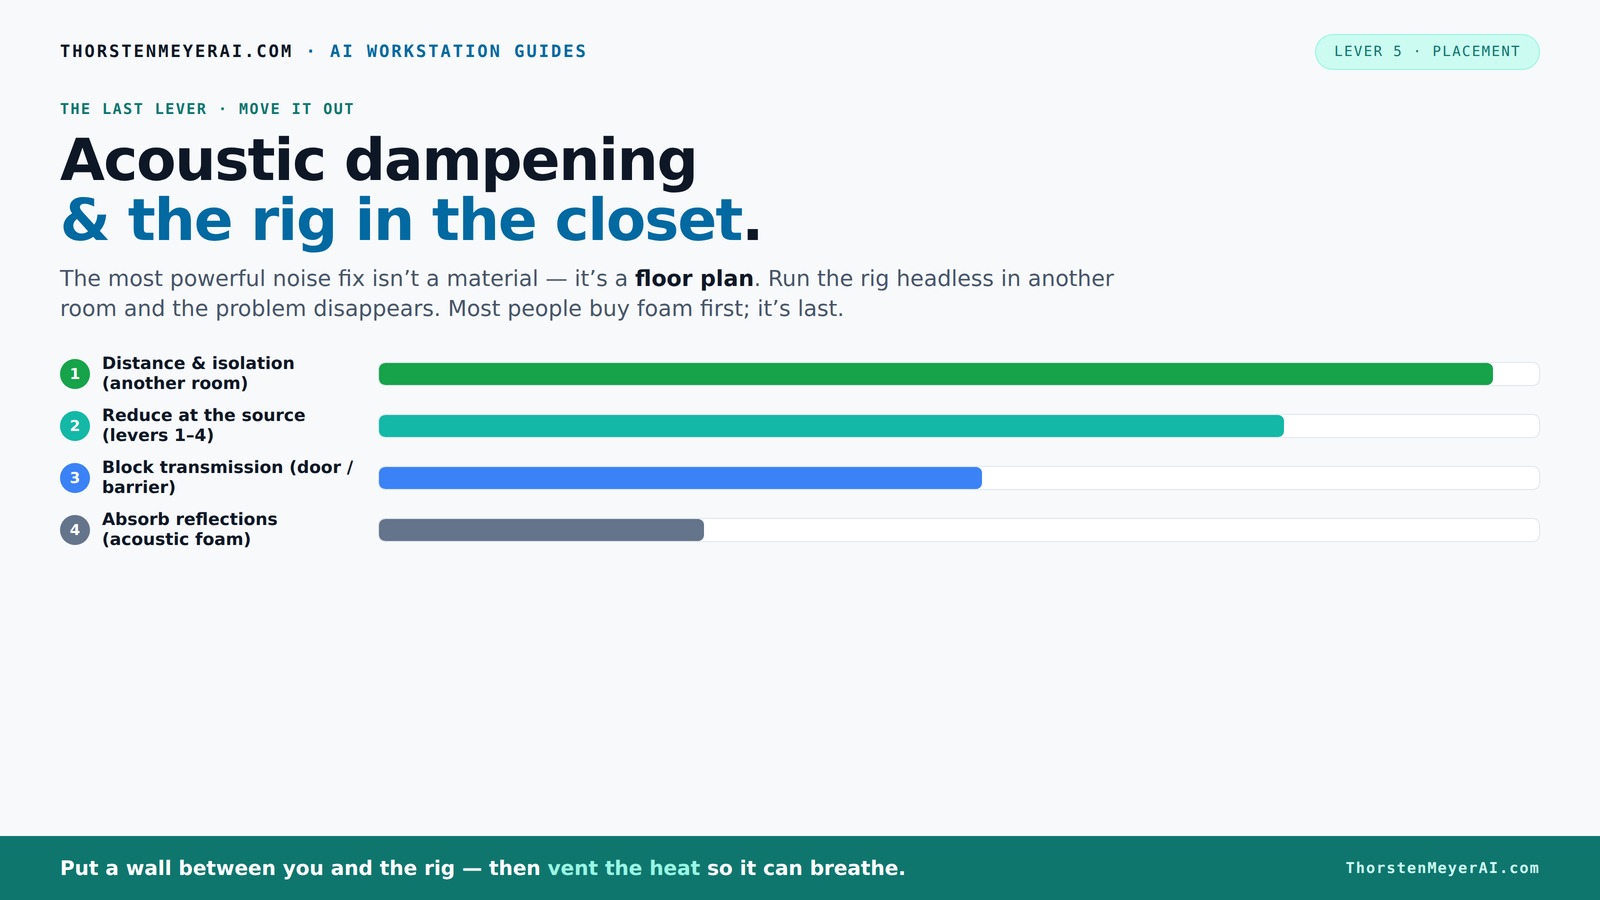
Acoustic dampening
& the rig in the closet.
The most powerful noise fix isn’t a material — it’s a floor plan. A rig you can’t hear because it’s in another room beats any amount of foam. Tap the approaches in Part 1 to see what actually works.
(another room)
(levers 1–4)
(door / barrier)
(acoustic foam)
Contain the noise, not the heat
Key Takeaways
- Sealing gaps and doors is often more effective than adding foam for reducing noise leaks.
- Place absorption at the first reflection points—behind the mic, side walls, and ceiling—for best sound quality.
- Small closets amplify low frequencies; treat corners and add bass traps to tame boominess.
- Moving your rig into a different room or closet can eliminate most noise issues—distance is your best tool.
- Layering different materials—foam, blankets, bass traps—yields the best results in tiny spaces.
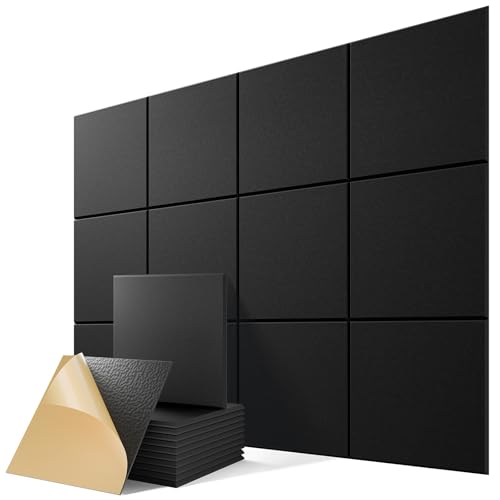
12 Pack Self-Adhesive Acoustic Panels, 12" X 12" X 0.4" High-Density Polyester Sound Proof Foam Panels for Walls, Soundproof Wall Panels for Home & Office (Black)
Superior Noise Reduction & Echo Cancellation - Tired of background noise and poor acoustics? Our soundproof wall panels...
As an affiliate, we earn on qualifying purchases.
As an affiliate, we earn on qualifying purchases.
Why Acoustic Dampening Isn’t the Same as Soundproofing and Why It Matters
Acoustic dampening and soundproofing serve different purposes—and confusing the two is a common mistake. Dampening controls the echoes and reverb inside your space, making your recordings clearer. Soundproofing, on the other hand, stops sound from leaking out or coming in.
Understanding this distinction is crucial because it shapes your approach: dampening treatments like foam and bass traps improve the clarity of your recordings by reducing internal reflections, but they do little to prevent sound from escaping your room. Conversely, soundproofing involves heavy, dense barriers—like mass-loaded vinyl or extra layers of drywall—that prevent sound from passing through walls. The tradeoff is that soundproofing is often more expensive, heavier, and less practical in small, portable setups.
For example, if your goal is to record voice with less echo, foam at reflection points will help. But if your neighbor still hears your loud singing, you need to seal gaps and add barriers. Recognizing what each treatment does helps you allocate your resources wisely: treat the internal acoustics first for clarity, then address sound leaks if noise is an issue outside your space. This layered approach balances cost, effort, and effectiveness, ensuring you don’t overinvest in treatments that won’t solve your primary problem.

Focusound 52 Pack Acoustic Foam Panels 1" x 12" x 12" Sound Proof Foam Panles Soundproofing Noise Cancelling Wedge Panels for Home Office Recoding Studio with 300PCS Double-Side Adhesive
Soundproofing - Acoustic foam panels triangular grooves structure for better noise absorption, helps to reduce and absorb unwanted...
As an affiliate, we earn on qualifying purchases.
As an affiliate, we earn on qualifying purchases.
The Power of Placement: Where to Put Absorption for Maximum Impact
Placement of acoustic treatments is a strategic decision because it directly influences how effectively sound waves are absorbed or reflected. The most impactful spots are the first reflection points—these are the surfaces where sound from your microphone or speakers hits first and then bounces back into the room. Covering these points with absorption materials reduces early reflections that cause comb filtering and muddiness, resulting in clearer recordings and more accurate monitoring.
Think of it as intercepting the sound path before it has a chance to bounce around. For example, placing foam behind your mic and on the side walls intercepts the direct sound and prevents it from reflecting into the mic. This not only cleans up your recordings but also reduces listener fatigue during long sessions. However, improper placement—such as randomly sticking foam on any wall—won’t be as effective and can even worsen acoustics by creating uneven absorption.
Leave a small air gap—around 2 inches—between the absorber and the wall. This spacing enhances the treatment’s effectiveness by allowing sound waves to dissipate more before being absorbed, especially for porous materials like blankets or DIY panels. In practice, a YouTuber who carefully identified and treated the first reflection points with foam panels saw a significant improvement in clarity, with echo reduced by 70%. Covering the ceiling and corners further helps tame bass buildup and standing waves, but prioritizing reflection points yields the best return on investment.
To systematically improve your space, start by defining the key reflection points using a mirror or by listening carefully. Then, apply absorption materials there first. As you gain experience, experiment with additional treatments in corners and on the ceiling to address low frequencies and standing waves, creating a balanced, professional sound profile.

SQKM Weather Stripping Door Seal Strip, D-Shaped Self-Adhesive, Soundproof Blocks Cold Drafts & Dust, Black TPE 20Ft (3/8" W × 1/4" T) for Door Frames & Windows
【THICKENED TPE SEAL & SAVE】Crafted from premium thickened TPE, this D-Shaped Weather Stripping boasts strong sealing and anti-deformation...
As an affiliate, we earn on qualifying purchases.
As an affiliate, we earn on qualifying purchases.
Layering Treatments and Creating a Balanced Acoustic Environment
Achieving optimal sound quality in a small closet isn’t just about sticking foam panels everywhere. It’s about layering different types of treatments to address various acoustic issues. Start with absorption at the reflection points to control echoes and clarity. Then, add bass traps in the corners to tame low-frequency build-up and reduce boominess. Finally, seal gaps around doors and windows to prevent sound leaks.
Using a combination of materials—such as foam, blankets, and DIY bass traps—can create a more balanced acoustic environment. For example, a dense blanket over the door can significantly reduce noise escaping, while foam panels at reflection points improve clarity. This layered approach ensures that you’re tackling multiple issues simultaneously, resulting in a more professional sound without overloading your space with unnecessary treatments.
Remember, the goal is to create a controlled environment that minimizes both reflections and leaks. Regularly evaluate your setup by recording test audio and listening critically. Adjust the placement and density of treatments as needed to find the perfect balance for your specific space and needs.

72in 3-Panel Soundproof Room Divider with Wheels, Heavy-Duty Acoustic Partition Temporary Wall for Noise Reduction, Portable Divider for Home Hospital Library Classroom - Light Grey
【Noise Reduction】Our room divider can absorb at least 85% of the noise, creating a quiet environment without being...
As an affiliate, we earn on qualifying purchases.
As an affiliate, we earn on qualifying purchases.
Frequently Asked Questions
Will acoustic foam make my closet soundproof?
No. Acoustic foam reduces reflections and echo inside the room but doesn’t block sound from escaping. For soundproofing, you need dense barriers and sealing gaps.Where should I place foam in a closet recording booth?
Place foam at the first reflection points—behind the microphone, side walls, ceiling, and corners for bass traps. Cover the door gaps and seal them for best results.Do I need bass traps in a tiny closet?
Yes. Small rooms tend to trap low frequencies, creating boominess. Bass traps in corners help control this and improve overall sound clarity.Should I treat the door or the walls first?
Treat the gaps and seal the door first. Then focus on the walls at reflection points. Sealing gaps reduces noise leaks, and wall treatment improves sound quality.How far should the mic be from the wall?
Keep the mic about 6-12 inches from the mouth and a few inches from reflection points. Angling the mic slightly reduces room sound pickup.Conclusion
The biggest step toward better sound in a tiny closet isn’t just adding foam. It’s about placement, sealing leaks, and understanding your space’s quirks. Moving your rig to another room or building a layered DIY setup can turn a noisy closet into a quiet, professional-sounding booth.
Remember, a well-placed mic, some strategic absorption, and a sealed door can make your recordings clearer than ever. Your perfect closet studio is just a few smart moves away—start with the gaps and reflection points.