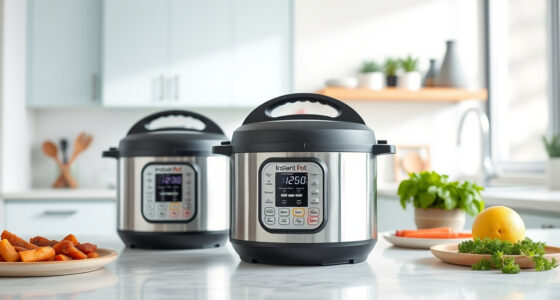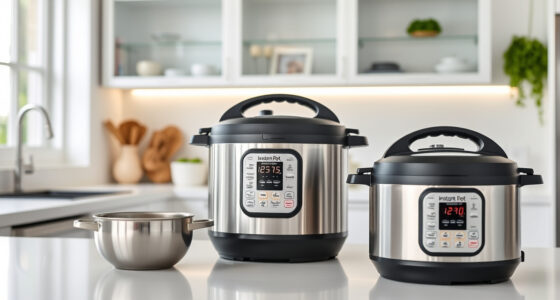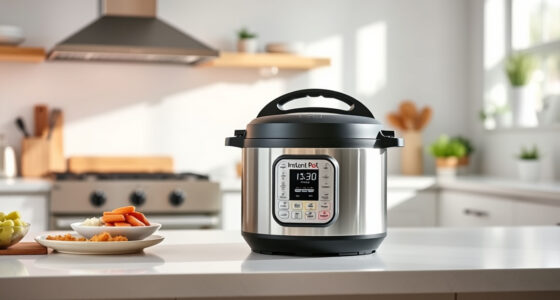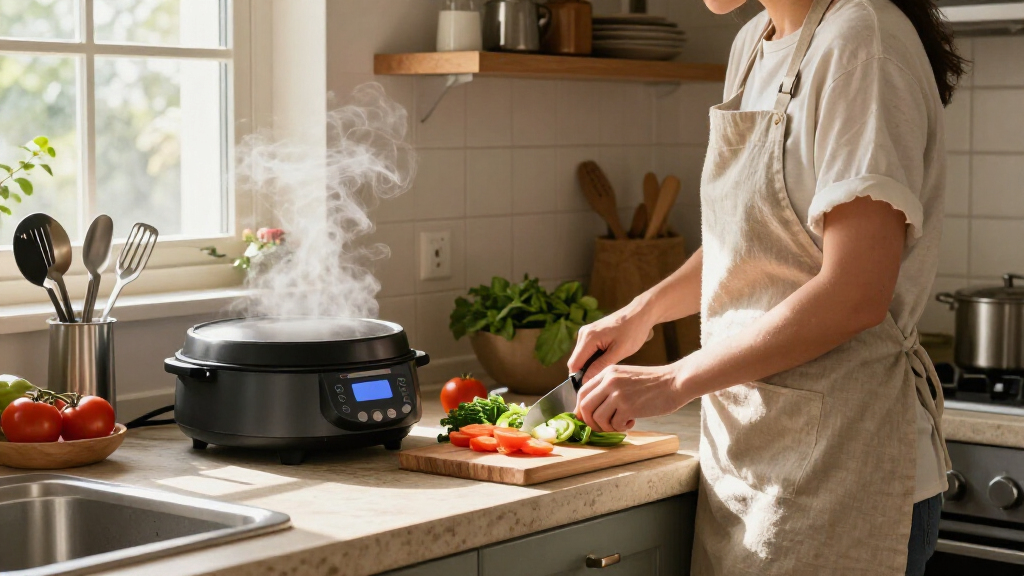
Set up one or two smart kitchen gadgets, connect them to your home network, and check that their useful features work. This guide is for beginners choosing or installing devices such as a smart plug, connected kettle, temperature probe, multicooker, or smart scale. Plan 45-90 minutes, depending on the number of devices and whether an app or firmware update is required.

Get kitchen staples and gadgets delivered free with Prime
- Fast, free delivery on millions of items
- Prime Video, Amazon Music and more included
- Member-only deals all year

Etekcity Smart Nutrition Kitchen Scale, 11 lb
- ✔ Capacity: Up to 11 lb (5000 g)
- ✔ Increment: 1 g
- ✔ Platform: Food-grade 304 stainless steel

TrendPlain 16 oz Olive Oil Sprayer with Silicone Pad, Black
- ✔ Capacity: 470 ml (16 oz)
- ✔ Material: Glass
- ✔ Spray amount: 0.15 g per full press

DASH Rapid 7-Egg Cooker with Poaching Tray and Omelette Bowl, Aqua
- ✔ Capacity: Up to 7 eggs
- ✔ Functions: Boiling, poaching, steaming, omelette making
- ✔ Dimensions: 7.7 × 6.2 × 6.5 in
Difficulty: Beginner | Time: 45-90 minutes for one or two devices
What You’ll Need
Tools & Materials:
- A smartphone or tablet with the gadget’s manufacturer app installed
- A reliable home Wi-Fi connection and its network password
- The gadget, its power adapter, and any included accessories
- A clean, dry counter near a suitable outlet
Knowledge:
- Basic smartphone app use
- How to find your Wi-Fi network name and password
- How to follow the device’s electrical and food-safety instructions
Check the device label and manual before buying or plugging it in. Confirm that its voltage and plug match your home, and check whether setup requires a 2.4 GHz Wi-Fi network, Bluetooth, or a specific phone operating system. Keep appliances with heating elements away from water, fabric, and crowded outlets.
Etekcity Smart Nutrition Kitchen Scale, 11 lb
The Etekcity Smart Nutrition Kitchen Scale earns our top spot because it links a dependable kitchen task—measuring ingredients—to a broader record of what we eat. It weighs up to 11 lb in 1 g increments, and its tare function lets us add ingredients to one bowl without doing mental arithmetic between additions. Through VeSync and the Nutritionix database, it can track up to 19 nutrients and generate reports, making it more useful for meal planning than a basic scale. It also offers several units, a backlit display, and a stainless steel platform that is straightforward to wipe clean.Compared with the TrendPlain sprayer, Etekcity gives us more digital information but asks us to use an app and maintain a battery supply. It is also more versatile than the DASH cooker because weighing applies to many ingredients, not just eggs. That breadth is why it ranks first for buyers who want smart features to inform everyday choices. The tradeoff is that app-based tracking is only as useful as our willingness to enter and review food data. Barcode scanning is limited to the United States, and the scale needs three AAA batteries. We should choose it for measurement and nutrition records, not if we only want a simple, app-free scale.
Pros:
- Tracks up to 19 nutrients through VeSync and Nutritionix.
- Weighs up to 11 lb in 1 g increments, with tare and multiple units.
- Food-grade stainless steel platform is easy to clean.
- Backlit LCD and adjustable backlight duration support flexible use.
Cons:
- Barcode scanning is available only in the United States.
- Requires three AAA batteries and app setup for nutrition features.
Best for: Home cooks who weigh ingredients regularly and want app-linked nutrition tracking for meals or food planning.
Not ideal for: Buyers who prefer an app-free scale, do not want to track food, or need barcode scanning outside the United States.
Bottom line: For the broadest smart-kitchen utility in this group, we would choose Etekcity when precise weighing and nutrition records both fit our routine.
“For the broadest smart-kitchen utility in this group, we would choose Etekcity when precise weighing and nutrition records both fit our routine.”
TrendPlain 16 oz Olive Oil Sprayer with Silicone Pad, Black
The TrendPlain Olive Oil Sprayer is the most direct, low-friction upgrade in this roundup. A full press dispenses a stated 0.15 g of oil as a fine mist, while the same bottle can pour a steady stream when a recipe calls for more. That gives us two ways to dispense from one refillable glass container, useful when dressing a pan lightly one moment and finishing a salad the next. Its wide opening also makes refilling and cleaning easier than a narrow-neck bottle, and the included silicone pad helps steady it on the counter.Unlike the Etekcity scale, TrendPlain does not connect to an app or build a nutrition record; its smart angle is measured dispensing rather than digital tracking. It is less task-specific than DASH, too, since pouring oil can serve many recipes instead of automating one cooking process. That makes it a practical choice for cooks focused on controlling how oil is added, but not for anyone seeking connected kitchen data. The maintenance is a real consideration: the lid is not dishwasher safe, and the filter needs regular cleaning to keep the spray working as intended. We also need to dry the parts fully before reassembly. It is a compact, useful tool, but its benefit depends on using the spray function often enough to justify that extra care.
Pros:
- Offers both fine mist spraying and steady pouring.
- Each full press dispenses a stated 0.15 g of oil.
- Wide opening supports easier refilling and cleaning.
- Silicone pad steadies the bottle and protects counters.
Cons:
- Lid requires hand washing.
- Filter needs regular cleaning, and parts should be dried fully before reassembly.
Best for: Cooks who regularly spray oil onto pans, vegetables, or salads and want the option to pour from the same bottle.
Not ideal for: Anyone who wants dishwasher-safe parts, dislikes cleaning small filters, or expects app connectivity and nutrition tracking.
Bottom line: We recommend TrendPlain for controlled oil dispensing when a dual spray-and-pour bottle is more useful than app-based features.
“We recommend TrendPlain for controlled oil dispensing when a dual spray-and-pour bottle is more useful than app-based features.”
DASH Rapid 7-Egg Cooker with Poaching Tray and Omelette Bowl, Aqua
When eggs are a frequent breakfast or meal-prep staple, the DASH Rapid 7-Egg Cooker replaces close watching at the stovetop with a compact electric appliance. It handles up to seven eggs and includes settings by water amount for soft-, medium-, or hard-boiled results. A thermal sensor shuts the unit off and sounds a chime when the water evaporates, so we get a clear signal that the cycle has ended. The poaching tray and omelette bowl extend its role beyond boiling, while the measuring cup and egg-piercing pin support the basic setup.Compared with TrendPlain, DASH automates a more involved cooking step but applies to a narrower range of meals. Unlike Etekcity, it does not help measure ingredients or keep digital nutrition records; its smart feature is automatic shutoff. The accessories nest inside the cooker, which makes storage more manageable in a small kitchen, though the appliance still takes dedicated space. Its capacity of seven eggs may be enough for one or two people but can feel limiting when preparing a larger batch. Eggs also need a cold-water soak after cooking for easier peeling, so the cooker does not remove every step. Choose DASH when repeatable egg preparation matters more than the broader utility of a scale or oil bottle.
Pros:
- Cooks up to seven eggs with water-based doneness adjustment.
- Includes trays for poached eggs and omelettes as well as boiling.
- Thermal sensor shuts off the cooker and sounds a chime when water evaporates.
- Accessories nest inside for compact storage.
Cons:
- Seven-egg capacity may not suit larger batches.
- A cold-water soak is still needed after cooking for easier peeling.
Best for: Individuals, couples, or small households who cook eggs often and want boiled, poached, and omelette options in one appliance.
Not ideal for: Large households that need bigger batches, or cooks who rarely prepare eggs and want a gadget useful across more recipes.
Bottom line: DASH makes the most sense when egg cooking is a regular routine and automatic shutoff matters more than broader kitchen versatility.
“DASH makes the most sense when egg cooking is a regular routine and automatic shutoff matters more than broader kitchen versatility.”
As an Amazon Associate we earn from qualifying purchases.
Before You Start
Choose a task you want the gadget to improve, such as checking meat temperature or scheduling a kettle. Read the manual’s placement and cleaning instructions before setup. Do not use a smart plug to control a high-wattage heater, kettle, oven, or other appliance unless both manufacturers explicitly permit that use. A remote switch does not replace supervision or built-in safety controls.
Step-by-Step Instructions
Step 1: Choose a gadget for one kitchen task
Write down the task you want help with, then choose a device that performs it directly. For example, pick a temperature probe for monitoring food temperature, a smart scale for recipe measurements, or a connected multicooker for app-based cooking controls. Check the device’s functions, app requirements, dimensions, cleaning method, and return policy before purchase.
Compare the features you will actually use. A timer, clear temperature display, and easy-to-clean surfaces may matter more than voice control or remote access. Check whether the app requires an account and whether core functions still work if your internet connection is unavailable.
Tip:Confirm that the gadget suits your counter space and the size of your usual portions or cookware.
Check: You can name the kitchen task the device will handle and have checked its app, cleaning, power, and space requirements.
Step 2: Check your network and setup requirements
Read the setup section of the manual and check your router’s Wi-Fi band. Some gadgets only join 2.4 GHz networks; others support 5 GHz or need Bluetooth during pairing. Find the Wi-Fi password and confirm your phone can install the required app. If the app requires an account, use a unique password and enable available account protections.
Place the gadget within range of the router for initial setup. Do not change router security settings just to connect a device unless you understand the effect and have checked the manufacturer’s instructions.
Tip:Some routers combine 2.4 GHz and 5 GHz under one network name. If pairing fails, check the router or manufacturer’s guidance for a compatible connection method.
Check: You know which network or pairing method the gadget requires, and your phone can run its app.
Step 3: Place the device safely
Set the gadget on a stable, level, dry surface with room for ventilation and normal use. Keep cords away from hot surfaces, sink edges, walkways, and spots where they could be pulled. Use an outlet that matches the device rating, and follow the manual about grounding, extension cords, and clearance.
For food-contact accessories, wash or sanitize only as the manufacturer directs, then dry them fully. Keep probes, scales, and other electronics away from splashes unless their instructions specify a water-resistance rating and cleaning method.
Tip:Unplug the device before moving it or cleaning it unless its manual gives a different safe procedure.
Check: The device sits securely, its cord is clear of hazards, and food-contact parts are clean and ready for use.
Step 4: Install the app and add the gadget
Install the manufacturer’s official app from your phone’s app store. Open it, sign in or create an account if required, and choose the option to add a device. Turn on the gadget or put it into pairing mode exactly as the manual describes. Grant only the phone permissions needed for setup, such as Bluetooth or local network access.
Select the correct model when prompted, then follow the app’s pairing instructions. Enter your Wi-Fi password carefully if requested. Keep the phone close to the gadget until the app confirms the connection.
Tip:Do not repeatedly reset the gadget while it is pairing. A reset may erase settings and restart the setup process.
Check: The app lists the correct device as connected or ready, and it shows a current status such as online, idle, or temperature.
Step 5: Update the device and set basic options
Check the app for a firmware update and install it while the gadget has stable power and Wi-Fi. Keep the app open if instructed, and wait for the update to finish before unplugging or restarting the device. Set basic options such as units, time zone, notification preferences, and device name.
Choose a name that makes sense in the app, such as “Kitchen scale” or “Probe.” Review privacy and sharing options. Add household members only if they need access, and check what control they receive.
Tip:An update can take several minutes. If progress appears paused, consult the app before interrupting power.
Check: The app reports that setup or the update is complete, and the displayed units and time settings match your preferences.
Step 6: Test the main feature under supervision
Run a small, low-risk test that matches the gadget’s purpose. For a scale, place a known item on it and check whether the reading changes when you remove it. For a probe, compare its reading with the device instructions using a safe test method. For a connected cooker, test the controls with the appliance empty or in the manual’s recommended first-use procedure.
Check that app commands, timers, and alerts behave as described. Keep any cooking appliance in view during its first real use; remote access does not make unattended cooking safe.
Tip:Use the manual’s accuracy range and calibration instructions when checking measurements; readings may vary slightly.
Check: The gadget responds to its main control, the app shows a plausible status, and alerts arrive if you enabled them.
Step 7: Set a routine and store the instructions
Save only the routine settings you understand and will use, such as a timer duration, preferred temperature unit, or recurring reminder. Avoid schedules that could start a heating appliance when nobody is present. Store the manual and note the model number, app name, and support contact in a place you can find later.
Show other household members how to stop the device, disconnect it safely, and clean it. Explain any limits, such as whether an accessory can be submerged or a smart plug can control the appliance.
Tip:Revisit notification settings after a few days so alerts remain useful and do not become easy to ignore.
Check: You can operate and stop the gadget, know how to clean it, and have saved any settings you intend to use.
Common Mistakes to Avoid
- Buying a device before checking Wi-Fi, app, or phone compatibility. — Read the manufacturer’s setup requirements and confirm your network and phone meet them before purchase.
- Placing a gadget where steam, splashes, heat, or tight spacing may damage it. — Follow the manual’s placement and ventilation guidance, and keep electronics away from water unless rated for exposure.
- Using a smart plug with an appliance that draws more power than the plug supports. — Compare the appliance’s power rating with the plug’s rating and follow both manufacturers’ instructions; do not use it for a heating appliance unless approved.
- Relying on remote controls to make cooking safe without supervision. — Stay present when using heat-producing appliances and follow the appliance manual’s supervision and shutoff guidance.
Troubleshooting
Problem: The gadget does not appear in the app.
Solution: Confirm it has power, activate pairing mode using the manual, and move your phone close to it. Check Bluetooth and local network permissions. If it still does not appear, restart the app and follow the manufacturer’s reset instructions once.
Problem: The gadget cannot join Wi-Fi.
Solution: Check that the password is correct and that the network band matches the device requirement. Move the gadget closer to the router during setup. Review the router’s device connection limits and the manufacturer’s guidance before changing network settings.
Problem: The app shows the device as offline after setup.
Solution: Check the gadget’s power and router connection, then close and reopen the app. Restart the gadget only as its manual allows. If other household devices are online, consult the manufacturer’s support page for that model.
Problem: Measurements, alerts, or controls seem inaccurate or delayed.
Solution: Check units, sensor placement, battery level, and notification permissions. Compare readings using the manual’s recommended method. Install pending updates, then contact the manufacturer if results remain outside its stated accuracy range.
What Success Looks Like
The gadget appears in its official app with a current status, responds to its main control, and completes a supervised test as described by its manufacturer. It is positioned and powered according to its rating, accessories are clean as directed, and you know how to stop and maintain it.
Next Steps
Use the gadget for its intended task and check it for damage, residue, or unusual behavior during routine cleaning. Keep firmware and the app current, review account access if household members change, and replace batteries or accessories according to the manual. Stop using the device if its cord, housing, or plug is damaged, and contact the manufacturer for repair guidance.
Frequently Asked Questions
Do all smart kitchen gadgets need Wi-Fi?
No. Some work through Bluetooth or operate locally without an internet connection. Check the manual to see whether remote access, alerts, or app features require Wi-Fi.
Can I use a smart plug with my kettle or toaster?
Only if the smart plug and appliance manufacturers specifically allow that combination and the electrical ratings match. Heating appliances can draw substantial power, so do not assume a plug is suitable because its connector fits.
Do I need to keep the app open while the gadget runs?
It depends on the model. Many devices continue a selected program after the app closes, while live monitoring or notifications may depend on the app, network, or account. Check the manual and test the behavior while supervising the device.
What should I do before giving away or recycling a connected gadget?
Remove it from your app account, clear saved network or personal settings using the manufacturer’s reset procedure, and follow local electronics recycling guidance. Keep the account password private during the handoff.