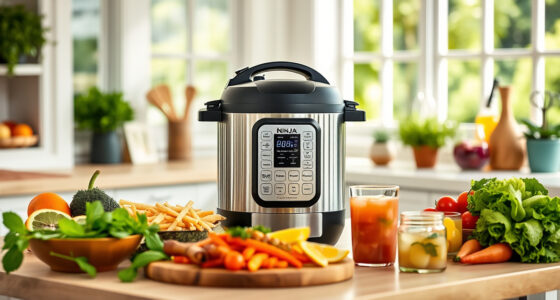
To achieve chickpea magic, start by picking the right type: canned for quick soft and creamy textures or dried for control and better flavor. For creamy chickpeas, blend soaked, drained beans with liquids until smooth, adding olive oil or water. To get crunchy, toss drained chickpeas with oil and seasonings, then roast at 400°F until crispy. Master these techniques, and you’ll uncover endless tasty possibilities—more tips are ahead to perfect your chickpea game.
Key Takeaways
- Use proper soaking, draining, and blending techniques to achieve smooth, creamy chickpeas for dips and salads.
- Roast chickpeas at high heat to develop a crispy, crunchy texture perfect for snacks.
- Choose chickpea varieties (Kabuli, Desi, green) based on desired final texture and flavor profile.
- Incorporate seasonings like spices and herbs to enhance flavor and complement the texture—creamy or crunchy.
- Store cooked chickpeas properly and reheat gently to maintain their ideal texture and freshness.

Cortas – Hummus Tahini, Chickpea Dip, 6.5 oz / 185g (Pack of 6), Single Serve Easy Open Can
Authentic Flavor: Traditional Lebanese recipe with a delightful hint of cumin for added depth.
As an affiliate, we earn on qualifying purchases.
As an affiliate, we earn on qualifying purchases.
Understanding the Difference Between Creamy and Crunchy Chickpeas

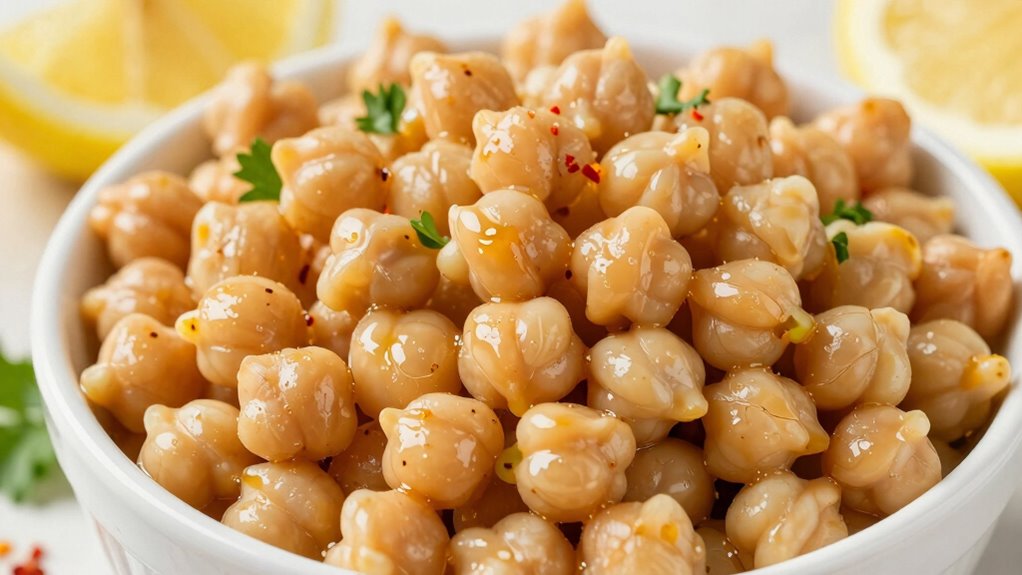
Have you ever wondered what sets creamy chickpeas apart from crunchy ones? It all comes down to texture contrast and flavor enhancement. Creamy chickpeas are soft and smooth, offering a melt-in-your-mouth experience that amplifies their natural earthy flavor. This texture creates a velvety base, perfect for spreads or soups, where the gentle consistency enhances subtle flavors. Additionally, understanding the energy efficiency of kitchen appliances can help you make more sustainable cooking choices. Being mindful of energy-efficient cooking methods can further reduce your environmental impact. On the other hand, crunchy chickpeas are crisp and firm, providing a satisfying bite that adds a different dimension to your dishes. Their texture contrast adds excitement and depth, making salads or snacks more interesting. Both types highlight different flavor profiles, allowing you to tailor your culinary creations to achieve the desired taste experience. Understanding these differences helps you select the right chickpeas for every dish. For example, texture contrast plays a crucial role in the overall sensory appeal of your meals.

Amazon Grocery, Garbanzo Beans, 16 Oz
One 16 ounce bag of garbanzo beans
As an affiliate, we earn on qualifying purchases.
As an affiliate, we earn on qualifying purchases.
How to Choose the Right Chickpeas for Your Texture Goals
When selecting chickpeas, consider whether canned or dried options best suit your texture goals, as canned are softer and ready to use, while dried require prep but offer more control. Additionally, decide if organic or conventional chickpeas align with your preferences, since organic varieties often have a different flavor and may be fresher. Your choice impacts not just texture but also the overall quality and flavor of your dish. For those interested in sustainable and high-quality ingredients, exploring sources that prioritize food safety and quality standards can be beneficial.
Canned vs. Dried Chickpeas
Choosing between canned and dried chickpeas depends on your desired texture and how much time you want to invest. Canned chickpeas are convenient, already cooked, and perfect for quick meals, but they may be softer and slightly less flavorful. Dried chickpeas require soaking and cooking, giving you control over texture—crispier for salads or creamier for hummus. From a chickpea nutrition perspective, both options retain similar nutrients, but dried chickpeas often have fewer preservatives. Historically, chickpeas date back thousands of years, serving as a staple in many cultures. Whether you choose canned or dried, understanding your goals helps you select the best option. If you want a quick, soft texture, go canned; for more flavor and control, dried is your best bet. Additionally, essential oils for skin health can be used to soothe skin irritations if you’re preparing chickpeas for skin-related recipes or treatments. Being mindful of packaging materials can also help reduce environmental impact when choosing your chickpeas.
Organic vs. Conventional Options
Opting for organic or conventional chickpeas can influence both your final dish and your overall eating experience. Organic farming emphasizes natural methods, avoiding synthetic pesticides and fertilizers, which may produce chickpeas with a different flavor profile and potentially fewer residues. Conventional methods often use chemical inputs to boost yield and control pests, resulting in chickpeas that are more uniform and affordable. If you prioritize a pure, earthy taste and want to support sustainable practices, organic chickpeas are a great choice. For budget-friendly options with consistent quality, conventional chickpeas work well. Your choice depends on your texture goals—organic chickpeas might offer a softer, more nuanced flavor, while conventional ones can provide a reliable, neutral base. Consider your taste preferences and values when selecting the best chickpeas for your dish. Understanding farming practices can help you make an informed decision aligned with your culinary and ethical preferences.

Garlic Hummus, Creamy Chickpea Dip with Roasted Garlic, Smooth Savory Spread for Snacks, Sandwiches & Mediterranean Meals, 10 oz
RICH GARLIC FLAVOR: Made with premium chickpeas and infused with bold roasted garlic taste for a delicious, savory…
As an affiliate, we earn on qualifying purchases.
As an affiliate, we earn on qualifying purchases.
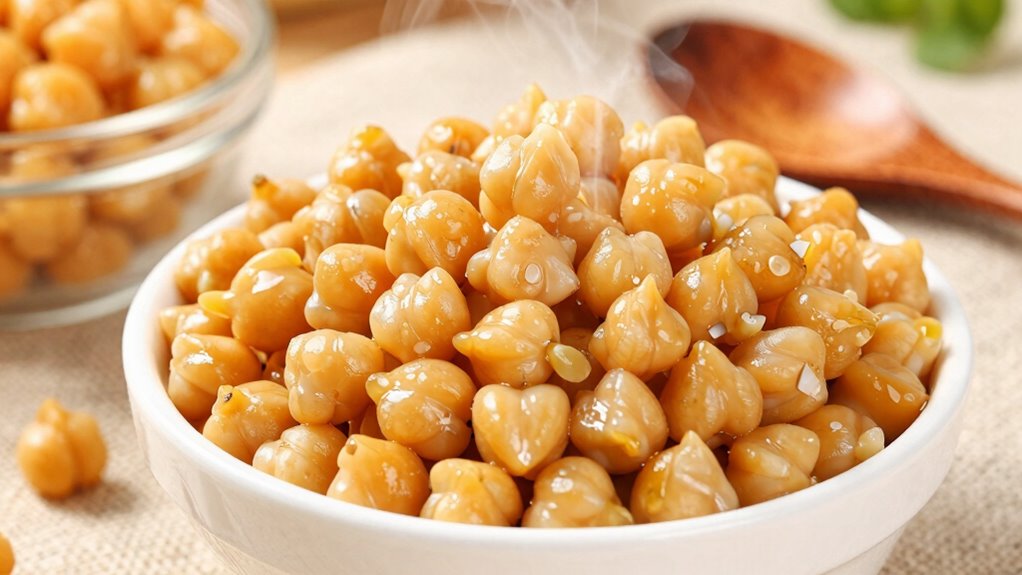
How to Make Creamy Chickpeas for Dips and Salads
To make creamy chickpeas for dips and salads, start by soaking and draining them properly to guarantee a smooth texture. Then, blend the chickpeas with a bit of liquid until they’re velvety, adjusting for your preferred creaminess. Finish by seasoning to taste and serve for a delicious, silky addition to your dishes. Using fresh, high-quality chickpeas can also enhance the overall flavor and creaminess of your dish for optimal results. Incorporating sustainability practices such as choosing locally sourced beans can further support eco-friendly cooking. Additionally, selecting beans from natural pools can promote biodiversity and reduce chemical use in agriculture.
Soaking and Draining
Soaking and draining are essential steps to achieve creamy, flavorful chickpeas perfect for dips and salads. These steps are rooted in cultural significance and culinary history, helping release their full potential. Soaking reduces cooking time and enhances digestibility, while draining removes excess water and impurities. To optimize texture, soak chickpeas in plenty of water for 8-12 hours, then drain thoroughly. Use fresh water for cooking to preserve flavor. Here’s a quick guide:
| Step | Purpose | Tips |
|---|---|---|
| Soaking | Softens chickpeas, improves texture | Soak overnight for best results |
| Draining | Removes excess water | Rinse under cold water |
| Cooking | Develops flavor and tenderness | Use fresh water after soaking |
| Resting | Enhances flavor absorption | Let chickpeas sit after cooking |
Additionally, utilizing the proper butter types can elevate the flavor of chickpea dishes, especially in Mediterranean and Indian cuisines. When selecting ingredients, be mindful of halal standards to ensure all components are compliant with dietary laws. Incorporating culinary techniques such as seasoning at the right stage can further enhance the dish’s overall flavor profile. Understanding the net worth of popular figures involved in food culture can also inspire culinary creativity and business ventures. For optimal results, considering the essential oils used in traditional preparations can add subtle aromatic nuances to chickpea dishes.
Blending for Creaminess
Achieving the perfect creamy texture in chickpea-based dips and salads starts with blending. Your goal is to achieve a smooth, velvety chickpea texture that enhances flavor and mouthfeel. Use these blending techniques for ideal results:
- Use a high-powered blender to ensure even processing and a silky finish.
- Add liquid gradually, like tahini, olive oil, or water, to control the chickpea texture.
- Pulse in short bursts to prevent over-processing and maintain control over the consistency.
- Scrape down the sides regularly to incorporate all chickpeas evenly and achieve uniform creaminess.
- Adjust blending time based on the desired level of smoothness to tailor the texture to your preference for optimal texture control.
Mastering these steps helps you fine-tune the blending process, resulting in dips and salads with irresistibly smooth chickpea textures.
Seasoning and Serving
Wondering how to elevate your creamy chickpeas for dips and salads? The key is in perfect seasoning and thoughtful serving suggestions. Start by mixing in flavorful spice combinations like cumin, paprika, garlic powder, or a pinch of chili for a punch of flavor. Fresh herbs such as parsley or cilantro can add brightness. For dips, serve in a bowl garnished with a drizzle of olive oil, a sprinkle of paprika, or lemon zest. For salads, toss the chickpeas with chopped vegetables and a tangy vinaigrette. These simple spice combinations and serving ideas make your chickpeas more versatile and appetizing. Proper seasoning techniques can enhance flavor consistency and ensure each bite is delightful. Incorporating flavor layering helps build depth and complexity in your dishes. Whether as a dip or salad topping, proper seasoning transforms plain chickpeas into a delightful, satisfying dish everyone will love.
TeamFar Cooling Rack, 16.6” x 11.45” Stainless Steel Wire Baking Rack for Cooking Roasting Grilling, Fit for Oven Pan, Oven & Dishwasher Safe, Non-toxic & Heavy-Duty, 2PCS
HEALTHY & OVEN SAFE: TeamFar cooling racks are made of food-grade stainless steel without any chemical coating, Safe…
As an affiliate, we earn on qualifying purchases.
As an affiliate, we earn on qualifying purchases.
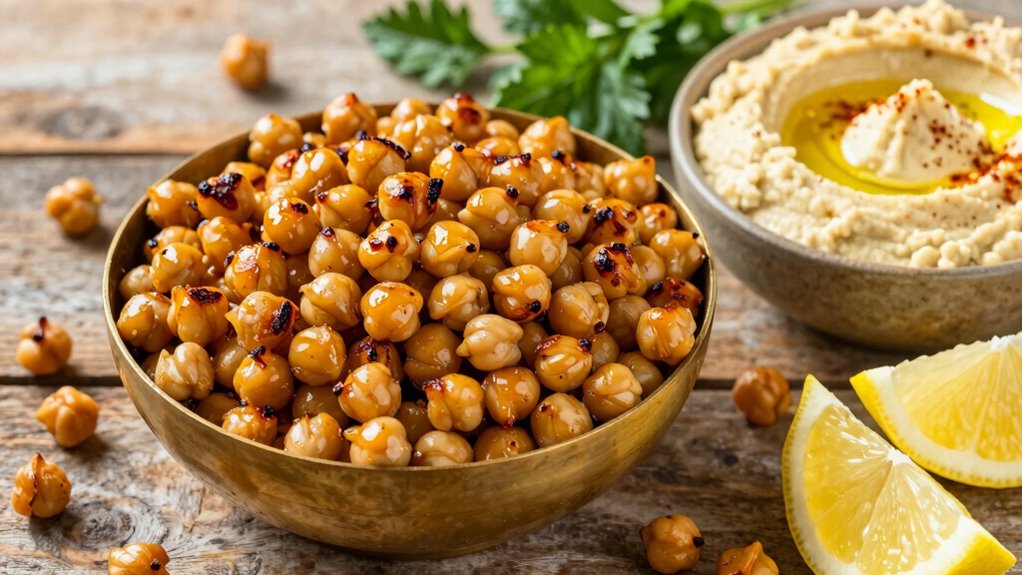
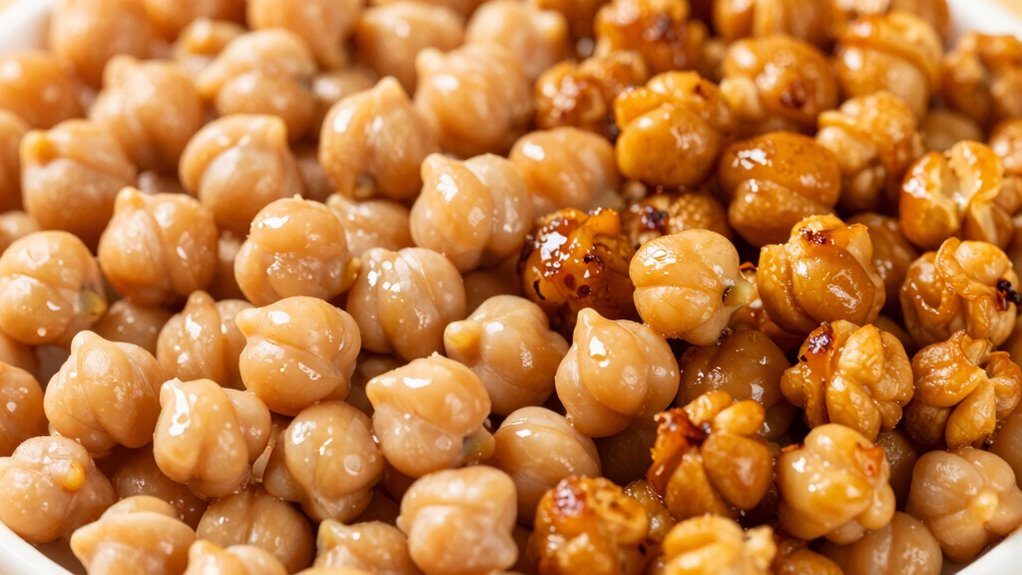
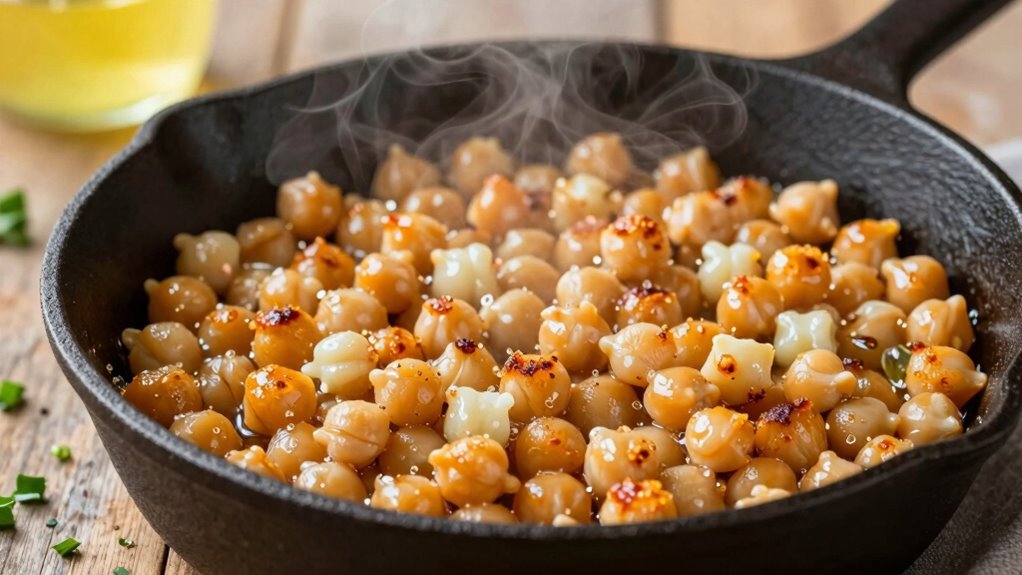
Tips for Roasting Chickpeas to Achieve Perfect Crunch
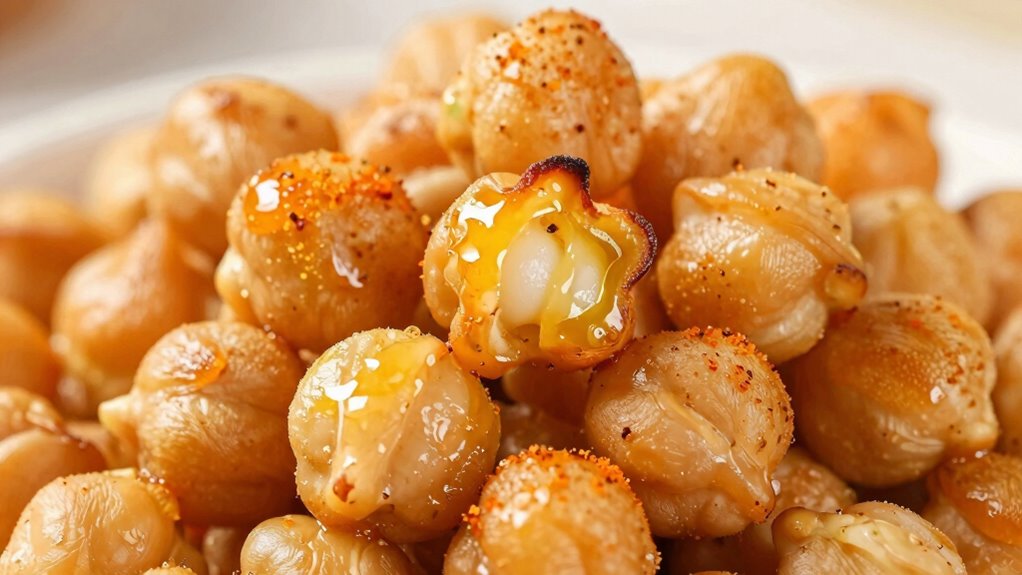
To get perfectly crispy roasted chickpeas, start by thoroughly drying them after rinsing, as excess moisture can prevent crisping. Proper drying guarantees optimal texture and highlights the chickpea flavor profiles. For best results, follow these tips:
- Toss chickpeas evenly with a small amount of oil to promote even roasting.
- Roast at 400°F (200°C) for 20-30 minutes, stirring halfway for uniform crunch.
- Keep an eye on them to prevent burning; chickpeas can quickly go from perfect to burnt.
- Let them cool completely before eating to maintain crunchiness, maximizing their nutritional benefits.
- Incorporating seasonings and spices before roasting can add extra flavor and variety to your snack.
These steps enhance the chickpeas’ natural flavors, ensuring a satisfying crunch while preserving their healthful qualities. Proper roasting unblocks their nutritional benefits and boosts their appeal as a wholesome snack.
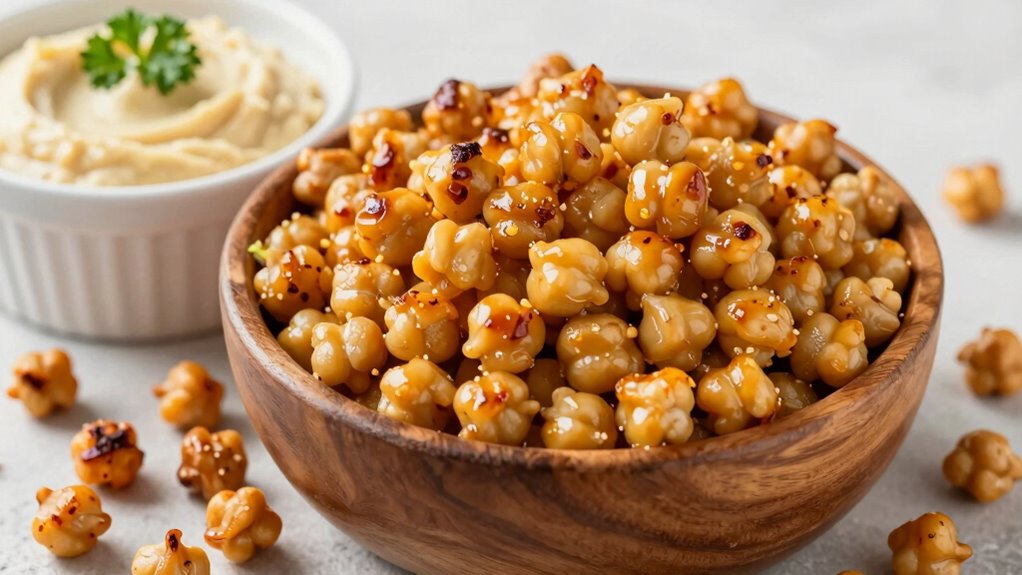
Seasonings That Boost Creaminess and Crunchiness in Chickpeas

Seasonings can elevate your roasted chickpeas by enhancing their flavor and texture. Using well-chosen seasoning blends, like smoked paprika, garlic powder, or cumin, adds depth and complexity. For a boost of flavor enhancers, consider a touch of nutritional yeast or a sprinkle of sea salt to amplify savory notes. Spices like chili powder or curry powder not only boost flavor but can also contribute to a satisfying crunch. Combining these seasonings with a light coating of oil helps them adhere, ensuring each bite is packed with taste. Experimenting with different blends allows you to customize your chickpeas to match your flavor preferences, making them more delicious and enjoyable whether you prefer a spicy, smoky, or savory snack. Additionally, incorporating precious metal investment options can provide a unique perspective on diversifying your financial portfolio while enjoying your flavorful snack. Incorporating encryption solutions into your food storage or sharing process can also help ensure your snacks remain secure and tamper-proof. For eco-conscious snackers, choosing sustainable packaging options can minimize environmental impact and align with eco-friendly values. Exploring seasoning techniques can further elevate your chickpeas by enhancing both their flavor and texture. Moreover, understanding solar energy can inspire eco-friendly practices in your kitchen, promoting sustainability in your cooking habits.
Step-by-Step: How to Make Creamy Chickpea Hummus

Making creamy chickpea hummus starts with rinsing and draining a can of chickpeas to remove any excess salt and preservatives. This step preserves the chickpea nutrition, ensuring you get maximum health benefits. Next, you’ll want to follow these steps:
- Combine chickpeas, tahini, lemon juice, and garlic in a food processor.
- Blend until smooth, gradually adding water or olive oil for creaminess.
- Taste and adjust with salt or additional lemon juice if needed.
- Serve with a drizzle of olive oil and your favorite toppings.
Understanding chickpea history adds appreciation for this versatile legume, which has nourished civilizations for thousands of years. Achieving silky, creamy hummus is simple once you master these steps, blending tradition with modern flavor.
Tips for Crispy Chickpeas as a Healthy Snack
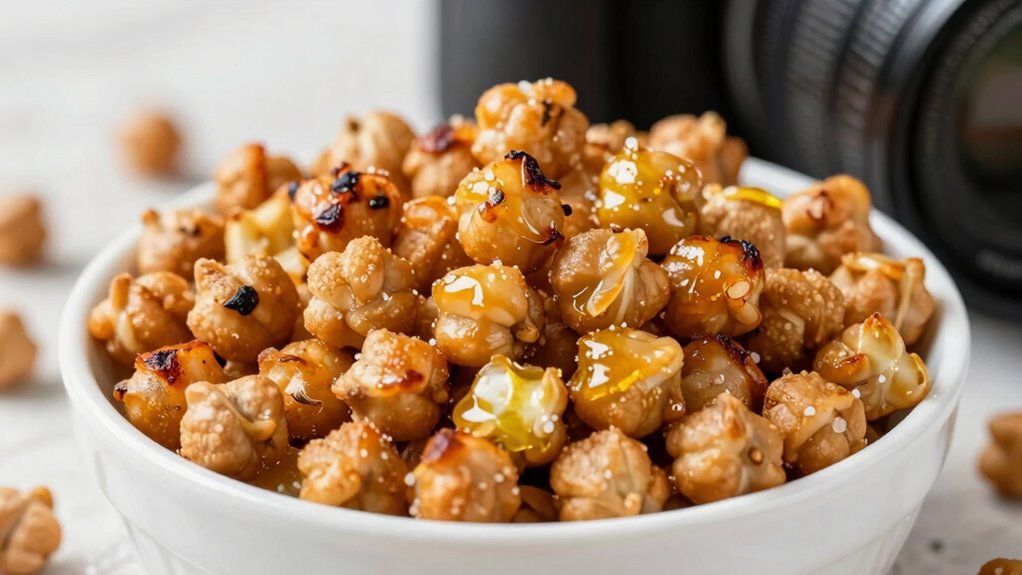
To get crispy chickpeas, start by thoroughly drying them to remove excess moisture. Keep an eye on the oven temperature, as cooking at the right heat guarantees they crisp perfectly without burning. Mastering these techniques will make your snack both delicious and healthy.
Proper Drying Techniques
Ensuring your chickpeas are thoroughly dried is essential for achieving that perfect crispy texture. Proper drying techniques prevent moisture from causing sogginess and help maintain freshness during storage. To dry your chickpeas effectively, follow these steps:
- Spread the cooked or soaked chickpeas evenly on a clean, dry towel.
- Pat them gently to remove excess water without crushing.
- Air dry in a well-ventilated area for several hours or overnight.
- For quicker results, use a low-temperature oven or dehydrator to guarantee complete dryness.
Once dried, store the chickpeas in an airtight container in a cool, dry place. Proper storage methods preserve their crispiness and prevent moisture absorption, keeping your chickpeas crunchy for longer.
Optimal Cooking Temperature
Achieving crispy chickpeas as a healthy snack depends heavily on cooking at the right temperature. Too low, and they remain soft; too high, and they risk burning. The key is to find that perfect balance for ideal texture control. Generally, roasting at 375°F to 400°F (190°C to 200°C) yields the best results. Use the table below to guide you:
| Cooking Temperature | Result |
|---|---|
| 350°F (175°C) | Slightly softer, less crispy |
| 375°F – 400°F (190°C – 200°C) | Perfectly crispy and crunchy |
| 425°F (220°C) | Risk of burning, uneven texture |
| 450°F (230°C) | Likely burnt, overdone |
Stick to the recommended temperature range for the best texture control and crispy chickpeas every time.
Troubleshooting Common Chickpea Preparation Issues
When preparing chickpeas, it’s common to encounter issues like stubborn hardness or uneven cooking. Proper chickpea storage and understanding chickpea cultivation can help prevent some problems. If your chickpeas remain hard after cooking, consider these solutions:
- Soak them longer or use warm water to soften them before cooking.
- Ensure you’re cooking them at a gentle simmer, not a rapid boil.
- Add baking soda during soaking to break down tough cell walls.
- Check for old chickpeas; older beans often resist softening, so buy fresh or store them properly.
Troubleshooting also involves inspecting storage conditions—keep chickpeas in a cool, dry place to maintain quality. Proper chickpea cultivation techniques ensure you’re starting with quality beans, reducing cooking issues.
Creative Recipes Featuring Creamy and Crunchy Chickpeas
Creamy and crunchy chickpeas open up a world of delicious possibilities in your kitchen. With various chickpea varieties and versatile cooking methods, you can craft inventive recipes that satisfy every craving. For example, roasted crunchy chickpeas make a perfect snack, while creamy chickpea hummus adds richness to sandwiches. You can also toss chickpeas into salads or blend them into soups for added texture and flavor. Using different chickpea varieties, like desi or kabuli, influences the final dish’s texture and taste. Experiment with roasting, boiling, or baking to achieve the desired crunch or creaminess. Here’s a quick overview:
| Chickpea Varieties | Cooking Methods |
|---|---|
| Desi | Roasting, boiling |
| Kabuli | Baking, blending |
| Green | Sautéing, pureeing |
Storage and Reheating Tips to Keep Your Chickpeas Fresh and Texturally Perfect
To keep your chickpeas fresh and maintain their perfect texture, proper storage practices are essential. First, store cooked chickpeas in an airtight container in the refrigerator for up to 4 days. Second, for longer storage, freeze them in a resealable bag, removing excess air. Third, avoid chickpea fermentation by keeping them dry and cool, preventing unwanted bacterial growth. Fourth, if you’re sprouting chickpeas, rinse them thoroughly and keep them in a breathable container to prevent mold. When reheating, do so gently to preserve texture—preferably in a microwave or on the stove. Reheat only what you need to avoid unnecessary moisture loss. These tips help maintain the crunch or creaminess, ensuring your chickpeas stay fresh and delectable.
Frequently Asked Questions
Can I Use Canned Chickpeas for Both Creamy and Crunchy Textures?
Yes, you can use canned chickpeas for both creamy and crunchy textures. For creamy results, drain and blend them, adding a little liquid to preserve smoothness. To achieve crunchiness, drain, rinse thoroughly, and dry them well before roasting or frying. If you don’t have dried chickpeas, canned ones are a perfect substitution. Use texture preservation techniques like proper drying and seasoning to get the best consistency for your dish.
What Are the Best Seasonings to Enhance Flavor Without Compromising Texture?
To enhance flavor without compromising texture, you should try herb blends like rosemary, thyme, or parsley for a fresh taste. Spice infusions such as cumin, smoked paprika, or chili powder add depth and warmth. Mix these seasonings into your chickpeas during cooking or sprinkle after roasting. This way, you boost flavor while maintaining the desired creamy or crunchy texture, making your dish more delicious and satisfying.
How Long Can I Store Prepared Creamy or Crunchy Chickpeas?
Ironically, your chickpeas won’t last forever, even if they seem invincible. You can store prepared creamy or crunchy chickpeas for about 3 to 4 days in the fridge, maximizing their shelf life. For longer storage, keep them in an airtight container in the freezer for up to 2 months. Always check for signs of spoilage before enjoying, because even chickpeas deserve a fresh second chance!
Are There Health Benefits Specific to Creamy Versus Crunchy Chickpeas?
Creamy chickpeas offer higher water content, making them easier to digest and providing better hydration, which can boost your digestive health. Crunchy chickpeas, on the other hand, have more fiber and protein per serving, supporting your gut and overall nutrition. Both types provide nutritional advantages like vitamins and minerals, but choosing between them depends on your health goals — creamy for digestion, crunchy for sustained energy.
Can I Combine Creamy and Crunchy Chickpeas in One Dish?
Yes, you can combine creamy and crunchy chickpeas in one dish to create a delightful texture contrast and interesting flavor pairing. Mix them in salads, grain bowls, or snacks to enjoy the variation in mouthfeel and taste. The smoothness of creamy chickpeas complements the crispiness of crunchy ones, making your dish more dynamic and satisfying. Experimenting with both textures keeps your meals exciting and flavorful.
Conclusion
Whether you’re aiming for irresistibly creamy dips or crunchy snacks, mastering chickpea prep is key. Did you know that roasting chickpeas can reduce their water content by up to 60%, making them crispier and more satisfying? With these tips, you’ll effortlessly create perfect textures every time. So go ahead—experiment with seasonings and techniques to enjoy delicious, healthful chickpeas that suit any craving or meal. Happy snacking and cooking!